

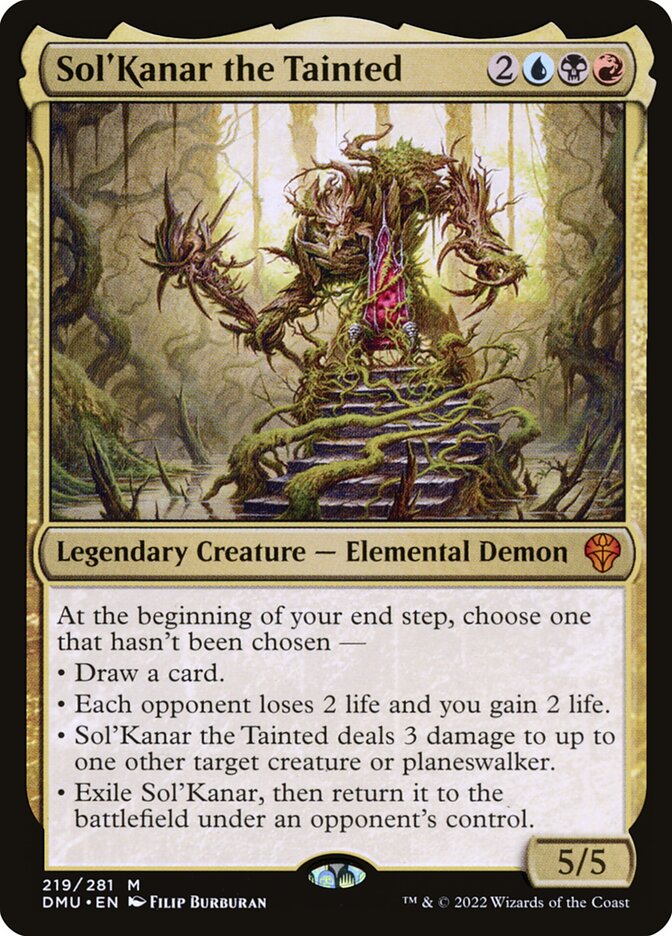
Sol'Kanar the Tainted is one of those cards players keep asking about. Here is, in plain words, what its official text says, the rulings published by Wizards of the Coast, and the combos players actually run.
Official card text
At the beginning of your end step, choose one that hasn't been chosen — • Draw a card. • Each opponent loses 2 life and you gain 2 life. • Sol'Kanar deals 3 damage to up to one other target creature or planeswalker. • Exile Sol'Kanar, then return it to the battlefield under an opponent's control.
Complete guide
Sol'Kanar the Tainted is a powerful Grixis Elemental Demon that provides immense value over several turns before eventually changing sides. This card represents a ticking clock, forcing you to utilize its diverse abilities efficiently before your opponent gains control of its power. Understanding the timing and sequence of its modal ability is key to mastering this legendary creature.
Choosing Your Path
Sol'Kanar features a triggered ability that occurs at the beginning of your end step. You must choose one of four modes that has not been selected during the time the permanent has been on the battlefield. Once a mode is chosen, it is 'checked off' for that specific instance of Sol'Kanar. If the creature leaves and returns to the battlefield, it is considered a new object and all modes become available again.
Step-by-Step Resolution
When your end step begins, the ability triggers and goes on the stack. First, you choose a valid mode that hasn't been used yet. If you choose the damage mode, you must also select a legal target at this time. Once the ability resolves, the chosen effect happens. Note that the fourth mode is mandatory if it is the only one left; you will exile Sol'Kanar and return it to the battlefield under an opponent's control, at which point it becomes a new object for them.
Strategic Considerations
A common mistake is forgetting that your opponent chooses which opponent receives Sol'Kanar when their own end step triggers. In a multiplayer game, if you give Sol'Kanar to Opponent A, and they use all the beneficial modes, they will eventually choose who takes it next. Also, keep in mind that the life loss in Two-Headed Giant is calculated per opponent, meaning the opposing team loses 4 life total while the controller still only gains 2.
Interaction examples
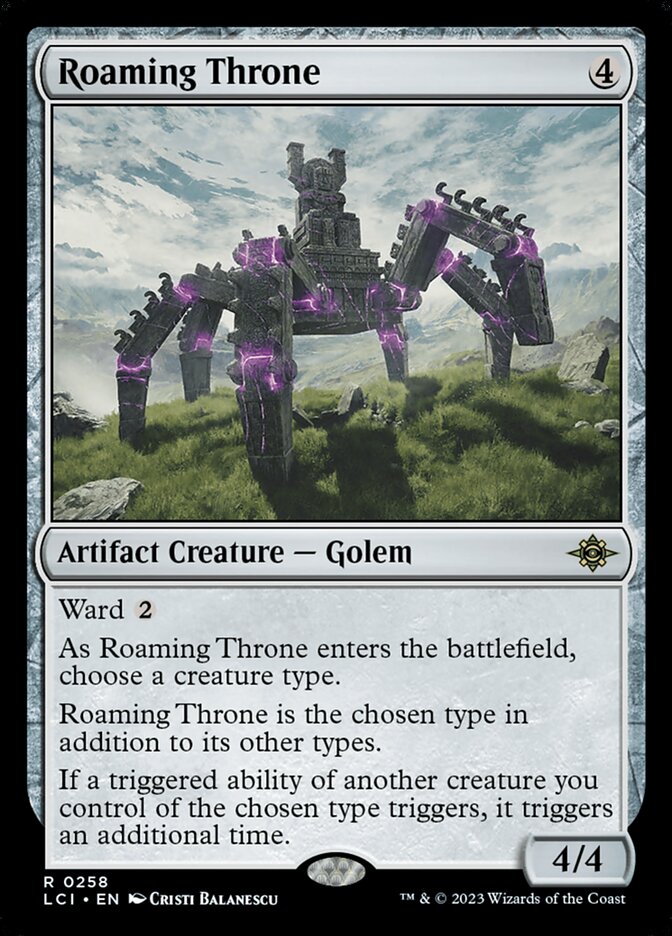 Roaming Throne
If you control Roaming Throne and chose 'Elemental' or 'Demon', Sol'Kanar's end step ability triggers twice. You can choose two different modes, such as drawing a card and dealing damage, in a single turn. This allows you to burn through the beneficial modes faster before the mandatory exile mode must be chosen.
 Solemn Simulacrum
While Sol'Kanar provides card draw and life swings, pairing it with Solemn Simulacrum helps stabilize your board and mana base. If you use Sol'Kanar to deal 3 damage to an opponent's creature, you maintain board control while the Simulacrum ensures you have the land to recast Sol'Kanar if it is eventually removed or returned to your hand by other spells.
Guide written with AI from the official text and rulings. Official English text prevails.
How it works : Sol'Kanar the Tainted
Original English text — Wizards of the Coast / Scryfall
- #1· Wizards of the Coast
Once Sol'kanar the Tainted is controlled by your opponent, its ability triggers during that player's end step and that player makes all choices for it. That player draws a card for its first mode and gains life for its second mode, that player's opponents lose life for its second mode, and that player chooses one of their opponents for its last mode.
No other card is named in this ruling.
- #2· Wizards of the Coast
In a Two-Headed Giant game, Sol'kanar the Tainted's second mode causes the opposing team to lose 4 life. Its controller will still gain only 2 life.
No other card is named in this ruling.
Legal formats
Commentaires
- Sois le premier à commenter cette carte.
Read next
Meta decks with Sol'Kanar the Tainted
No archived Top 8 deck with this card yet.