

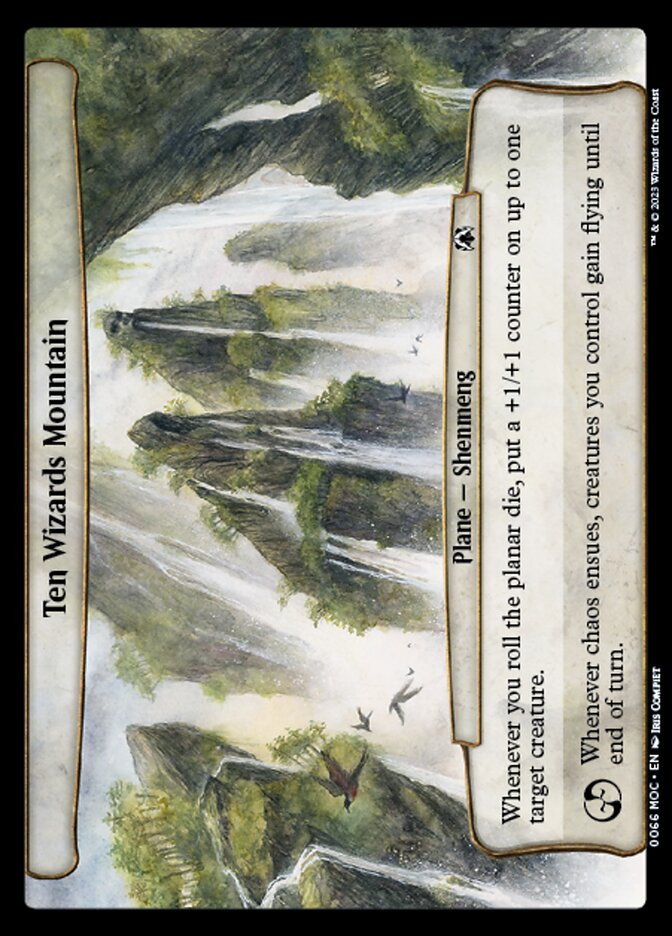
Ten Wizards Mountain is one of those cards players keep asking about. Here is, in plain words, what its official text says, the rulings published by Wizards of the Coast, and the combos players actually run.
Official card text
Whenever you roll the planar die, put a +1/+1 counter on up to one target creature. Whenever chaos ensues, creatures you control gain flying until end of turn.
Complete guide
Journey to the mystical peaks of Shenmeng with Ten Wizards Mountain, a Plane card that rewards the whims of fate. This location turns every roll of the planar die into a tactical advantage, bolstering your forces or granting them the power of flight. Understanding how its triggered abilities interact with your turn is key to conquering this high-altitude battlefield.
Scaling the Peaks
Ten Wizards Mountain features two distinct triggered abilities. The first ability triggers every time you roll the planar die, regardless of the result. You may choose up to one target creature to receive a +1/+1 counter. The second ability is a 'chaos ensues' trigger, which activates specifically when you roll the Chaos symbol. This grants all creatures you currently control flying until the end of the turn, allowing for devastating aerial assaults.
Resolution Step-by-Step
When you take the special action to roll the planar die, the first ability triggers immediately and is put onto the stack before the die result is even applied. You choose your target creature at this time. If the die lands on the Chaos symbol, the 'chaos ensues' ability also triggers and is placed on the stack above the die's own effect. The +1/+1 counter will resolve first, followed by your creatures gaining flying if chaos ensued.
Common Mistakes
A frequent error is forgetting that the +1/+1 counter ability triggers even if you roll a blank face or the Planeswalker symbol. As long as the die is rolled, the ability triggers. Additionally, remember that the flying bonus from the chaos trigger only affects creatures you control at the moment the ability resolves. Any creatures that enter the battlefield later in the turn will not have flying.
Strategic Timing
Since rolling the planar die costs mana—increasing with each attempt—it is vital to manage your resources. You should prioritize rolling when you have a creature that can benefit from the permanent stat boost or when you need to bypass ground blockers. If you successfully roll chaos, use that window of evasion to strike your opponents directly.
Interaction examples
 Sol Ring
 Command Tower
With Ten Wizards Mountain active, you use Command Tower and Sol Ring to generate three mana. You spend one mana for your first planar die roll of the turn. Even if the die shows a blank face, Ten Wizards Mountain triggers, and you put a +1/+1 counter on a creature. You then spend the remaining two mana from Sol Ring for a second roll, potentially adding another counter or triggering chaos.
You tap Sol Ring to pay for a planar die roll. The die results in a blank face, meaning no planeswalk or chaos effect occurs. However, Ten Wizards Mountain's first ability still triggers because you rolled the die. You choose a creature you control, and it receives a permanent +1/+1 counter despite the 'failed' roll.
Guide written with AI from the official text and rulings. Official English text prevails.
How it works : Ten Wizards Mountain
Original English text — Wizards of the Coast / Scryfall
No additional ruling has been published for this card.
Commentaires
- Sois le premier à commenter cette carte.
Read next
Meta decks with Ten Wizards Mountain
No archived Top 8 deck with this card yet.