

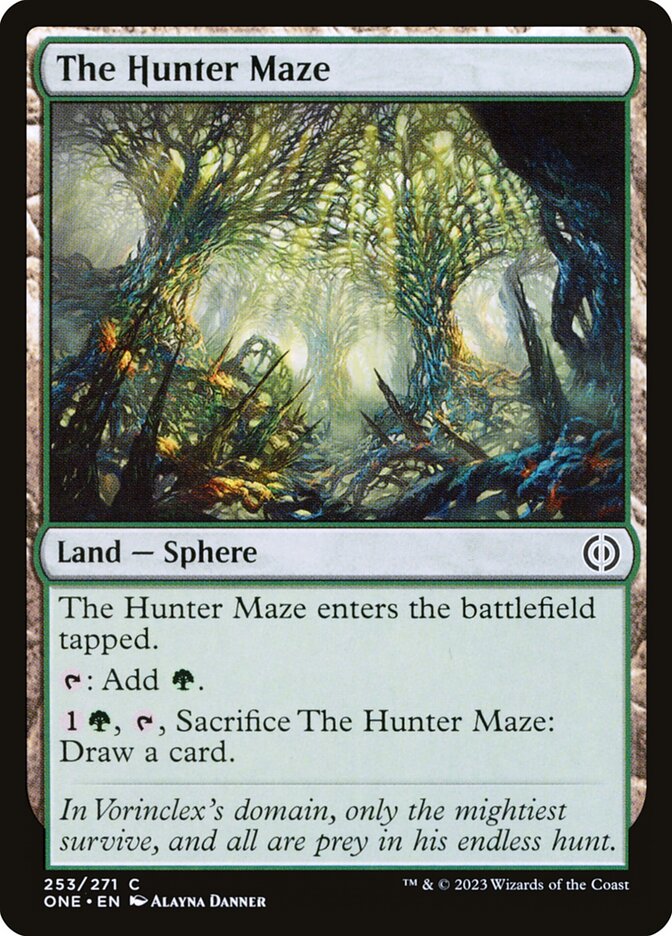
The Hunter Maze is one of those cards players keep asking about. Here is, in plain words, what its official text says, the rulings published by Wizards of the Coast, and the combos players actually run.
Official card text
This land enters tapped.: Add
.

Complete guide
The Hunter Maze is a versatile utility land that provides essential green mana while doubling as a card-draw engine in the late game. Part of a special cycle of Sphere lands, it offers decks a way to turn excess land into fresh resources without taking up a non-land slot in the deck build.
What It Does
The Hunter Maze is a Sphere land that enters the battlefield tapped, meaning it won't be available for mana on the turn you play it. It primarily provides green mana, but its true power lies in its activated ability: by paying one generic and one green mana and sacrificing the land, you can draw a card.
How It Resolves Step by Step
First, ensure you have the required mana available. Announce the activation of the card-draw ability. As part of the cost, you must tap The Hunter Maze and sacrifice it; this means the land moves from the battlefield to your graveyard before the ability even goes on the stack. Once the cost is paid, the ability is placed on the stack, and players may respond. If no one counters the ability, you draw one card.
Common Mistakes
A frequent error is forgetting that The Hunter Maze must be on the battlefield to activate its sacrifice ability. You cannot sacrifice it from your hand to draw a card. Additionally, because sacrificing the land is part of the cost, you cannot tap it for mana and sacrifice it to the same ability at the same time; once it is sacrificed, it is no longer there to be tapped for its own mana cost.
When to Play It
This land is most effective in mid-range or control decks that need to ensure they don't 'flood out' with too many lands. In the early game, use it for mana to stay on curve. In the late game, when you have plenty of other mana sources like Command Tower or Exotic Orchard, sacrifice The Hunter Maze to dig for your win conditions.
Interaction examples
 Command Tower
If you have Command Tower and The Hunter Maze in play, you have a stable mana base. Use Command Tower for your commander's colors and save The Hunter Maze. If you draw into a powerful creature but need more cards, you can use the mana from Command Tower to help pay the sacrifice cost of The Hunter Maze.
 Exotic Orchard
While Exotic Orchard depends on your opponents' lands to produce mana, The Hunter Maze provides a guaranteed source of green. If your opponent controls a Forest, Exotic Orchard can produce the green mana required to activate The Hunter Maze's sacrifice ability, allowing you to draw a card while keeping your other mana sources ready.
Guide written with AI from the official text and rulings. Official English text prevails.
How it works : The Hunter Maze
Original English text — Wizards of the Coast / Scryfall
No additional ruling has been published for this card.
Legal formats
Commentaires
- Sois le premier à commenter cette carte.
Read next
Meta decks with The Hunter Maze
No archived Top 8 deck with this card yet.