

Grafted Wargear is one of those cards players keep asking about. Here is, in plain words, what its official text says, the rulings published by Wizards of the Coast, and the combos players actually run.
Official card text
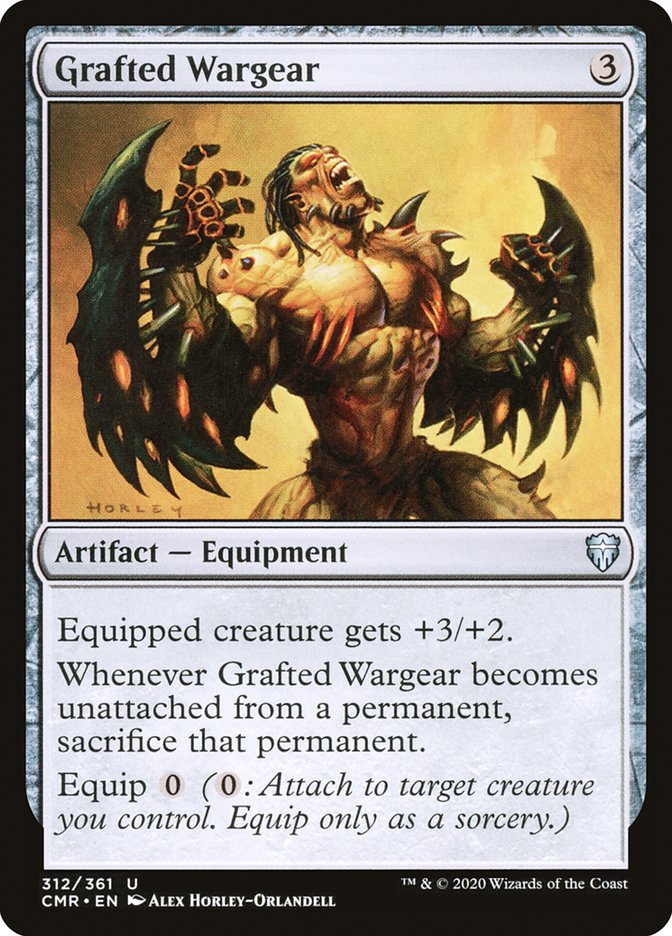
Equipped creature gets +3/+2. Whenever this Equipment becomes unattached from a permanent, sacrifice that permanent. Equip(
Complete guide
Grafted Wargear is a powerful Equipment that offers a significant power boost for a zero-mana equip cost, but it comes with a dangerous drawback. Because it is literally grafted onto your creatures, removing it causes them to be destroyed by its triggered ability. Understanding how and when this attachment breaks is the key to mastering this card in your deck.
What It Does
Grafted Wargear provides the equipped creature with a +3/+2 bonus. While the {0} equip cost makes it incredibly flexible for shifting around the battlefield, its second ability is a triggered penalty: whenever Grafted Wargear becomes unattached from a permanent, you must sacrifice that permanent. This means you cannot simply swap equipment without losing the original creature.
How It Resolves Step by Step
When you decide to move Grafted Wargear to a new creature, you activate the equip ability by targeting a new creature you control. Once the ability resolves, Grafted Wargear moves to the new target. The moment it moves, it becomes 'unattached' from the previous creature, causing the sacrifice ability to trigger. This trigger goes on the stack and, when it resolves, you sacrifice the creature that was previously equipped.
Common Mistakes
A common misconception is that Grafted Wargear only triggers if you manually unattach it. In reality, the ability triggers if the Wargear leaves the battlefield (for example, if an opponent destroys it) or if the equipped creature stops being a creature. Note that if the equipped creature itself leaves the battlefield, the ability still triggers, but since the permanent is already gone, the sacrifice effect does nothing.
When to Play It
Grafted Wargear is best used in aggressive decks that want to maximize damage early or in decks with sacrifice synergies. Because the equip cost is free, you can play a creature and immediately boost it for a surprise attack. It is also an effective way to trigger 'death' abilities on your own creatures at sorcery speed without spending mana.
Interaction examples
If you control two creatures and Grafted Wargear is attached to the first one, you can pay {0} to equip it to the second. As soon as Grafted Wargear moves to the second creature, its ability triggers, and you must sacrifice the first creature.
 Swiftfoot Boots
If you have a creature equipped with both Grafted Wargear and Swiftfoot Boots, and an opponent uses a spell to destroy Grafted Wargear, the Wargear becomes unattached as it leaves the battlefield. This triggers the sacrifice ability, forcing you to sacrifice your creature even though it had hexproof from the Boots.
 Arcane Signet
You can use mana from Arcane Signet to cast Grafted Wargear on turn three. Once it enters the battlefield, you can immediately equip it to a creature for {0}. If that creature dies in combat later, the Wargear simply falls off and stays on the battlefield, ready to be attached to your next creature for free.
Guide written with AI from the official text and rulings. Official English text prevails.
How it works : Grafted Wargear
Original English text — Wizards of the Coast / Scryfall
- #1· Wizards of the Coast
Grafted Wargear becomes unattached from the creature it's equipping if you equip it to a new creature, if Grafted Wargear leaves the battlefield, if the equipped creature ceases to be a creature, or if Grafted Wargear ceases to be an Equipment. (It also becomes unattached if the equipped creature leaves the battlefield, but the triggered ability won't do anything in that case.)
No other card is named in this ruling.
- #2· Wizards of the Coast
You may activate this card's equip ability targeting the creature that it is currently attached to, even if it's the only creature you control. Since the equip ability costs zero, you can do this as many times as you like during your main phases, though it generally won't do anything.
No other card is named in this ruling.
- #3· Wizards of the Coast
If your Grafted Wargear somehow ends up on an opponent's creature and it then becomes unattached from that creature, you won't be able to sacrifice that creature because you don't control it.
No other card is named in this ruling.
Popular combos
Real combos played by the community, sorted by popularity.

Monk Gyatso + Grafted Wargear
- 1Activate Grafted Wargear's equip ability by paying , targeting the affinity creature.
- 2Monk Gyatso triggers, airbending the targeted creature.
- 3The Grafted Wargear ability fizzles due to no longer having a legal target.
- 4Cast the creature from exile by paying due to its affinity ability.
- 5Repeat.
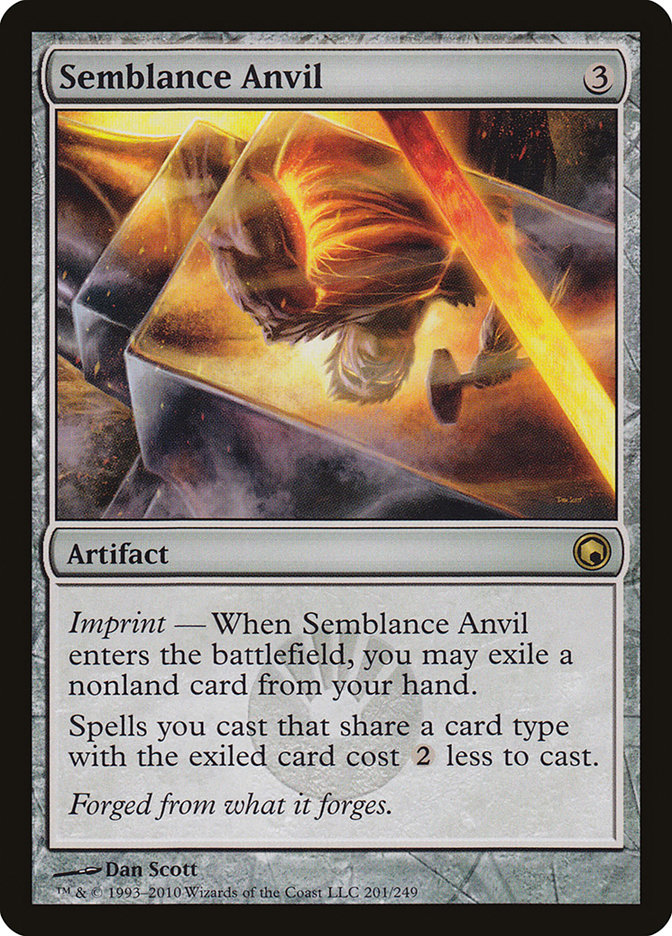
Monk Gyatso + Semblance Anvil + Grafted Wargear
- 1Activate Grafted Wargear's equip ability by paying , targeting another nontoken creature you control.
- 2Monk Gyatso triggers, airbending the targeted creature.
- 3The Grafted Wargear ability fizzles due to no longer having a legal target.
- 4Cast the creature from exile by paying due to Semblance Anvil.
- 5Repeat.
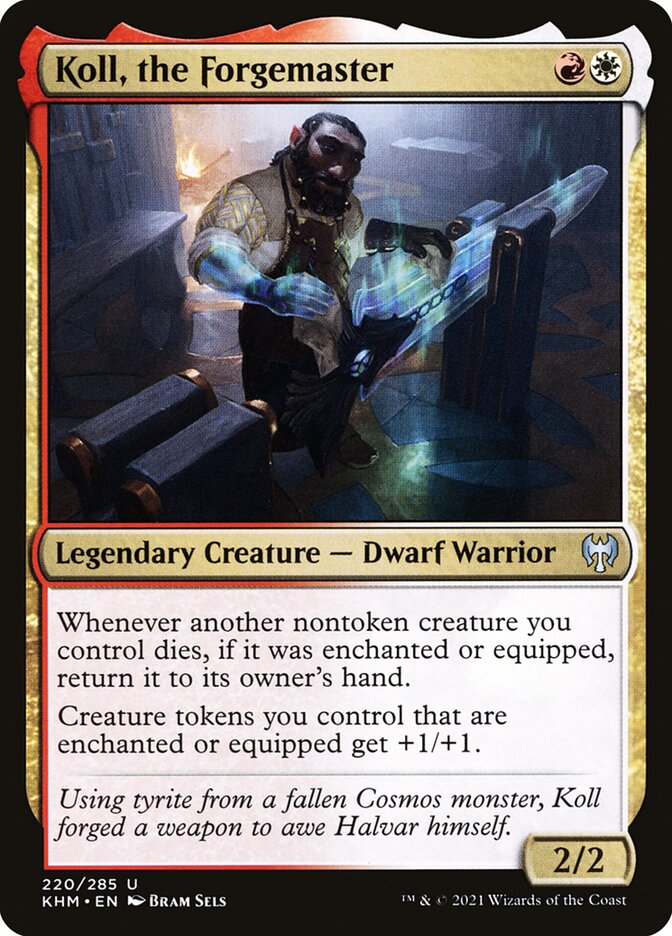
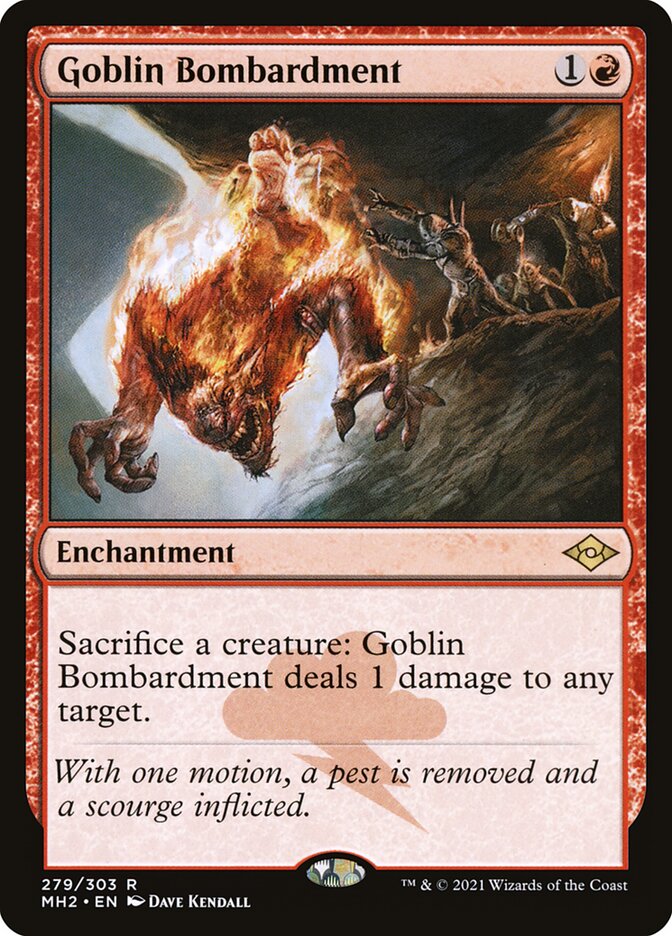
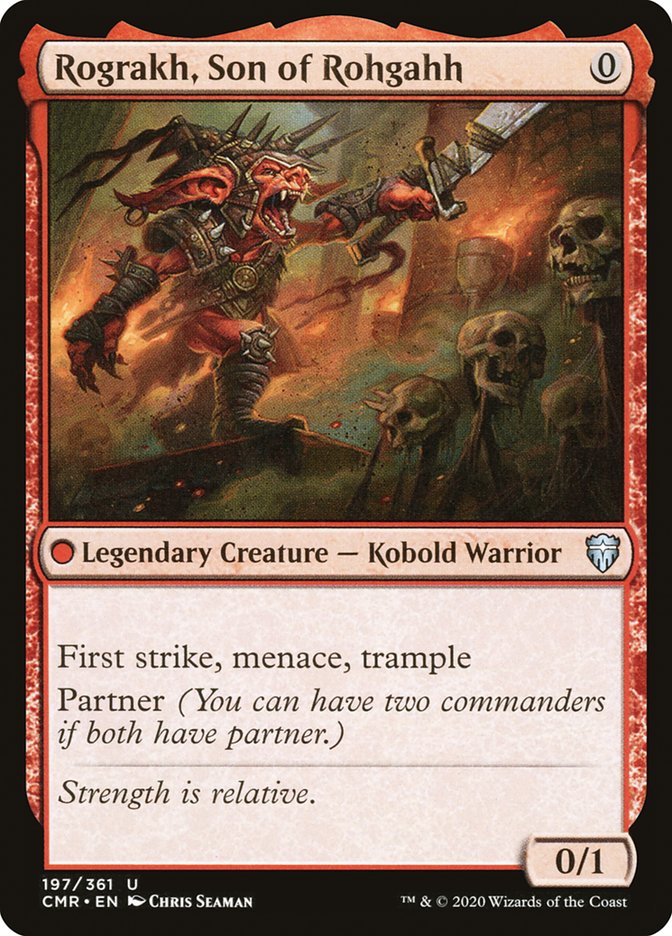
Koll, the Forgemaster + Goblin Bombardment + Grafted Wargear + Rograkh, Son of Rohgahh
- 1Equip Rograkh with Grafted Wargear.
- 2Sacrifice Rograkh to Goblin Bombardment to deal 1 damage to any target.
- 3Koll triggers, returning Rograkh to you hand.
- 4Cast Rograkh.
- 5Repeat.
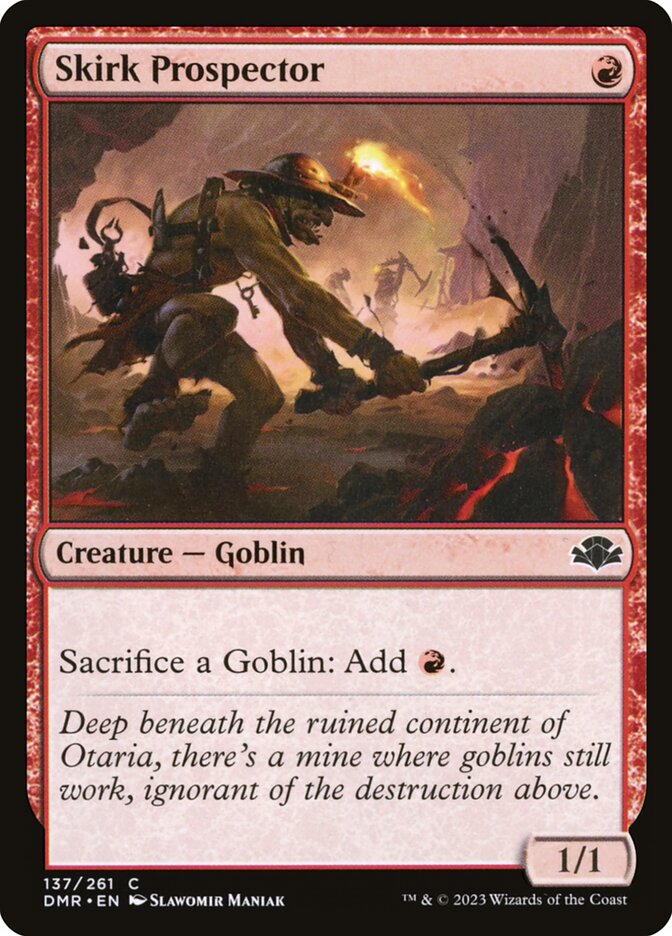
Koll, the Forgemaster + Skirk Prospector + Grafted Wargear
- 1Activate Grafted Wargear's equip ability by paying , attaching it to Skirk Prospector.
- 2Activate Skirk Prospector by sacrificing it, adding
 .
- 3When Skirk Prospector dies, Koll triggers, returning Skirk Prospector from your graveyard to your hand.
- 4Cast Skirk Prospector by paying .
- 5Repeat.
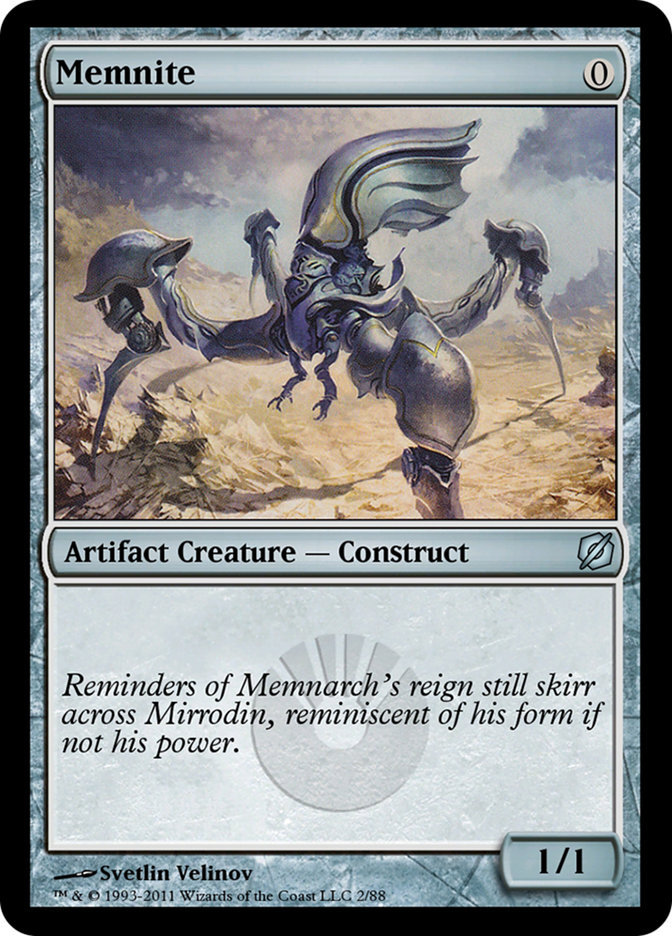
Koll, the Forgemaster + Goblin Bombardment + Grafted Wargear + Memnite
- 1Equip Memnite with Grafted Wargear.
- 2Sacrifice Memnite to Goblin Bombardment to deal 1 damage to any target.
- 3Koll triggers, returning Memnite to you hand.
- 4Cast Memnite.
- 5Repeat.
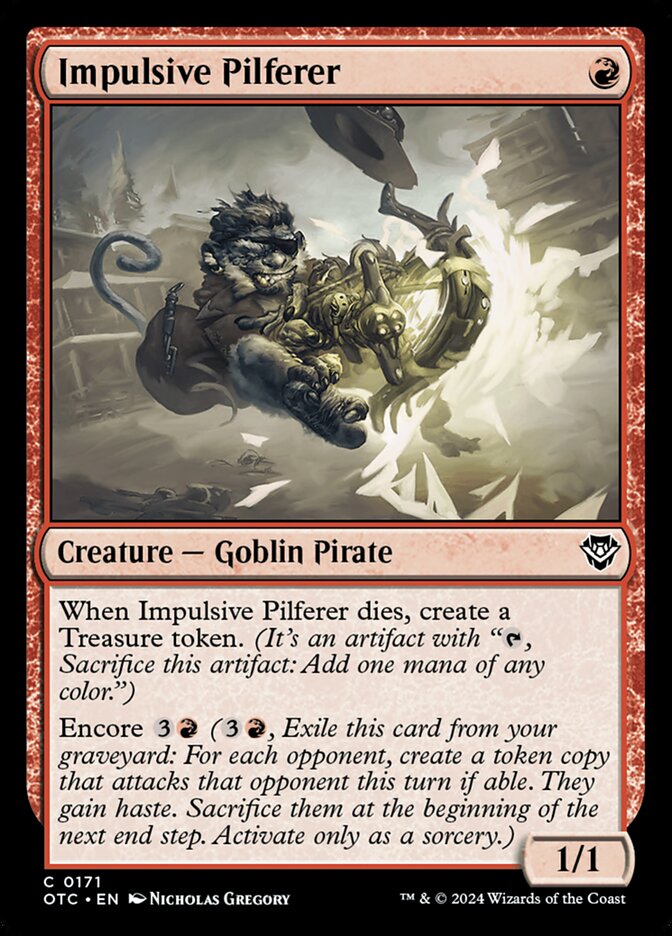
Koll, the Forgemaster + Goblin Bombardment + Grafted Wargear + Impulsive Pilferer
- 1Equip Impulsive Pilferer with Grafted Wargear.
- 2Sacrifice Impulsive Pilferer to Goblin Bombardment to deal 1 damage to any target.
- 3Impulsive Pilferer triggers, creating a Treasure token.
- 4Koll triggers, returning Impulsive Pilferer to you hand.
- 5Sacrifice the Treasure token for .
- 6Cast Impulsive Pilferer.
- 7Repeat.
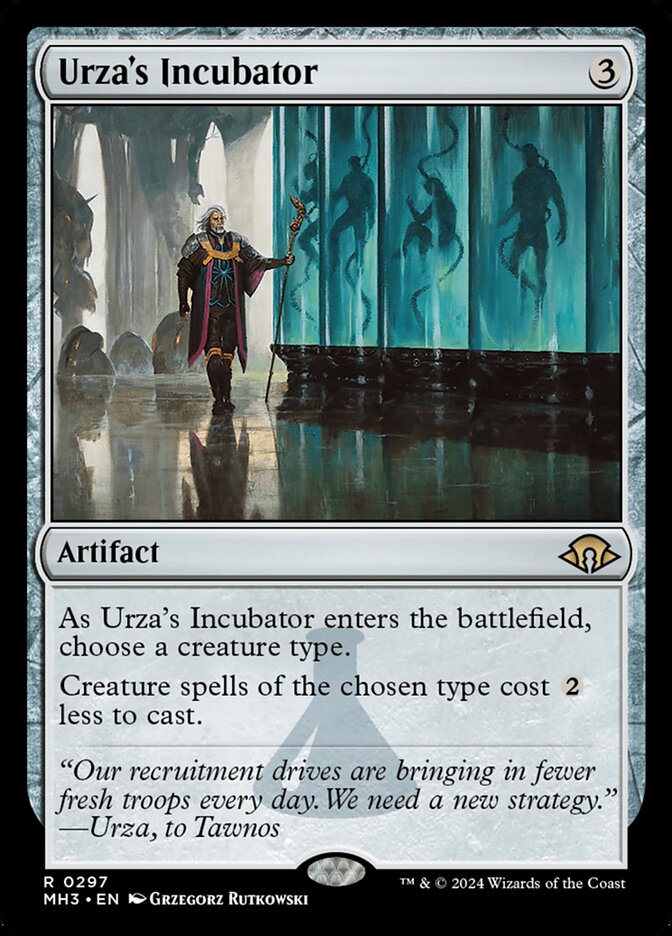
Monk Gyatso + Urza's Incubator + Grafted Wargear
- 1Activate Grafted Wargear's equip ability by paying , targeting another nontoken creature you control.
- 2Monk Gyatso triggers, airbending the targeted creature.
- 3The Grafted Wargear ability fizzles due to no longer having a legal target.
- 4Cast the creature from exile by paying due to Urza's Incubator.
- 5Repeat.
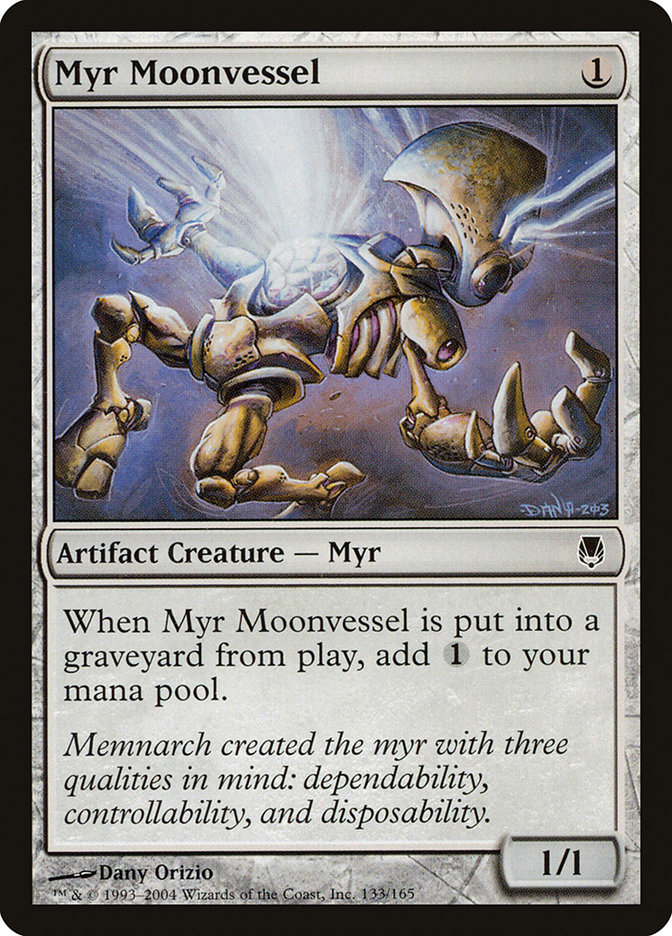
Koll, the Forgemaster + Goblin Bombardment + Grafted Wargear + Myr Moonvessel
- 1Equip Myr Moonvessel with Grafted Wargear.
- 2Sacrifice Myr Moonvessel to Goblin Bombardment to deal 1 damage to any target.
- 3Myr Moonvessel triggers, adding
 .
- 4Koll triggers, returning Myr Moonvessel to you hand.
- 5Cast Myr Moonvessel.
- 6Repeat.
Legal formats
Commentaires
- Sois le premier à commenter cette carte.
Read next
Meta decks with Grafted Wargear
No archived Top 8 deck with this card yet.