

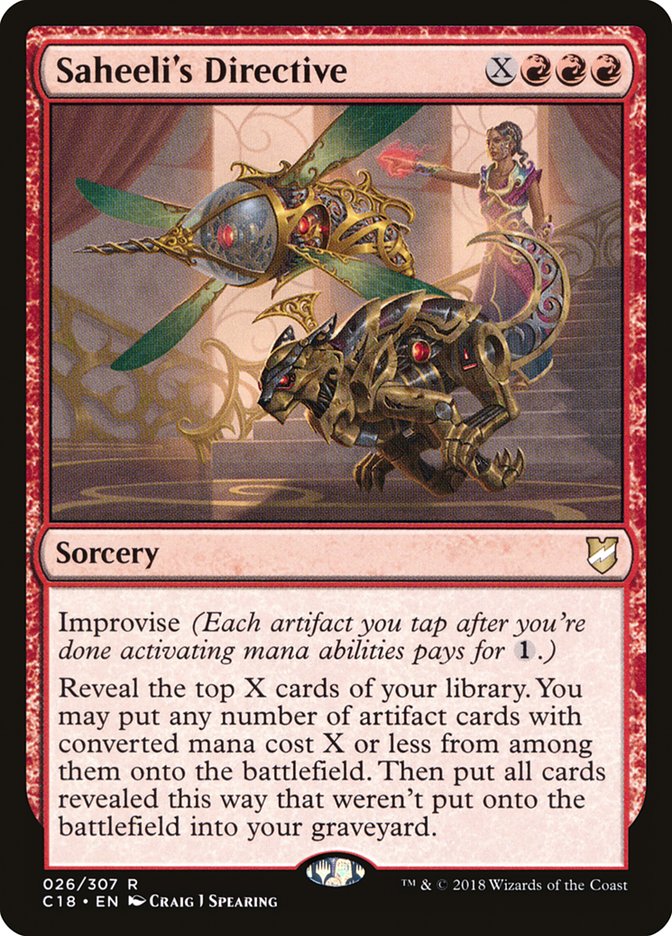
Saheeli's Directive is one of those cards players keep asking about. Here is, in plain words, what its official text says, the rulings published by Wizards of the Coast, and the combos players actually run.
Official card text
Improvise (Each artifact you tap after you're done activating mana abilities pays for.) Reveal the top X cards of your library. You may put any number of artifact cards with mana value X or less from among them onto the battlefield. Then put all cards revealed this way that weren't put onto the battlefield into your graveyard.
Complete guide
Saheeli's Directive is a powerful Red sorcery that lets you dig through your library for artifacts, scaling up based on how much mana—and how many artifacts—you can invest. By utilizing the Improvise mechanic, you can turn your utility items and tokens into a massive board state in a single turn. It is a signature 'big mana' payoff for artifact-heavy decks.
What It Does
Saheeli's Directive allows you to look at the top X cards of your library and cheat any number of artifacts found there directly onto the battlefield. The only restriction is that each individual artifact must have a mana value of X or less. Any revealed cards that aren't artifacts, or that you choose not to play, are put into your graveyard.
How to Cast and Resolve
First, announce the spell and choose a value for X. The total cost becomes {X} plus {R}{R}{R}. After mana abilities are activated, you use Improvise: each artifact you tap pays for {1} of the {X} cost. Note that you cannot use Improvise to pay for the three Red mana pips. Upon resolution, you reveal the cards and select your artifacts. All chosen artifacts enter the battlefield simultaneously, meaning their 'enters-the-battlefield' triggers will see one another.
Common Mistakes
A common misconception is that the total mana value of the artifacts you choose cannot exceed X. In reality, Saheeli's Directive only checks each individual card; if X is 3, you could put ten different 3-mana artifacts onto the field if you reveal them. Also, remember that if you sacrifice an artifact to generate mana (like a Treasure), you cannot tap that same artifact for Improvise because it is no longer on the battlefield when costs are paid.
When to Play It
This spell is best cast when you have a high volume of artifacts to tap for Improvise, allowing you to keep your lands untapped for the triple Red requirement. It is a fantastic late-game finisher or a way to recover after a board wipe, especially in decks that can fill the graveyard or benefit from cards being put there.
Interaction examples
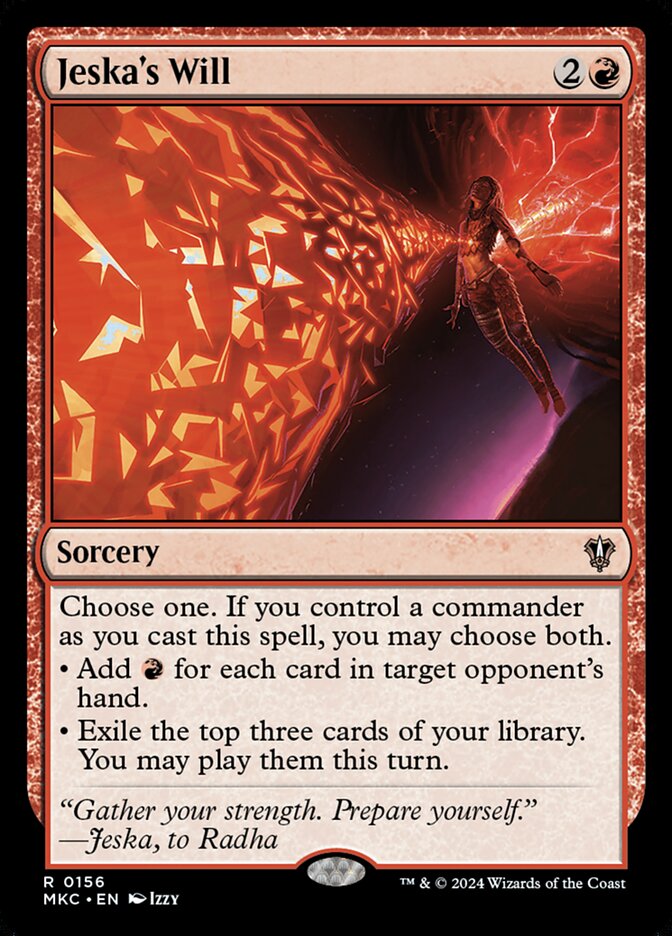 Jeska's Will
If you cast Jeska's Will while an opponent has seven cards in hand, you add seven Red mana. You can then use this mana to cast Saheeli's Directive where X is 4. Since you spent three Red mana for the {R}{R}{R} and the remaining four Red mana for the {X}, you reveal the top four cards of your library and can put any artifacts with mana value 4 or less onto the battlefield.
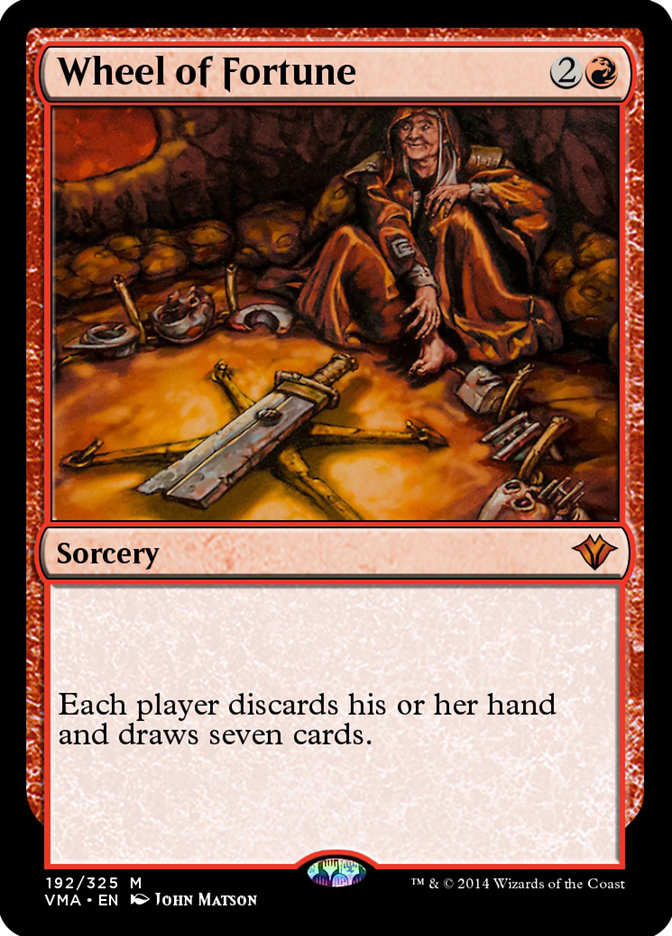 Wheel of Fortune
After casting Wheel of Fortune to refresh your hand and potentially discard artifact pieces, you might find yourself with many untapped artifacts. You can choose X=5 for Saheeli's Directive, tapping five artifacts you control to pay the {X} cost entirely. You then reveal five cards, putting any artifacts among them that cost 5 or less into play, and the rest into your graveyard to join the cards discarded by the Wheel.
Guide written with AI from the official text and rulings. Official English text prevails.
How it works : Saheeli's Directive
Original English text — Wizards of the Coast / Scryfall
- #1· Wizards of the Coast
Saheeli's Directive considers the individual mana values of the artifact cards you reveal. The sum of their mana values may be greater than X.
No other card is named in this ruling.
- #2· Wizards of the Coast
If a card in your library has
 in its mana cost, X is considered to be 0.
No other card is named in this ruling.
- #3· Wizards of the Coast
All of the artifacts put onto the battlefield this way enter at the same time. If any have triggered abilities that trigger on something else entering the battlefield, they'll see each other.
No other card is named in this ruling.
- #4· Wizards of the Coast
Improvise doesn't change a spell's mana cost or mana value.
No other card is named in this ruling.
- #5· Wizards of the Coast
When calculating a spell's total cost, include any alternative costs, additional costs, or anything else that increases or reduces the cost to cast the spell. Improvise applies after the total cost is calculated.
No other card is named in this ruling.
- #6· Wizards of the Coast
Improvise can't pay for
 ,
 ,
 ,
 ,
 , or
 mana symbols in a spell's total cost.
No other card is named in this ruling.
- #7· Wizards of the Coast
Improvise can't be used to pay for anything other than the cost of casting the spell. For example, it can't be used during the resolution of an ability that says "Counter target spell unless its controller pays
 ."
No other card is named in this ruling.
- #8· Wizards of the Coast
If an artifact you control has a mana ability with
 in the cost, activating that ability while casting a spell with improvise will result in the artifact being tapped when you pay the spell's costs. You won't be able to tap it again for improvise. Similarly, if you sacrifice an artifact to activate a mana ability while casting a spell with improvise, that artifact won't be on the battlefield when you pay the spell's costs, so you won't be able to tap it for improvise.
No other card is named in this ruling.
- #9· Wizards of the Coast
Tapping an artifact won't cause its abilities to stop applying unless those abilities say so.
No other card is named in this ruling.
- #10· Wizards of the Coast
Equipment attached to a creature doesn't become tapped when that creature becomes tapped, and tapping that Equipment doesn't cause the creature to become tapped.
No other card is named in this ruling.
- #11· Wizards of the Coast
When using improvise to cast a spell with
in its mana cost, first choose the value for X. That choice, plus any cost increases or decreases, will determine the spell's total cost. Then you can tap artifacts you control to help pay that cost. For example, if you cast Saheeli's Directive and choose X to be 3, the total cost is . If you tap two artifacts, you'll have to pay .No other card is named in this ruling.
Legal formats
Commentaires
- Sois le premier à commenter cette carte.
Read next
Meta decks with Saheeli's Directive
No archived Top 8 deck with this card yet.