

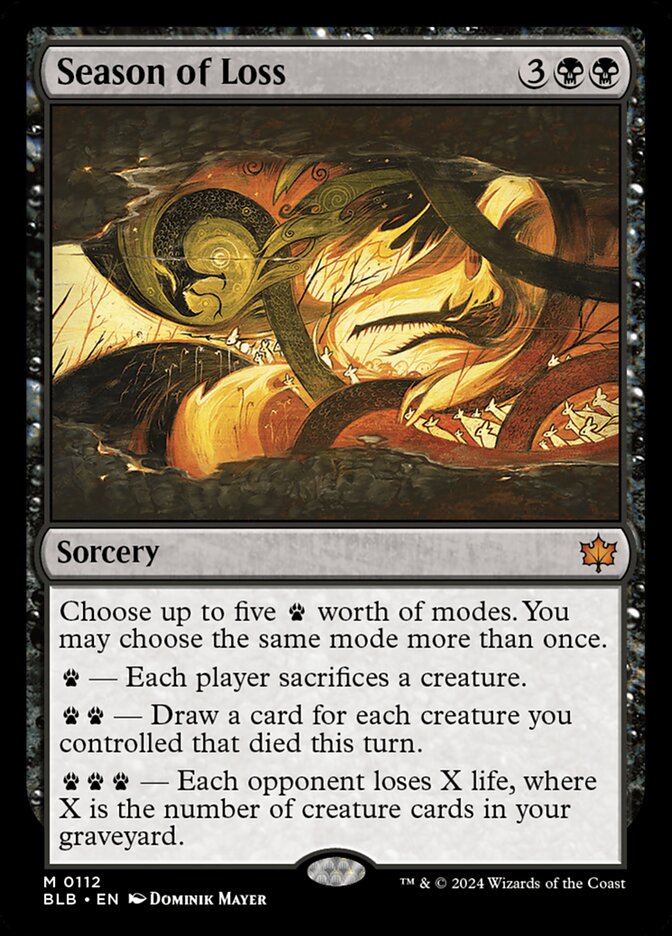
Season of Loss is one of those cards players keep asking about. Here is, in plain words, what its official text says, the rulings published by Wizards of the Coast, and the combos players actually run.
Official card text
Choose up to fiveworth of modes. You may choose the same mode more than once.
Complete guide
Season of Loss is a versatile black sorcery that utilizes the pawprint system to provide a custom toolkit of destruction and value. Depending on your graveyard size and the state of the board, you can tailor this spell to clear threats, refill your hand, or deliver a lethal blow.
Choosing Your Modes
When you cast Season of Loss, you have five pawprint symbols to spend. You select from three distinct options: sacrificing creatures for one pawprint, drawing cards based on deaths for two pawprints, or draining life for three. You may choose the same mode multiple times, provided the total cost does not exceed five pawprints.
Resolving the Season
The spell always resolves in the order the modes are printed on the card, regardless of how many times you chose them. First, players sacrifice creatures. If you chose this mode multiple times, you repeat the sacrifice process sequentially. Second, you draw cards based on the total number of creatures that died under your control throughout the entire turn. Finally, each opponent loses life based on the count of creature cards in your graveyard at that specific moment.
Strategic Execution
Timing is everything with Season of Loss. Because the draw mode counts every creature that died under your control this turn, it is often beneficial to cast this after a combat phase or another board wipe. Note that players cannot act between the different modes of the spell; once Season of Loss begins resolving, all sacrifices, draws, and life loss happen before anyone receives priority again.
Interaction examples
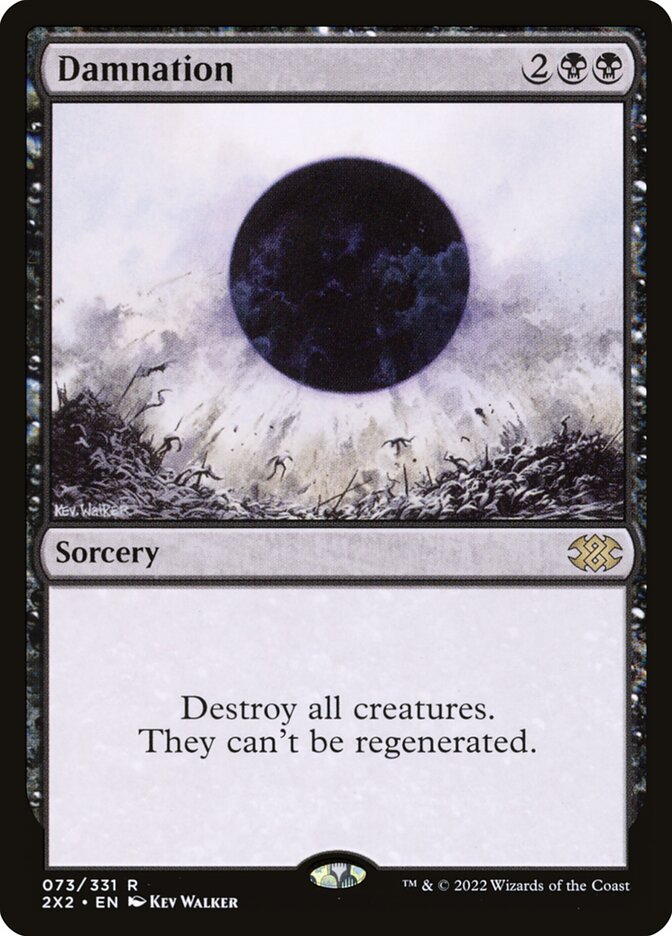 Damnation
If you control three creatures and cast Damnation, those creatures die. If you then cast Season of Loss using the two-pawprint mode twice, you will draw six cards total (three for each instance of the mode). Even though the creatures died to a previous spell, Season of Loss checks the entire turn's history.
 Living Death
After resolving Living Death, you may have a graveyard full of creatures that were just sacrificed from the battlefield. If you then cast Season of Loss and spend three pawprints on the final mode, your opponents will lose life based on that newly filled graveyard. If you also used the remaining two pawprints on the sacrifice mode twice, everyone sacrifices two more creatures, further fueling your death triggers.
Guide written with AI from the official text and rulings. Official English text prevails.
How it works : Season of Loss
Original English text — Wizards of the Coast / Scryfall
- #1· Wizards of the Coast
When you're following the instructions from the first mode, first the player whose turn it is chooses which creature they're going to sacrifice, then each other player in turn order does the same. Players will know the choices of previous players when making their choices. Then all chosen creatures are sacrificed by their controllers simultaneously. Repeat this process for each additional time the first mode was chosen.
No other card is named in this ruling.
- #2· Wizards of the Coast
The pawprint symbol does not represent a cost, mana, counters, or any kind of persistent resource. You can't "save up" pawprint symbols from one Season spell to use on a future one, mostly because there isn't anything concrete to save up. They're just pawprints.
No other card is named in this ruling.
- #3· Wizards of the Coast
You don't have to choose modes that add up to exactly five pawprints. For example, you could choose the two pawprint mode twice and leave it at that. You could even choose no modes at all. You probably shouldn't, but you could.
No other card is named in this ruling.
- #4· Wizards of the Coast
You choose the modes as you cast the spell. Once modes are chosen, they can't be changed.
No other card is named in this ruling.
- #5· Wizards of the Coast
If a mode requires a target, you can select that mode only if there's a legal target available. Ignore the targeting requirements for modes you don't choose. Each time you select that mode, you can choose a different target, or you can choose the same target.
No other card is named in this ruling.
- #6· Wizards of the Coast
No matter which combination of modes you choose, you always follow the instructions of a Season in the order they are written. If the same mode is chosen more than once, you choose their relative order as you cast the spell.
No other card is named in this ruling.
- #7· Wizards of the Coast
No player can cast spells or activate abilities in between the modes of a resolving spell.
No other card is named in this ruling.
- #8· Wizards of the Coast
If a Season is copied, the effect that creates the copy will usually allow you to choose new targets, but you can't choose new modes.
No other card is named in this ruling.
- #9· Wizards of the Coast
If all targets for the chosen modes become illegal before the Season resolves, the spell won't resolve and none of its effects will happen. If at least one target is still legal, the spell will resolve but will have no effect on any illegal targets.
No other card is named in this ruling.
Legal formats
Commentaires
- Sois le premier à commenter cette carte.
Read next
Meta decks with Season of Loss
No archived Top 8 deck with this card yet.