

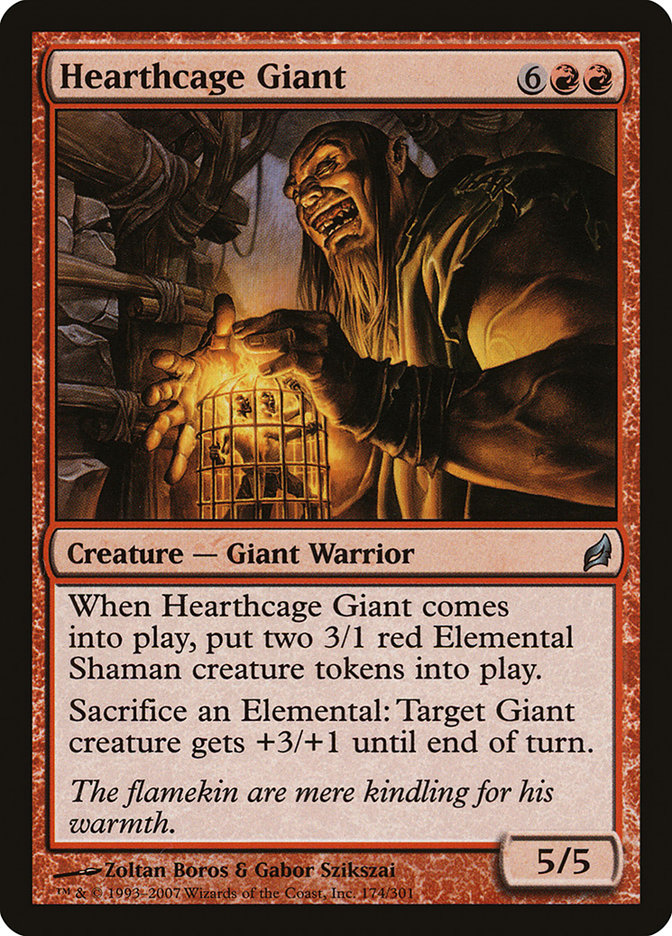
Hearthcage Giant is one of those cards players keep asking about. Here is, in plain words, what its official text says, the rulings published by Wizards of the Coast, and the combos players actually run.
Official card text
When this creature enters, create two 3/1 red Elemental Shaman creature tokens. Sacrifice an Elemental: Target Giant creature gets +3/+1 until end of turn.
Complete guide
Hearthcage Giant is a powerful endgame threat that brings its own army to the battlefield. This massive Giant Warrior specializes in leading Elemental allies, turning them into fuel to increase its already formidable physical power.
What Hearthcage Giant Does
When Hearthcage Giant enters the battlefield, its triggered ability puts two 3/1 red Elemental Shaman creature tokens onto the field. Additionally, it possesses an activated ability that allows you to sacrifice any Elemental you control to grant a target Giant creature +3/+1 until the end of the turn. This makes the Giant a modular threat that can deal massive damage by consuming its own tokens or other Elementals you might have.
Resolving the Trigger and Ability
Step 1: The Giant enters the battlefield, and its 'enters' ability is put on the stack. Step 2: Once the ability resolves, you create two 3/1 Elemental Shaman tokens. Step 3: At any time you have priority, you may pay the cost of the second ability by sacrificing an Elemental. Step 4: You choose a target Giant (such as Hearthcage Giant itself) and the ability goes on the stack. Step 5: When it resolves, the chosen Giant gains the power and toughness boost.
Common Mistakes to Avoid
One common mistake is forgetting that Hearthcage Giant's sacrifice ability can target any Giant, not just itself. Another important detail is that the tokens it creates are both Elementals and Shamans; however, the sacrifice cost only cares that the creature has the Elemental type. Finally, remember that the +3/+1 bonus only lasts until the end of the current turn, so time your sacrifices during the declare blockers step or in response to damage for maximum impact.
When to Play Hearthcage Giant
This card is best used in the late game when you need to stabilize the board or push for a lethal attack. Since it creates 9 total power across three bodies for 8 mana, it provides immediate board presence. It is especially effective if you have other ways to generate Elemental tokens or if you have Giant creatures with Trample that can make better use of the power buff.
Interaction examples
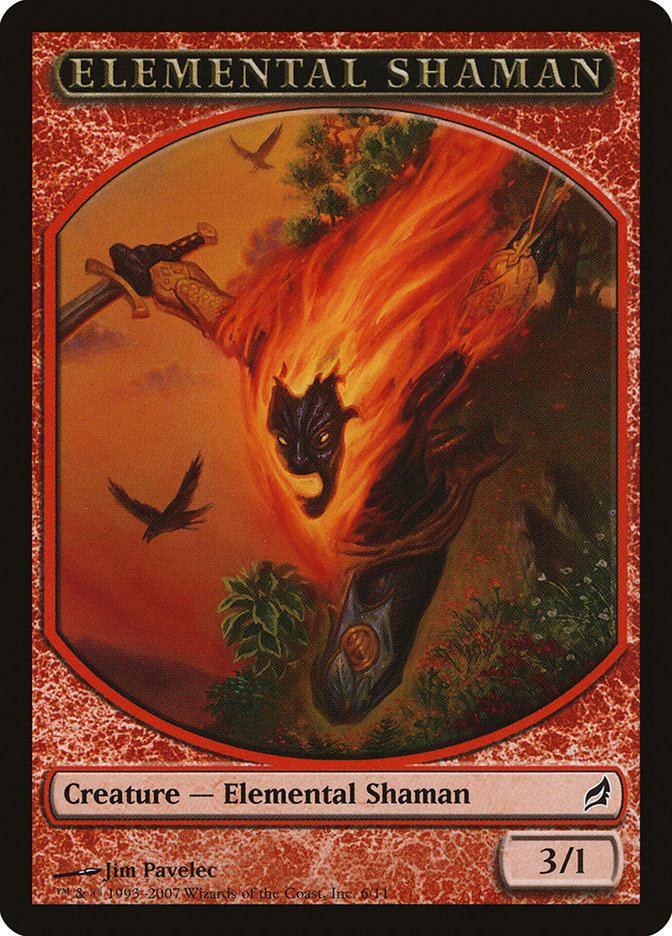 Elemental Shaman
After Hearthcage Giant enters, you have two Elemental Shaman tokens. If your opponent does not block the Giant, you can sacrifice both tokens to the Giant's ability. This gives the Giant a total of +6/+2, turning it into an 11/8 attacker for the turn.
 Meteor Golem
If you play Hearthcage Giant followed by Meteor Golem, you control two high-cost creatures. While Meteor Golem can destroy a permanent, it is a Golem, not a Giant. Hearthcage Giant cannot use its sacrifice ability to buff the Meteor Golem, though the Giant can still sacrifice its Elemental tokens to buff itself.
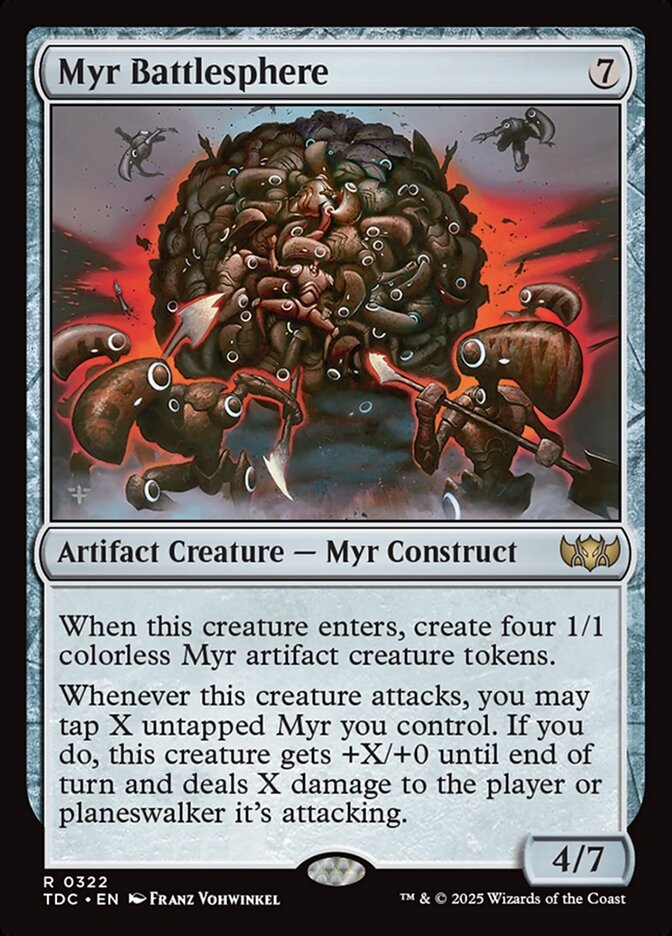 Myr Battlesphere
Both cards create tokens upon entering. Myr Battlesphere creates Myr tokens and can tap them for a bonus, whereas Hearthcage Giant creates Elemental tokens and must sacrifice them for a bonus. Note that you cannot sacrifice the Myr tokens from Myr Battlesphere to Hearthcage Giant because they lack the Elemental creature type.
Guide written with AI from the official text and rulings. Official English text prevails.
How it works : Hearthcage Giant
Original English text — Wizards of the Coast / Scryfall
No additional ruling has been published for this card.
Related cards and tokens
Legal formats
Commentaires
- Sois le premier à commenter cette carte.
Read next
Meta decks with Hearthcage Giant
No archived Top 8 deck with this card yet.