

Moldervine Reclamation is one of those cards players keep asking about. Here is, in plain words, what its official text says, the rulings published by Wizards of the Coast, and the combos players actually run.
Official card text
Whenever a creature you control dies, you gain 1 life and draw a card.
Complete guide
Moldervine Reclamation is a powerful engine for any deck that plans to sacrifice its own creatures for profit. This Golgari enchantment ensures that every loss on your battlefield translates directly into card advantage and a higher life total. Whether you are trading in combat or feeding a sacrifice outlet, your creatures become even more valuable in death.
A Constant Flow of Resources
The core function of Moldervine Reclamation is its triggered ability that reacts to a creature you control dying. In Magic terminology, 'dies' means a creature is put into a graveyard from the battlefield. Each time this occurs, you gain 1 life and draw one card. Because this is a triggered ability, it uses the stack and can be responded to by players, but it will trigger for every single creature that meets the criteria, even if many die at once.
Simultaneous Events
A key interaction to remember is how the game handles simultaneous destruction. If a board wipe destroys Moldervine Reclamation at the same time as several creatures you control, the enchantment 'sees' those creatures leaving and will trigger for each one. However, be careful with your life total. If a creature dies at the same time your life hits zero, the game ends immediately due to state-based actions before the healing trigger can resolve.
When to Field the Reclamation
This card is best played when you have a reliable way to cycle through creatures. While it costs five mana, its impact is felt immediately if you have a sacrifice outlet ready. It is particularly effective against aggressive decks where the incremental life gain can stabilize your position while you dig for answers.
Interaction examples
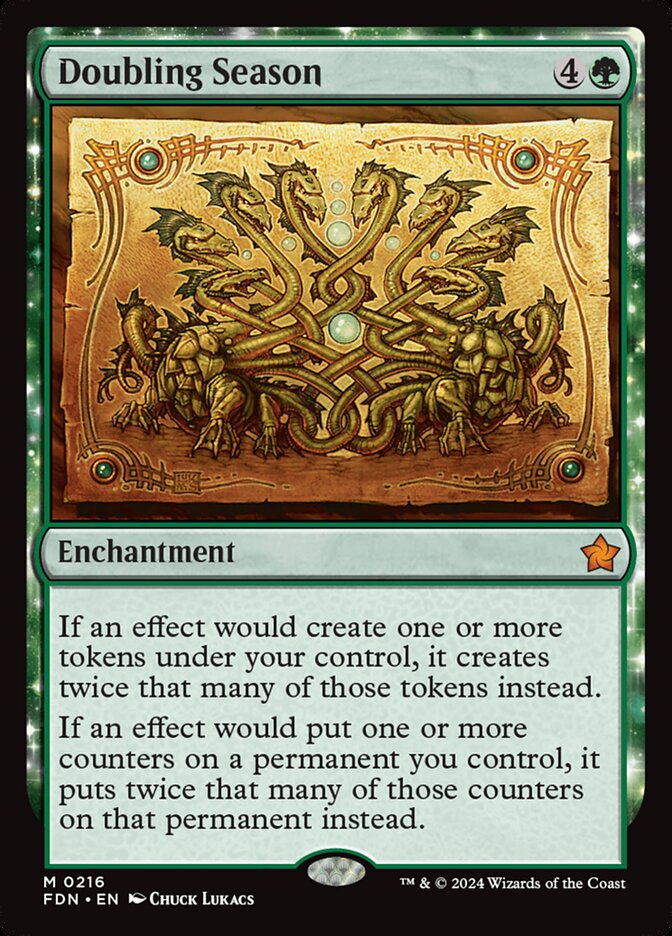 Doubling Season
If you have Doubling Season on the battlefield and create two tokens, those tokens are treated as creatures you control. When those tokens die, Moldervine Reclamation triggers for each of them. While Doubling Season doesn't double the card draw or life gain itself, it provides twice as many 'bodies' to trigger the Reclamation, effectively doubling your total resource intake over time.
 Guardian Project
With both enchantments out, you create a complete loop of value. When you play a nontoken creature that doesn't share a name with one on your field or in your grave, Guardian Project triggers to let you draw a card. When that same creature eventually dies, Moldervine Reclamation triggers, gaining you 1 life and drawing you a second card. This allows you to replace every creature card in your hand both when it enters and when it leaves the battlefield.
Guide written with AI from the official text and rulings. Official English text prevails.
How it works : Moldervine Reclamation
Original English text — Wizards of the Coast / Scryfall
- #1· Wizards of the Coast
If Moldervine Reclamation leaves the battlefield at the same time that one or more creatures you control die, its ability triggers for each of those creatures.
No other card is named in this ruling.
- #2· Wizards of the Coast
If a creature you control dies at the same time that your life total becomes 0 or less, you lose the game before Moldervine Reclamation's ability can save you.
No other card is named in this ruling.
Popular combos
Real combos played by the community, sorted by popularity.


Warren Soultrader + Chatterfang, Squirrel General + Moldervine Reclamation
- 1Activate Warren Soultrader by paying 1 life and sacrificing another creature.
- 2When the creature dies, Moldervine Reclamation triggers, causing you to gain 1 life and draw a card.
- 3Resolve the Warren Soultrader ability, creating a Treasure token and a 1/1 Squirrel creature token.
- 4Repeat.


Warren Soultrader + Pitiless Plunderer + Reassembling Skeleton + Moldervine Reclamation
- 1Activate Warren Soultrader by paying 1 life and sacrificing Reassembling Skeleton.
- 2When Reassembling Skeleton dies, Moldervine Reclamation and Pitiless Plunderer trigger.
- 3Resolve the Moldervine Reclamation trigger, causing you to gain 1 life and draw a card.
- 4Resolve the Pitiless Plunderer trigger, creating a Treasure token.
- 5Resolve the Warren Soultrader ability, creating a Treasure token.
- 6Activate the Treasures by tapping and sacrificing them, adding

 .
- 7Activate Reassembling Skeleton by paying , returning it from your graveyard to the battlefield.
- 8Repeat.

Warren Soultrader + Gravecrawler + Moldervine Reclamation
- 1Activate Warren Soultrader by paying 1 life and sacrificing Gravecrawler.
- 2When Gravecrawler dies, Moldervine Reclamation triggers, causing you to gain 1 life and target opponent to lose 1 life.
- 3Resolve the Warren Soultrader ability, creating a Treasure token.
- 4Activate the Treasure by tapping and sacrificing it, adding .
- 5Cast Gravecrawler from your graveyard by paying .
- 6Repeat.

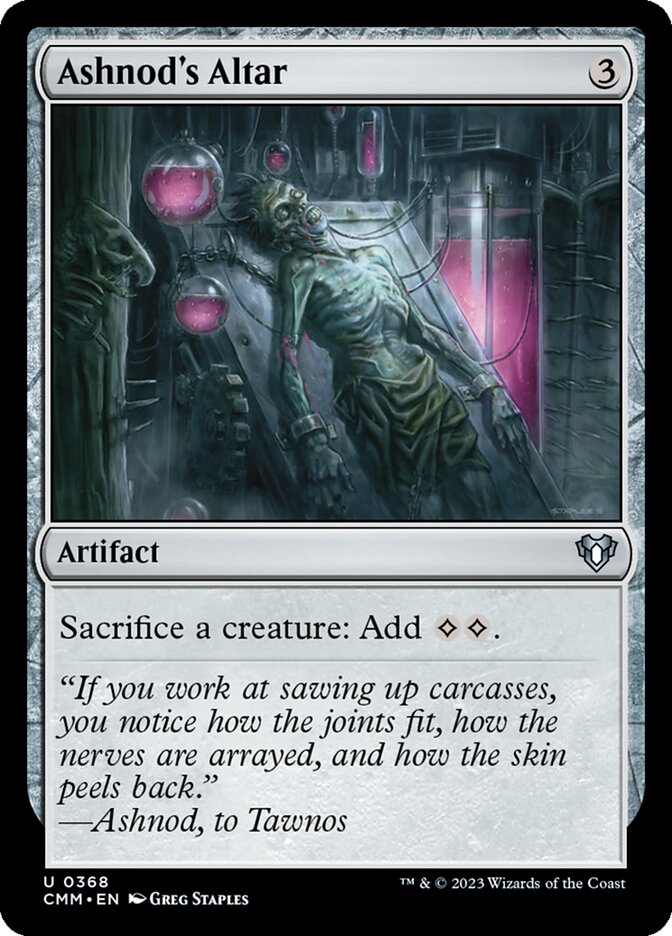
Trudge Garden + Ashnod's Altar + Moldervine Reclamation
- 1Gain any amount of life.
- 2Trudge Garden triggers, causing you to pay
 to create a 4/4 Fungus Beast creature token.
- 3Activate Ashnod's Altar by sacrificing the Fungus Beast, adding
 .
- 4When the Fungus Beast dies, Moldervine Reclamation triggers, causing you to gain 1 life and draw a card.
- 5Repeat from step 2.


Yawgmoth, Thran Physician + Hapatra, Vizier of Poisons + Moldervine Reclamation
- 1Activate Yawgmoth by paying 1 life and sacrificing a creature, targeting any creature an opponent controls.
- 2When the sacrificed creature dies, Moldervine Reclamation triggers, causing you to gain 1 life and draw a card
- 3Resolve the Yawgmoth ability, putting a -1/-1 counter on a creature an opponent controls, and causing you to draw a card.
- 4Hapatra triggers, creating a creature token.
- 5Repeat.

Yawgmoth, Thran Physician + Nest of Scarabs + Moldervine Reclamation
- 1Activate Yawgmoth by paying 1 life and sacrificing a creature, targeting any creature an opponent controls.
- 2When the sacrificed creature dies, Moldervine Reclamation triggers, causing you to gain 1 life and draw a card
- 3Resolve the Yawgmoth ability, putting a -1/-1 counter on a creature an opponent controls, and causing you to draw a card.
- 4Nest of Scarabs triggers, creating a creature token.
- 5Repeat.

Yawgmoth, Thran Physician + Flourishing Defenses + Moldervine Reclamation
- 1Activate Yawgmoth by paying 1 life and sacrificing a creature, targeting any creature an opponent controls.
- 2When the sacrificed creature dies, Moldervine Reclamation triggers, causing you to gain 1 life and draw a card
- 3Resolve the Yawgmoth ability, putting a -1/-1 counter on a creature an opponent controls, and causing you to draw a card.
- 4Flourishing Defenses triggers, creating a creature token.
- 5Repeat.


Veinwitch Coven + Moldervine Reclamation + Phyrexian Altar
- 1Activate Phyrexian Altar by sacrificing the one-drop creature, adding .
- 2When that creature dies, it and Moldervine Reclamation trigger.
- 3Resolve the creature's ability, creating a creature token.
- 4Resolve the Moldervine Reclamation ability, gaining 1 life and drawing a card.
- 5When you gain life, Veinwitch Coven triggers, causing you to pay to return the one-drop creature from your graveyard to your hand.
- 6Activate Phyrexian Altar by sacrificing the token creature, adding one colored mana.
- 7Cast the creature by paying one mana.
- 8Repeat.
Legal formats
Commentaires
- Sois le premier à commenter cette carte.
Read next
Meta decks with Moldervine Reclamation
No archived Top 8 deck with this card yet.