

Tolarian Academy is one of those cards players keep asking about. Here is, in plain words, what its official text says, the rulings published by Wizards of the Coast, and the combos players actually run.
Official card text
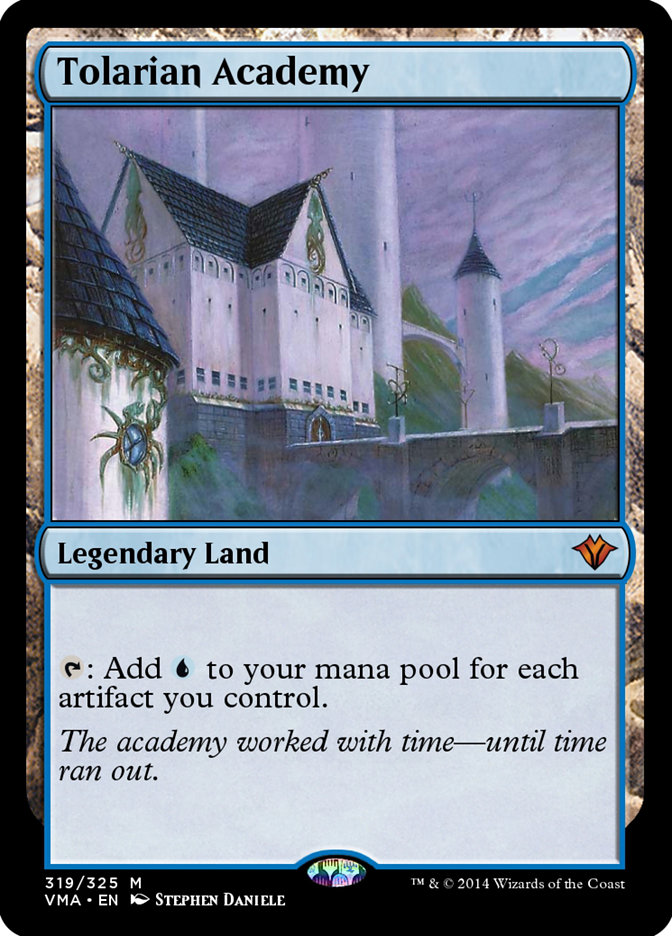
: Add
for each artifact you control.
Complete guide
Tolarian Academy is one of the most powerful lands ever printed, famously known for its ability to generate massive amounts of blue mana in artifact-heavy decks. As a legendary land, it rewards players for building a wide board state of trinkets, baubles, and machines. Understanding how its mana production scales is key to mastering your early and late game turns.
What It Does
Tolarian Academy is a land that taps for blue mana based on your artifact count. Unlike standard lands that provide a fixed amount of mana, the output of the Academy is dynamic. It checks the number of artifacts you control at the exact moment the ability resolves to determine how much {U} is added to your mana pool. Because it is a mana ability, it does not use the stack and cannot be responded to.
Step-by-Step Resolution
When you activate the ability, first verify that you still control the land. Second, count every permanent you control with the 'Artifact' type, including artifact creatures, equipment, and even artifact lands or tokens like Treasures. Third, add one blue mana ({U}) for each of those permanents to your mana pool. Finally, the mana stays in your pool until the current phase or step ends.
The Legendary Rule
A common mistake involves forgetting its 'Legendary' supertype. If you control a Tolarian Academy and another one enters the battlefield under your control, you must choose one to keep and put the other into its owner's graveyard as a state-based action. You cannot have two active on your board simultaneously to double your mana production.
When to Play It
This card is best played after you have established at least one or two artifacts to ensure it is better than a basic Island. In high-powered formats, it is often used to fuel expensive spells or activated abilities very early in the game. It is a prime target for land destruction, so timing your mana activation before an opponent can interact with your board is crucial.
Interaction examples
 Command Tower
If you have Tolarian Academy and Command Tower on the battlefield, the Academy currently taps for zero mana because you control no artifacts. Once you play an artifact, the Academy will produce {U}, while Command Tower continues to provide color fixed to your commander's identity.
 Exotic Orchard
If your opponent controls Tolarian Academy and you control Exotic Orchard, your Orchard can produce {U} because the Academy could produce blue mana. This remains true even if the opponent currently controls zero artifacts, as long as the ability itself has the potential to produce that color.
Guide written with AI from the official text and rulings. Official English text prevails.
How it works : Tolarian Academy
Original English text — Wizards of the Coast / Scryfall
No additional ruling has been published for this card.
Popular combos
Real combos played by the community, sorted by popularity.
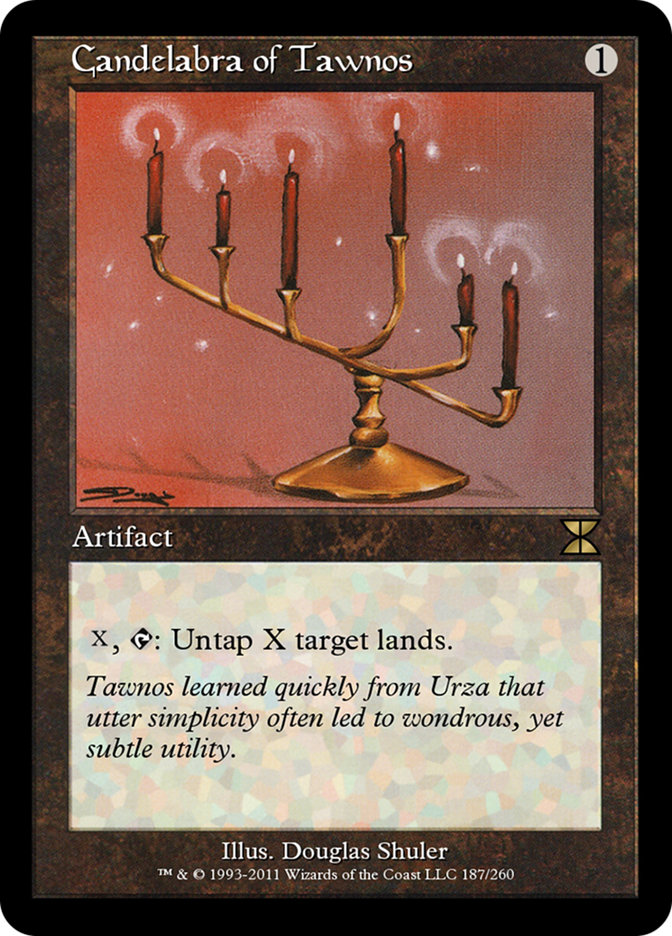
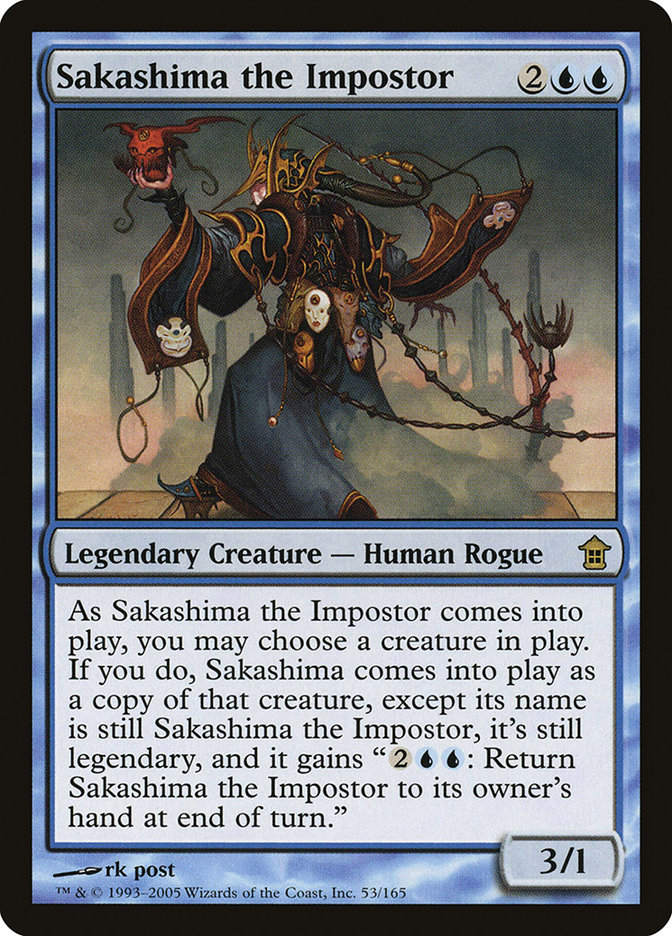
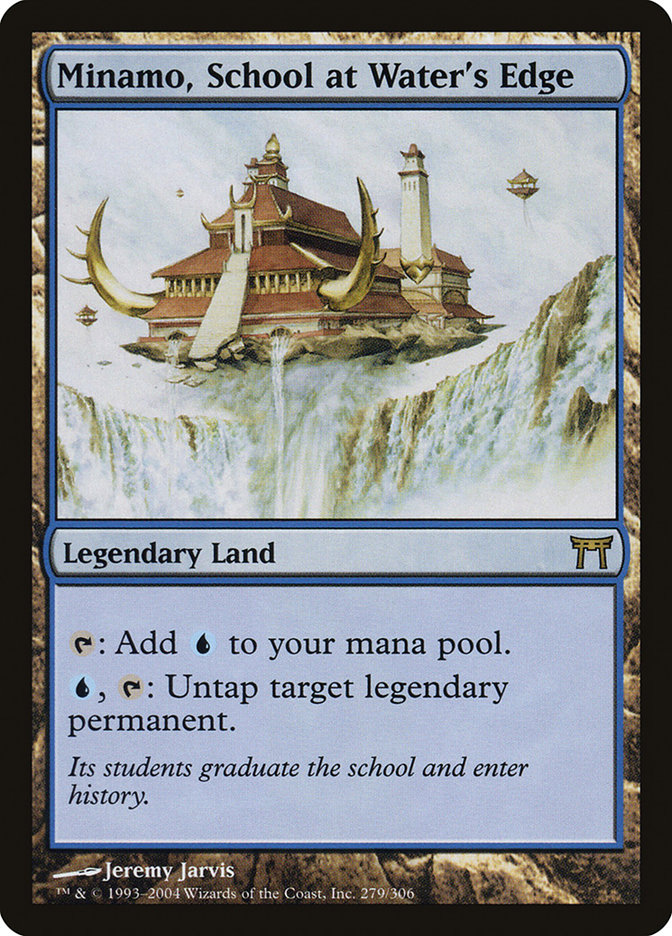
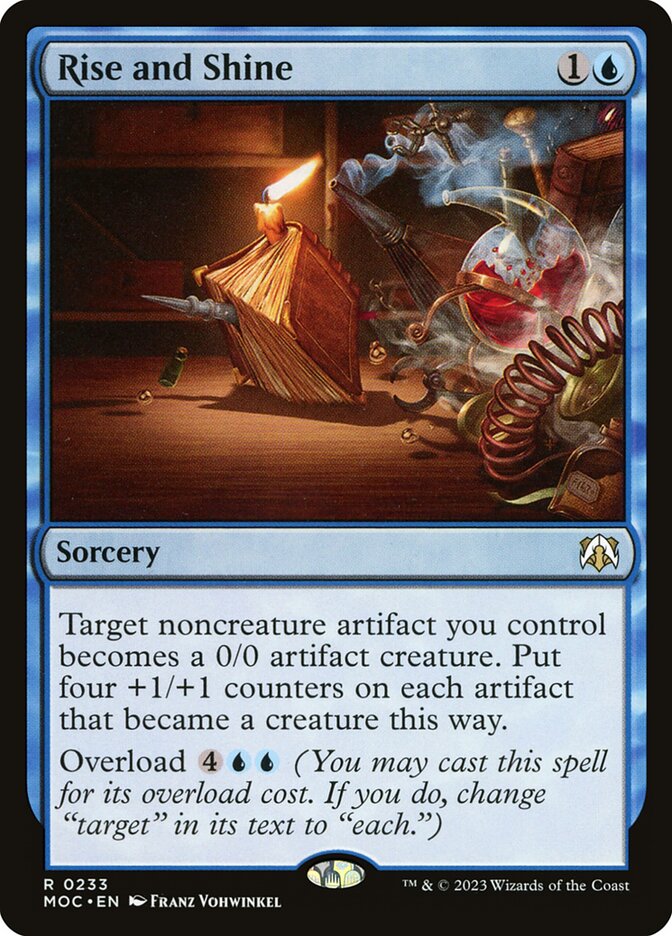
Candelabra of Tawnos + Sakashima the Impostor + Minamo, School at Water's Edge + Rise and Shine
- 1Animate Candelabra using Rise and Shine
- 2Cast Sakashima the Impostor by paying
 plus commander tax, if applicable. Choose to have it enter the battlefield as a copy of Candelabra of Tawnos that is still named Sakashima the Impostor and legendary.
- 3Activate Tolarian Academy by tapping it, adding at least .
- 4Activate Sakashima the Impostor by paying and tapping it, untapping Minamo and Tolarian Academy.
- 5Activate Minamo's second ability by paying , untapping Sakashima the Impostor.
- 6Repeat from step 3.
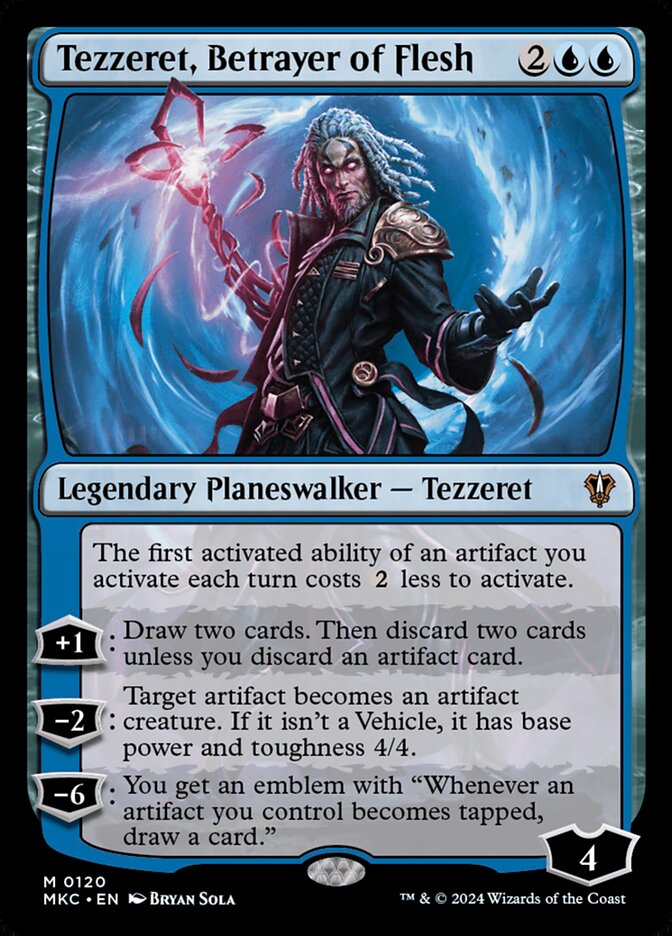
Candelabra of Tawnos + Sakashima the Impostor + Minamo, School at Water's Edge + Tezzeret, Betrayer of Flesh
- 1Animate Candelabra using Tezzeret
- 2Cast Sakashima the Impostor by paying plus commander tax, if applicable. Choose to have it enter the battlefield as a copy of Candelabra of Tawnos that is still named Sakashima the Impostor and legendary.
- 3Activate Tolarian Academy by tapping it, adding at least .
- 4Activate Sakashima the Impostor by paying and tapping it, untapping Minamo and Tolarian Academy.
- 5Activate Minamo's second ability by paying , untapping Sakashima the Impostor.
- 6Repeat from step 3.
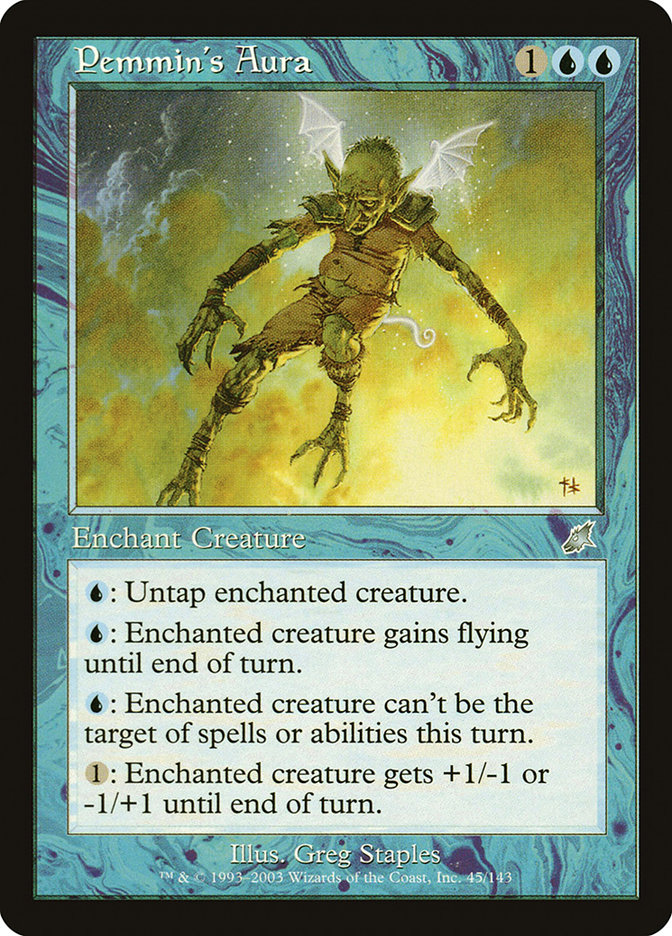
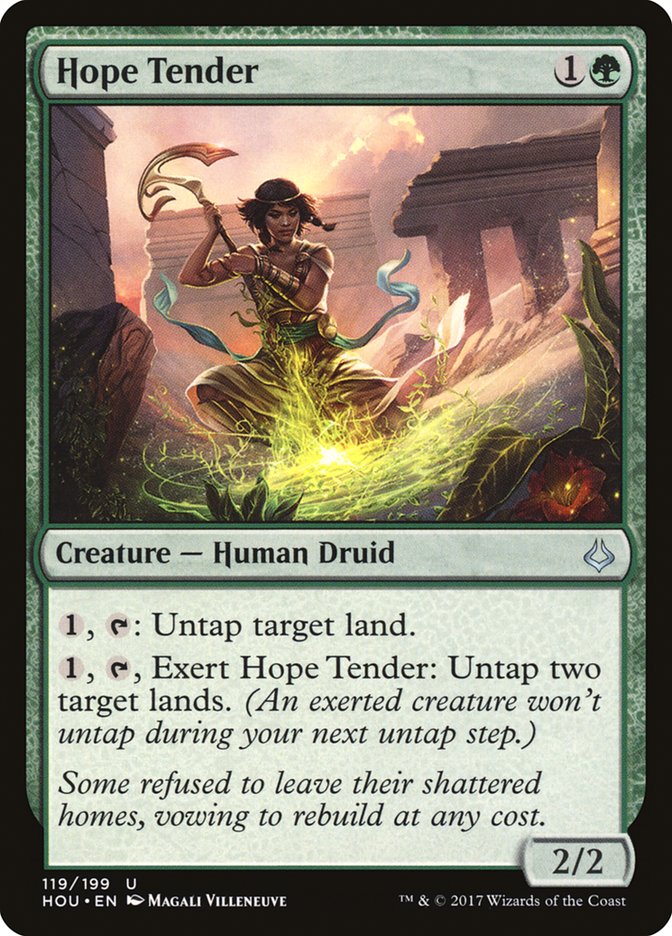
Pemmin's Aura + Hope Tender + Tolarian Academy
- 1Activate Tolarian Academy by tapping it, adding at least .
- 2Activate your additional land by tapping it, adding
 .
- 3Activate Hope Tender's last ability by paying , tapping it, and exerting it, untapping Tolarian Academy and a land that can tap for mana.
- 4Activate Pemmin's Aura's first ability by paying , untapping Hope Tender.
- 5Repeat any number of times.
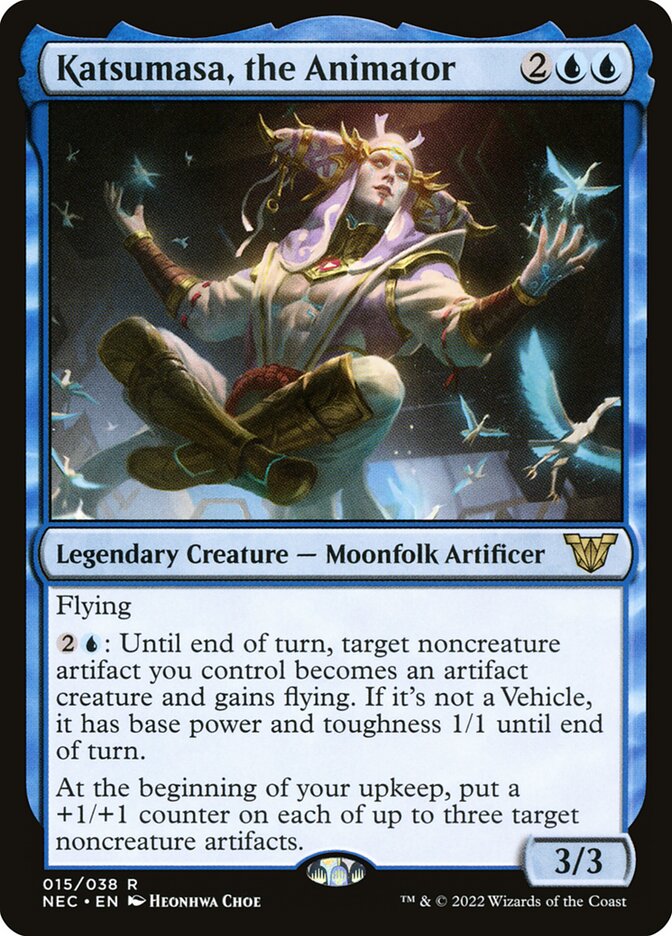
Candelabra of Tawnos + Sakashima the Impostor + Minamo, School at Water's Edge + Katsumasa, the Animator
- 1Animate Candelabra using Katsumasa
- 2Cast Sakashima the Impostor by paying plus commander tax, if applicable. Choose to have it enter the battlefield as a copy of Candelabra of Tawnos that is still named Sakashima the Impostor and legendary.
- 3Activate Tolarian Academy by tapping it, adding at least .
- 4Activate Sakashima the Impostor by paying and tapping it, untapping Minamo and Tolarian Academy.
- 5Activate Minamo's second ability by paying , untapping Sakashima the Impostor.
- 6Repeat from step 3.
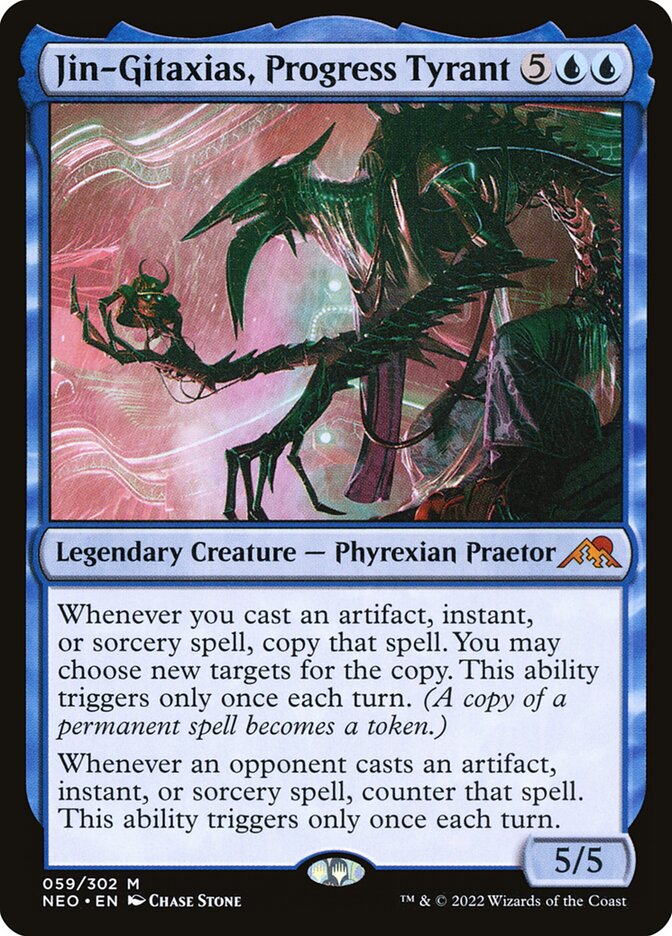
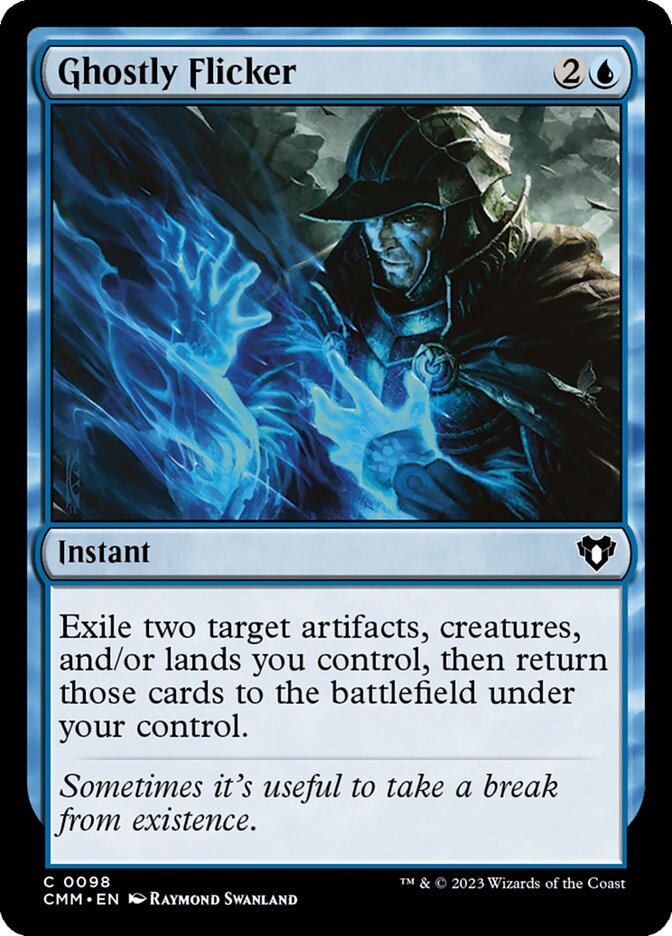
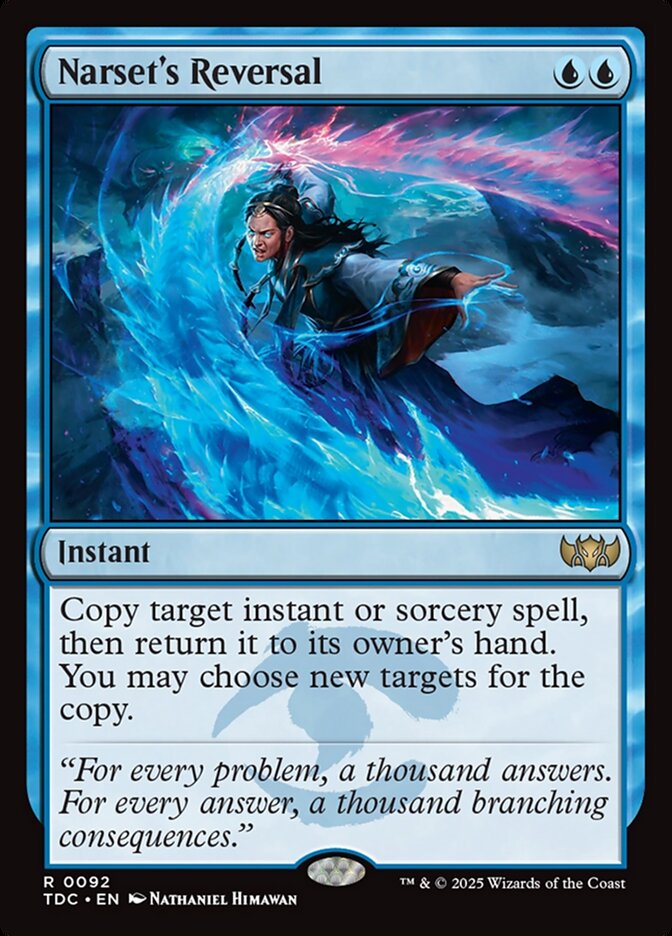
Jin-Gitaxias, Progress Tyrant + Ghostly Flicker + Narset's Reversal + Tolarian Academy
- 1Activate Tolarian Academy by tapping it, adding at least .
- 2Cast Ghostly Flicker by paying , targeting any two permanents.
- 3Jin-Gitaxias triggers, creating a copy of Ghostly Flicker targeting Jin-Gitaxias and Tolarian Academy.
- 4Resolve the copy of Ghostly Flicker, blinking Jin-Gitaxias and Tolarian Academy.
- 5Activate Tolarian Academy by tapping it, adding at least .
- 6Cast Narset's Reversal by paying , targeting Ghostly Flicker.
- 7Jin-Gitaxias triggers, creating a copy of Narset's Reversal targeting the original Narset's Reversal.
- 8Resolve the copy of Narset's Reversal, copying the original Narset's Reversal targeting Ghostly Flicker, and returning the original Narset's Reversal to your hand.
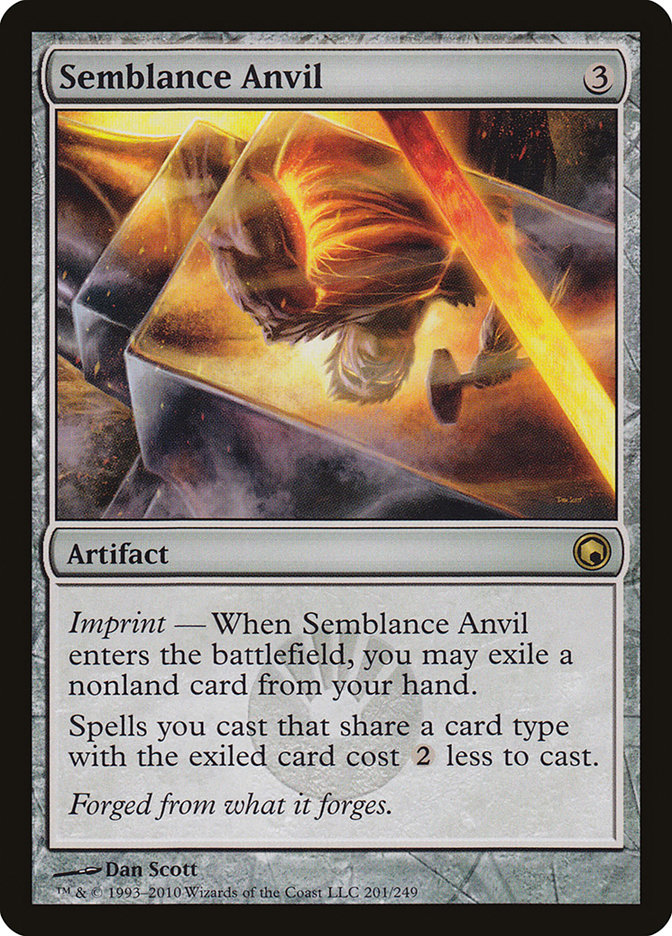
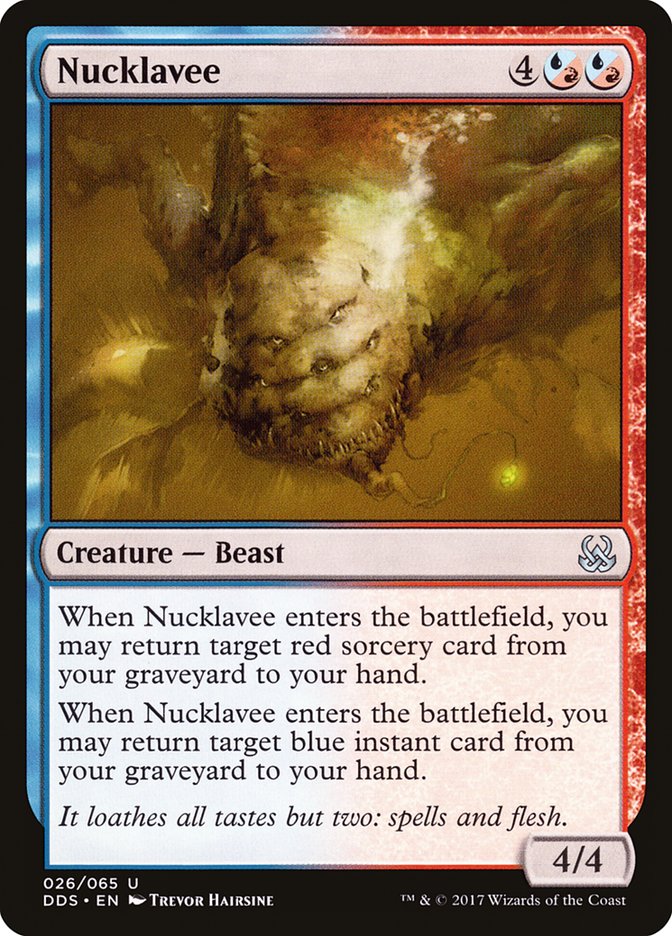
Ghostly Flicker + Semblance Anvil + Nucklavee + Tolarian Academy
- 1Activate Tolarian Academy by tapping it, adding at least .
- 2Cast Ghostly Flicker by paying , targeting Tolarian Academy and Nucklavee, blinking them.
- 3When Nucklavee enters the battlefield, return Ghostly Flicker to you hand.
- 4Repeat.
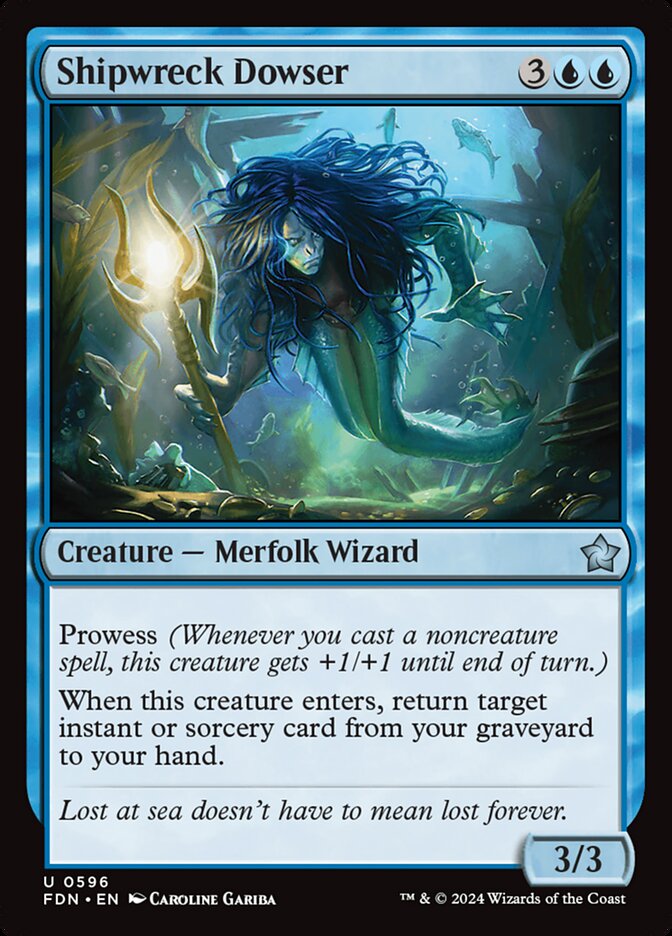
Ghostly Flicker + Semblance Anvil + Shipwreck Dowser + Tolarian Academy
- 1Activate Tolarian Academy by tapping it, adding at least .
- 2Cast Ghostly Flicker by paying , targeting Tolarian Academy and Shipwreck Dowser, blinking them.
- 3When Shipwreck Dowser enters the battlefield, return Ghostly Flicker to you hand.
- 4Repeat.
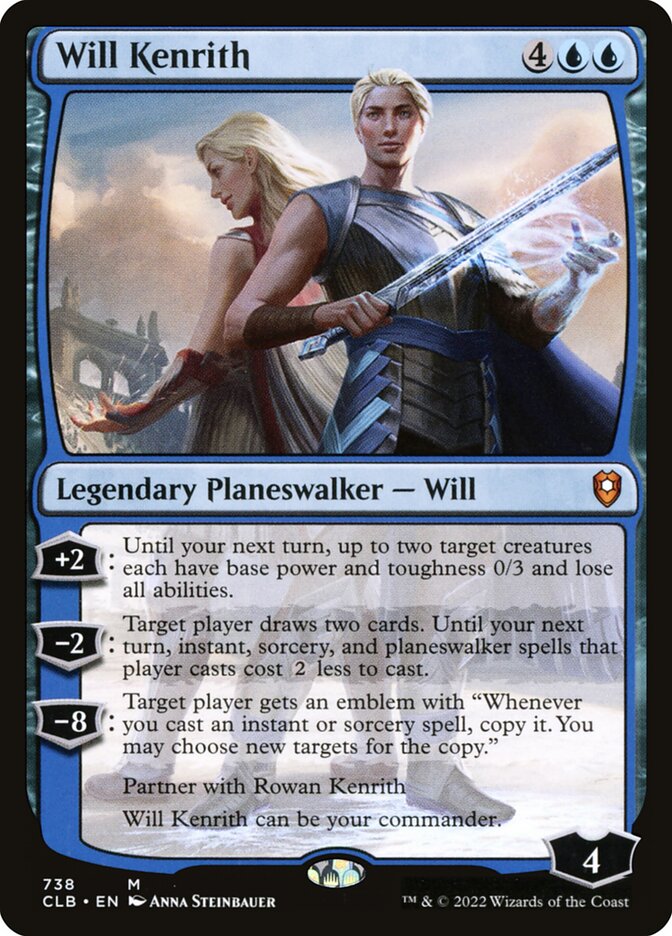

Ghostly Flicker + Will Kenrith + Archaeomancer + Tolarian Academy
- 1Activate Will Kenrith's -2 ability targeting yourself, reducing the cost of your instant, sorcery, and planeswalker spells by until end of turn and drawing you 2 cards.
- 2Activate Tolarian Academy by tapping it, adding at least .
- 3Cast Ghostly Flicker by paying , targeting Tolarian Academy and Archaeomancer, blinking them.
- 4When Archaeomancer enters the battlefield, return Ghostly Flicker to you hand.
- 5Repeat.
Commentaires
- Sois le premier à commenter cette carte.
Read next
Meta decks with Tolarian Academy
No archived Top 8 deck with this card yet.