

Sakashima the Impostor is one of those cards players keep asking about. Here is, in plain words, what its official text says, the rulings published by Wizards of the Coast, and the combos players actually run.
Official card text
You may have Sakashima the Impostor enter as a copy of any creature on the battlefield, except its name is Sakashima the Impostor, it's legendary in addition to its other types, and it has ": Return Sakashima the Impostor to its owner's hand at the beginning of the next end step."

Complete guide
Sakashima the Impostor is a master of disguise, allowing you to bypass the legendary rule while duplicating your most powerful threats. Unlike other clones, Sakashima retains its own identity and name, making it a unique tool for doubling up on legendary effects. This blue creature offers both versatility and protection, ensuring your board state remains resilient.
What Sakashima Does
As Sakashima the Impostor enters the battlefield, you may choose any creature already in play. Sakashima becomes a copy of that creature, inheriting all its stats, colors, and abilities. However, Sakashima keeps its name as 'Sakashima the Impostor' and is always a Legendary Human Rogue in addition to the types of the copied creature. It also gains a special activated ability to bounce itself back to your hand at the end of the turn.
How it Resolves Step by Step
First, as Sakashima enters, you choose a creature to copy; this is not a targeted ability, so protection and hexproof do not prevent this choice. Second, Sakashima enters the battlefield already possessing the attributes of the chosen creature. Third, any 'enters the battlefield' triggers of the copied creature will trigger at this time. Finally, if you activate its {2}{U}{U} ability, a delayed triggered ability is created that will return Sakashima to your hand only when the next end step begins.
Common Mistakes
A frequent error is trying to have Sakashima copy itself; this is impossible as it must copy something already on the battlefield. Another common mistake involves the legendary rule. Because Sakashima keeps its own name, you can safely copy a legendary creature you already control without having to sacrifice either one. Remember, if you don't choose a creature or there are no creatures available, Sakashima simply enters as a 3/1 Human Rogue without the self-bounce ability.
When to Play Sakashima
Sakashima is best used to duplicate creatures with powerful passive or triggered abilities. Because it can return to your hand, it is excellent for dodging board wipes or re-triggering 'enters the battlefield' effects later in the game. Use it to double up on high-value targets while keeping the flexibility to change its form as the game state evolves.
Interaction examples
 Solemn Simulacrum
If you have Sakashima the Impostor enter as a copy of Solemn Simulacrum, it will enter as a Legendary Artifact Creature named Sakashima the Impostor. You will trigger the ability to search for a basic land card. If Sakashima later dies, you will still draw a card because it copied that triggered ability. You can even pay {2}{U}{U} to return Sakashima to your hand to cast it again and get another land.
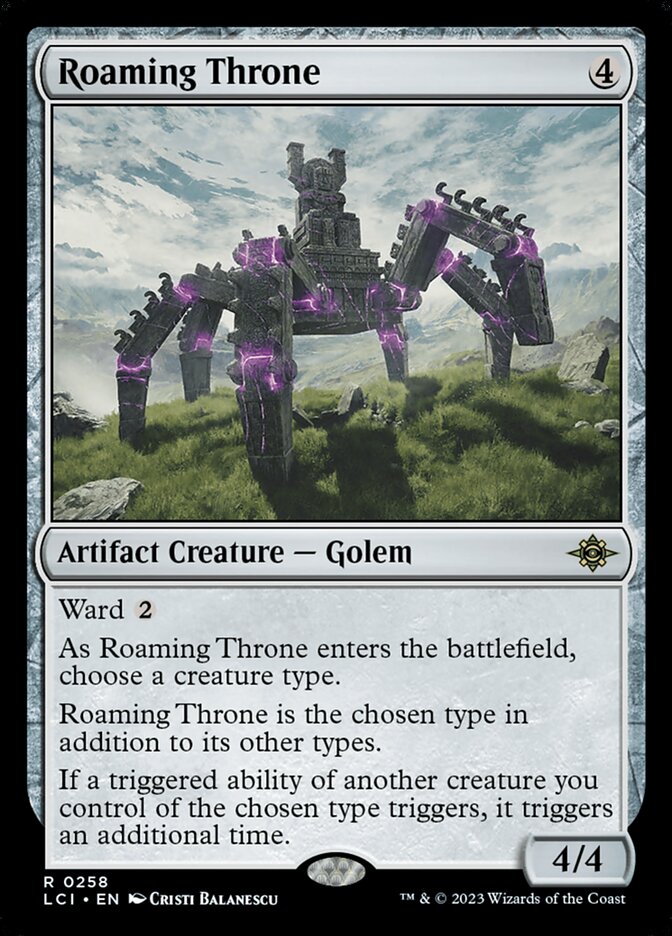 Roaming Throne
When Sakashima the Impostor enters as a copy of Roaming Throne, you choose a creature type (such as Human). Because Sakashima is a Human Rogue, if you chose Human, Sakashima (as the Throne) will cause other Human abilities to trigger an additional time. Since Sakashima keeps its own name, you can have both the original Roaming Throne and the Sakashima version on the battlefield at the same time to vastly increase your triggered abilities.
Guide written with AI from the official text and rulings. Official English text prevails.
How it works : Sakashima the Impostor
Original English text — Wizards of the Coast / Scryfall
- #1· Wizards of the Coast
If there is no creature on the battlefield or if you don't choose a creature as Sakashima enters, Sakashima remains a 3/1 Human Rogue.
No other card is named in this ruling.
- #2· Wizards of the Coast
Sakashima doesn't get the return to hand ability unless a creature is copied as Sakashima enters. Sakashima can't copy itself because the choice is made as part of the event that puts it onto the battlefield, and whatever will be copied must already be on the battlefield.
No other card is named in this ruling.
- #3· Wizards of the Coast
Sakashima must be on the battlefield at the end of turn in order to return to hand. If Sakashima leaves the battlefield after the ability is activated but before the at-end-of-turn ability resolves, the ability does nothing.
No other card is named in this ruling.
Popular combos
Real combos played by the community, sorted by popularity.
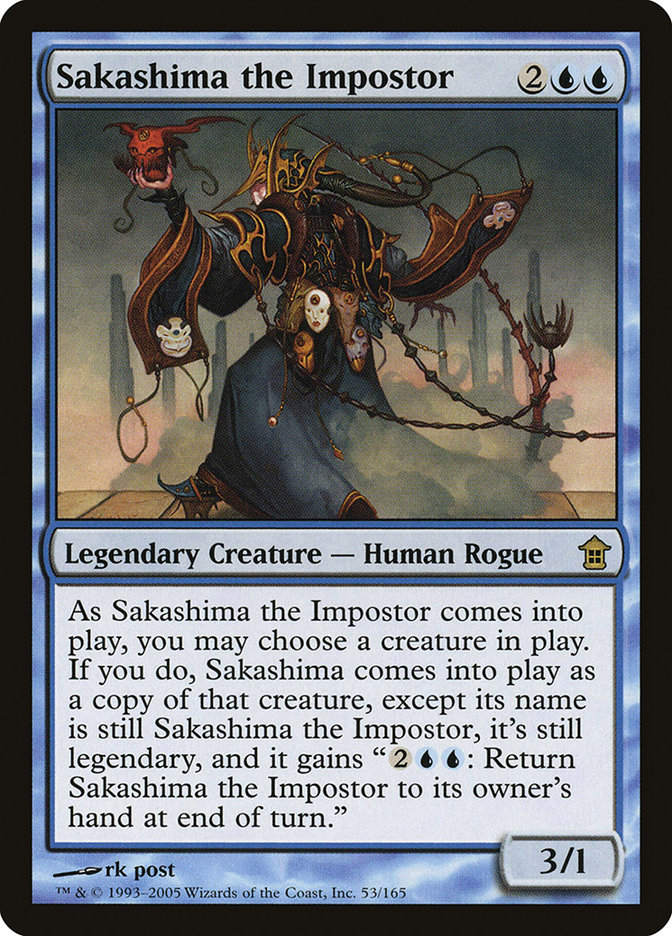
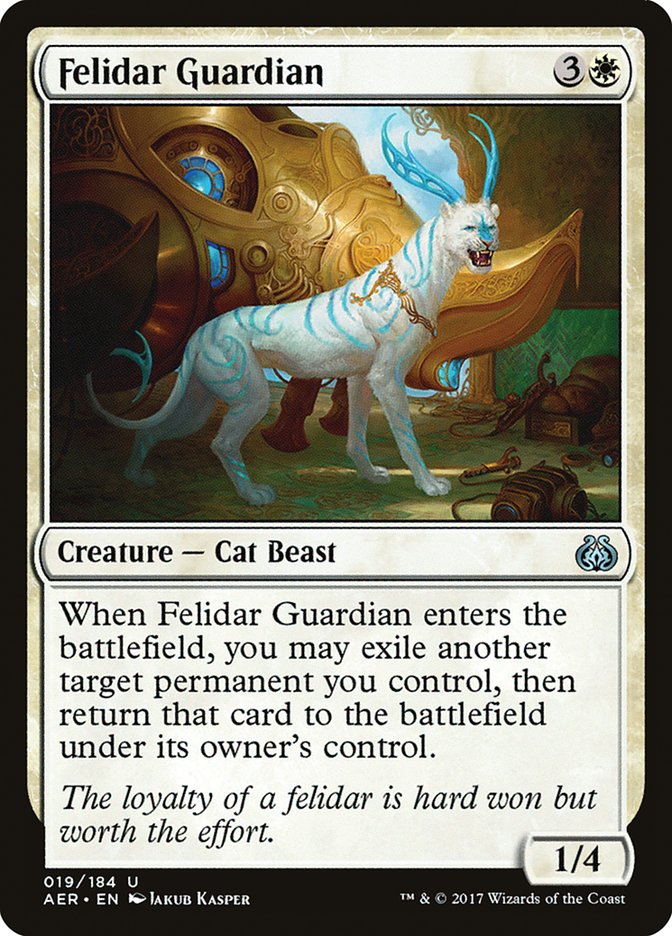
Sakashima the Impostor + Felidar Guardian
- 1Cast Sakashima the Impostor by paying its mana cost, choosing to have it enter the battlefield as a copy of Felidar Guardian
- 2When Sakashima the Impostor enters the battlefield, it triggers, blinking Felidar Guardian.
- 3When Felidar Guardian enters the battlefield, it triggers, blinking Sakashima the Impostor. Choose to have Sakashima the Impostor enter the battlefield as a copy of Felidar Guardian.
- 4Repeat from step 2.
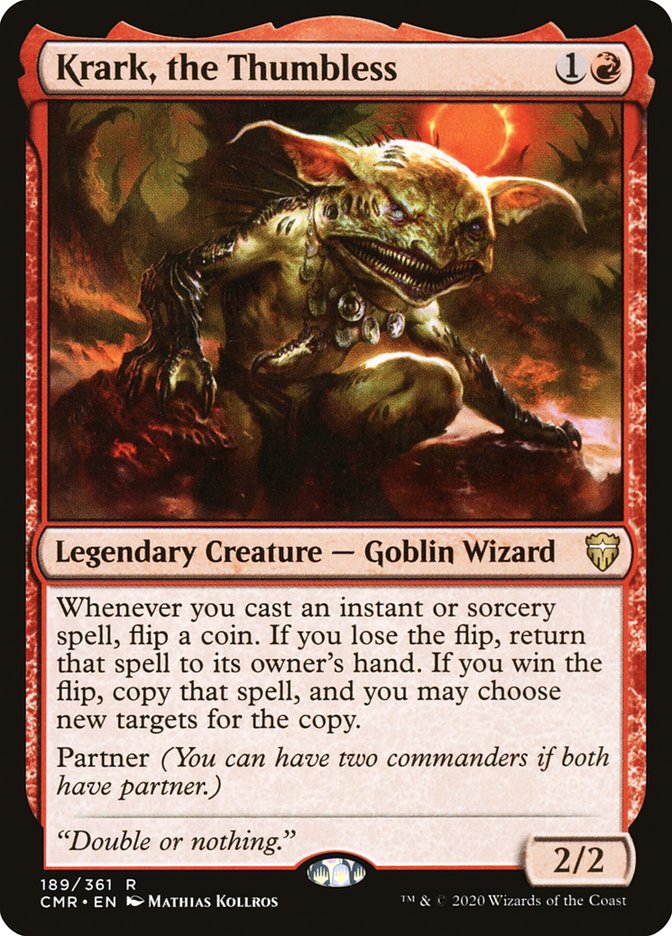
Krark, the Thumbless + Sakashima the Impostor
- 1Cast the instant or sorcery that creates a copy of a creature by paying its mana cost, targeting Sakashima the Impostor.
- 2When you cast that spell, Krark and any additional copies of Krark trigger.
- 3Resolve all Krark triggers, copying that spell for each flip you won, and returning the original to your hand as long as you lost at least one flip.
- 4Resolve each copy of that spell, creating a token copy of Krark each time.
- 5If that spell is back in your hand and you need additional mana, cast the Mana Ritual by paying its costs, then repeat from step 2.
- 6If that spell is back in your hand and you have enough mana, instead repeat from step 1.
- 7If you won every flip, instead resolve the card itself, creating one more Krark token and putting the card into your graveyard.
- 8If you manage to pass a critical threshold of Krark copies before the copying spell ends up in your graveyard, this combo is overwhelmingly likely to be an infinite loop from that point on. See the widget below for failure chances.
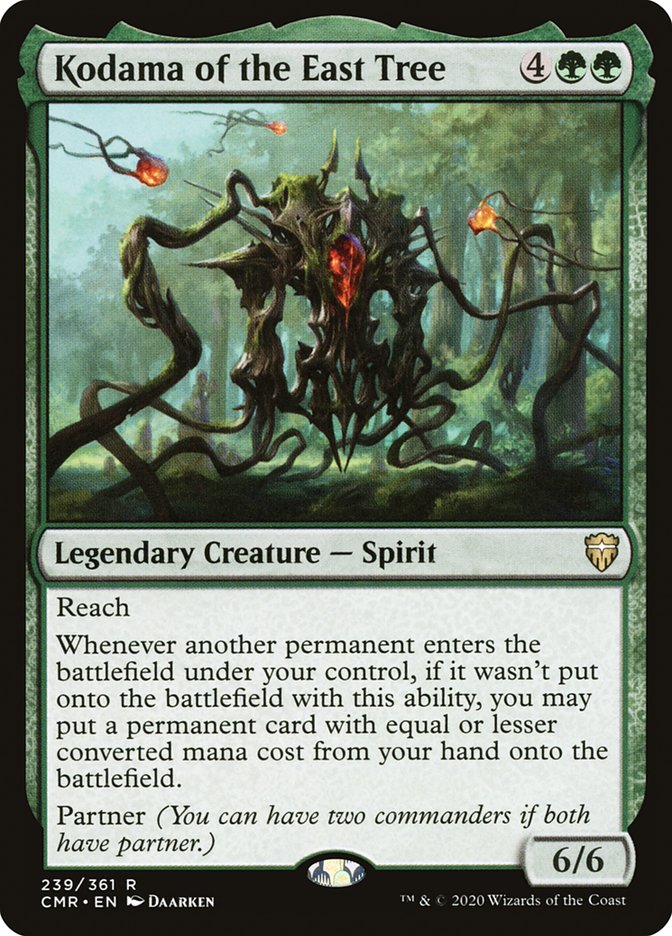
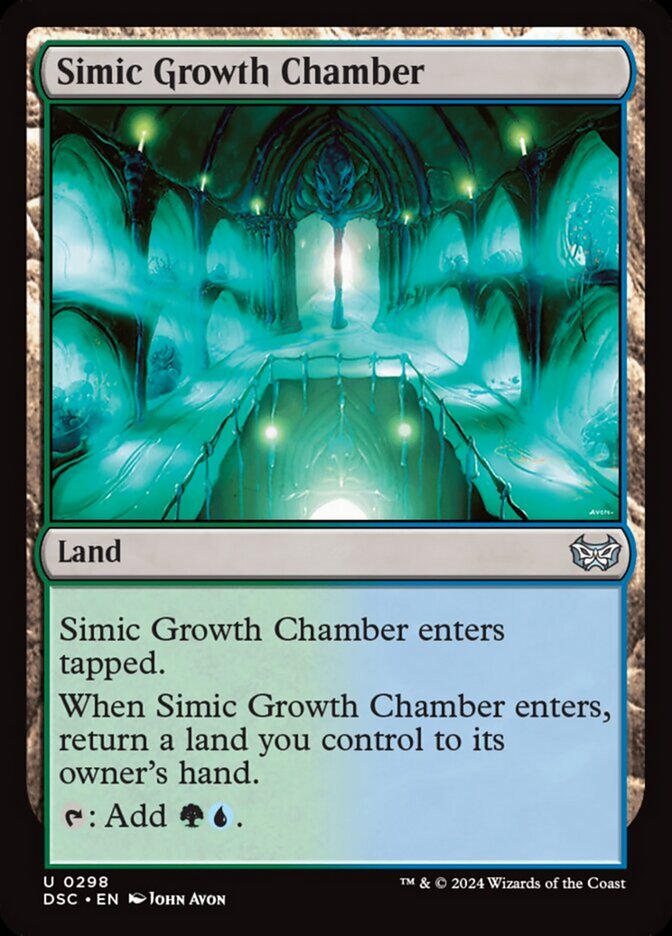
Kodama of the East Tree + Sakashima the Impostor + Simic Growth Chamber
- 1Play Simic Growth Chamber.
- 2Kodama of the East Tree, Sakashima the Impostor, and Simic Growth Chamber trigger.
- 3Resolve the Sakashima the Impostor trigger, choosing not to put anything from your hand onto the battlefield.
- 4Resolve the Simic Growth Chamber trigger, returning it to your hand.
- 5Resolve the Kodama of the East Tree trigger, putting Simic Growth Chamber onto the battlefield.
- 6Sakashima the Impostor and Simic Growth Chamber trigger.
- 7Resolve the Simic Growth Chamber trigger, returning it to your hand.
- 8Resolve the Sakashima the Impostor token's trigger, putting Simic Growth Chamber onto the battlefield.

Krark, the Thumbless + Storm-Kiln Artist + Sakashima the Impostor
- 1Cast the instant or sorcery that creates a copy of a creature by paying its mana cost, targeting Sakashima the Impostor.
- 2When you cast that spell, Krark, any additional copies of Krark, and Storm-Kiln Artist trigger.
- 3Resolve the Storm-Kiln Artist trigger, creating a Treasure token.
- 4Resolve all Krark triggers, copying that spell for each flip you won, and returning the original to your hand as long as you lost at least one flip.
- 5Each time you copy a spell, Storm-Kiln Artist triggers, creating a Treasure token.
- 6Resolve each copy of that spell, creating a token copy of Krark each time.
- 7Activate all your Treasure tokens by tapping and sacrificing them, adding one mana of any color for each one.
- 8If that spell is back in your hand, repeat from step 1.
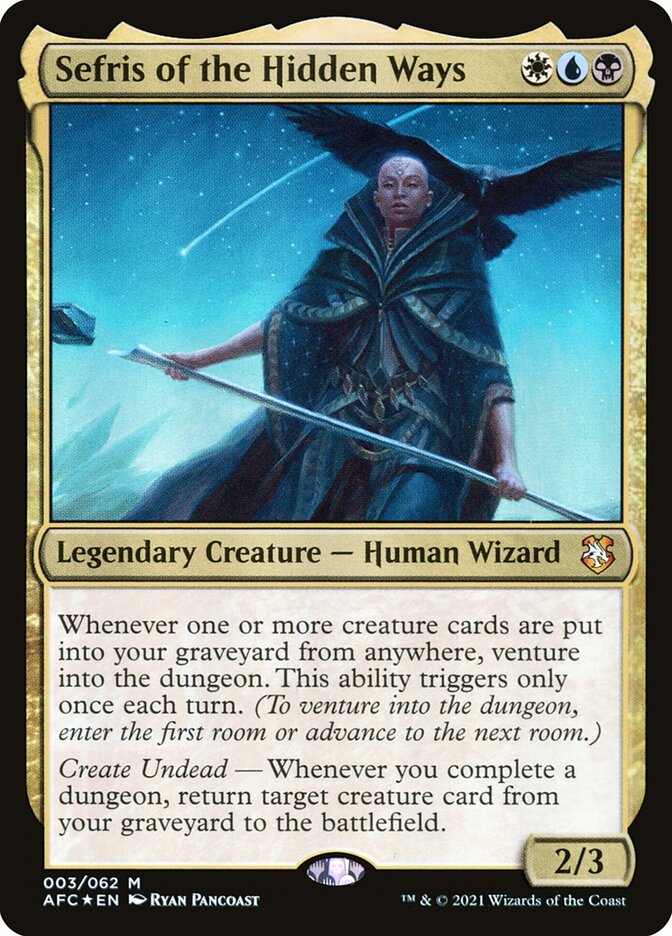
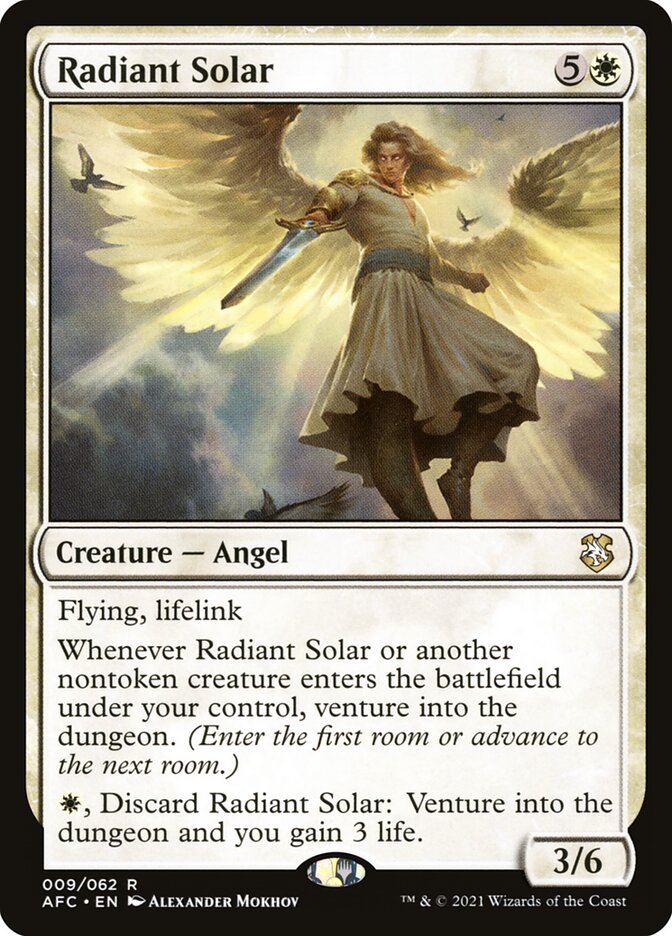
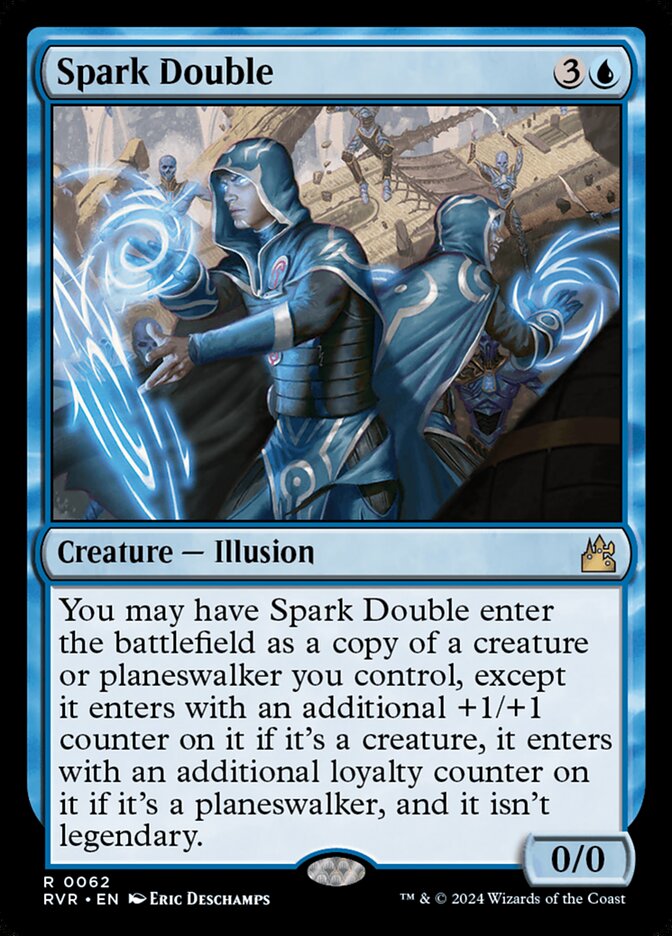
Sefris of the Hidden Ways + Radiant Solar + Sakashima the Impostor + Spark Double
- 1Put any nontoken creature onto the battlefield.
- 2When the creature enters, Radiant Solar, Spark Double and Sakashima the Impostor each trigger.
- 3Resolve the Radiant Solar trigger, causing you to venture into Tomb of Annihilation and into the Trapped Entry room, causing each player to lose 1 life.
- 4Resolve the Spark Double trigger, venturing into the Oubliette room, causing you to discard a card and then sacrifice Radiant Solar.
- 5Resolve the Sakashima the Impostor trigger, venturing into the Cradle of the Death God room, creating a 4/4 legendary The Atropal creature token and completing Tomb of Annihilation.
- 6If you control two or more The Atropal tokens, put all but one into your graveyard due to the legend rule.
- 7Sefris' second ability triggers, returning Radiant Solar from your graveyard to the battlefield.
- 8Repeat from step 2.
Sefris of the Hidden Ways + Radiant Solar + Sakashima the Impostor + Glasspool Mimic // Glasspool Shore
- 1Put any nontoken creature onto the battlefield.
- 2When the creature enters, Radiant Solar, Sakashima the Impostor and Glasspool Mimic each trigger.
- 3Resolve the Radiant Solar trigger, causing you to venture into Tomb of Annihilation and into the Trapped Entry room, causing each player to lose 1 life.
- 4Resolve the Sakashima the Impostor trigger, venturing into the Oubliette room, causing you to discard a card and then sacrifice Radiant Solar.
- 5Resolve the Glasspool Mimic trigger, venturing into the Cradle of the Death God room, creating a 4/4 legendary The Atropal creature token and completing Tomb of Annihilation.
- 6If you control two or more The Atropal tokens, put all but one into your graveyard due to the legend rule.
- 7Sefris' second ability triggers, returning Radiant Solar from your graveyard to the battlefield.
- 8Repeat from step 2.
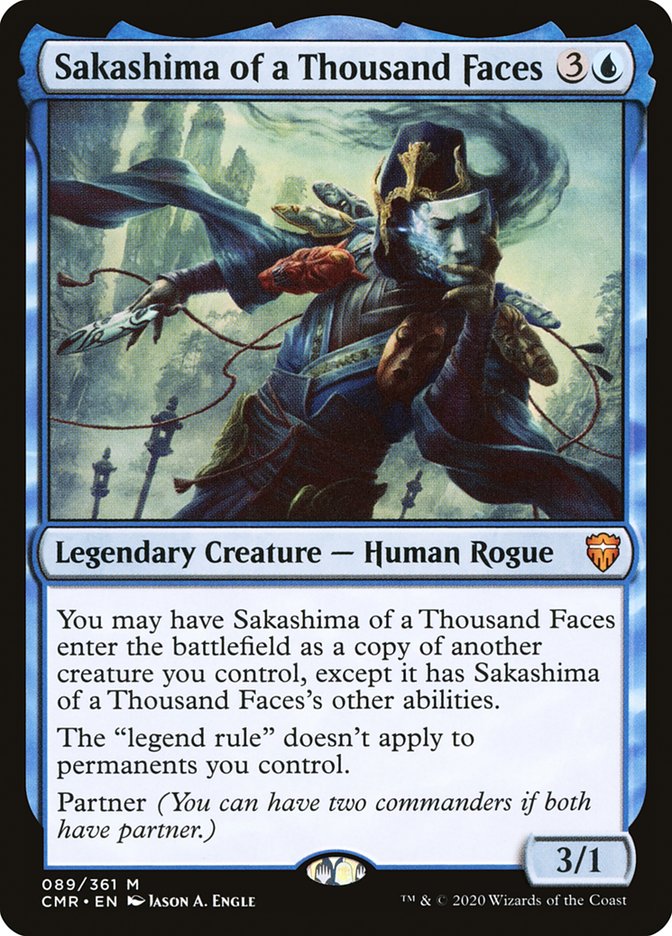
Sefris of the Hidden Ways + Radiant Solar + Sakashima the Impostor + Sakashima of a Thousand Faces
- 1Put any nontoken creature onto the battlefield.
- 2When the creature enters, Radiant Solar, Sakashima of a Thousand Faces and Sakashima the Impostor each trigger.
- 3Resolve the Radiant Solar trigger, causing you to venture into Tomb of Annihilation and into the Trapped Entry room, causing each player to lose 1 life.
- 4Resolve the Sakashima of a Thousand Faces trigger, venturing into the Oubliette room, causing you to discard a card and then sacrifice Radiant Solar.
- 5Resolve the Sakashima the Impostor trigger, venturing into the Cradle of the Death God room, creating a 4/4 legendary The Atropal creature token and completing Tomb of Annihilation.
- 6If you control two or more The Atropal tokens, put all but one into your graveyard due to the legend rule.
- 7Sefris' second ability triggers, returning Radiant Solar from your graveyard to the battlefield.
- 8Repeat from step 2.
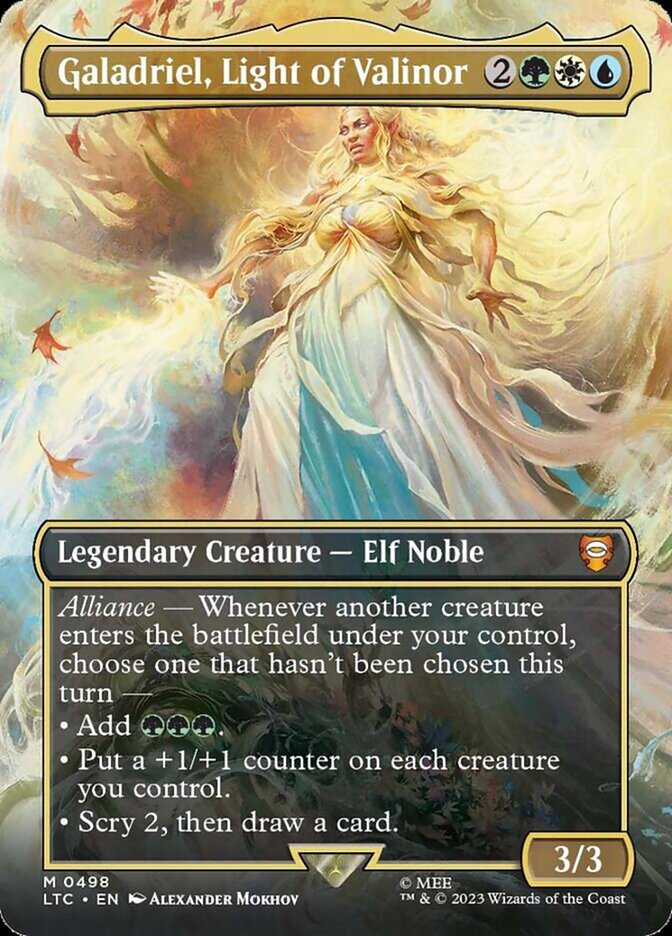
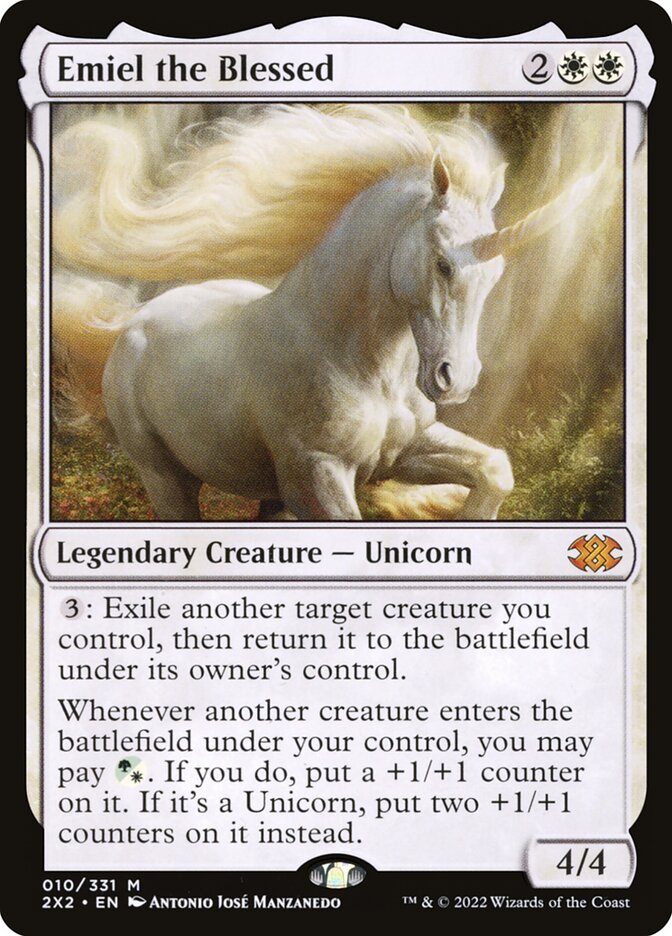
Galadriel, Light of Valinor + Emiel the Blessed + Sakashima the Impostor
- 1Activate Emiel the Blessed by paying
 , blinking Sakashima the Impostor. Choose to have Sakashima the Impostor enter as a copy of Galadriel.
- 2When Sakashima the Impostor enters, Galadriel triggers, adding
 .
- 3Activate Emiel the Blessed by paying , blinking Galadriel.
- 4When Galadriel enters, Sakashima the Impostor triggers, adding .
- 5Repeat.
Legal formats
Commentaires
- Sois le premier à commenter cette carte.
Read next
Meta decks with Sakashima the Impostor
No archived Top 8 deck with this card yet.