

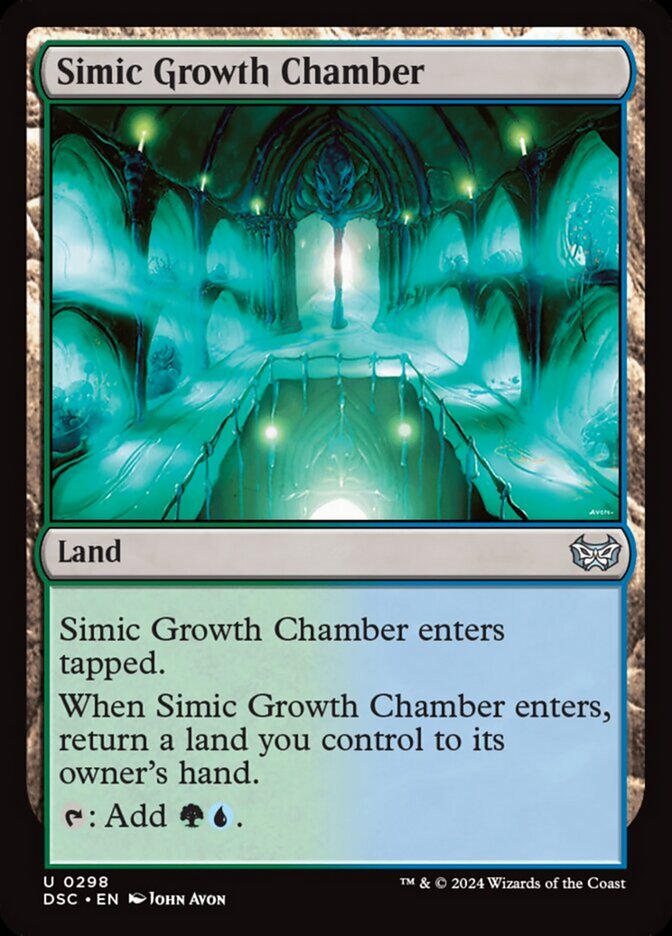
Simic Growth Chamber is one of those cards players keep asking about. Here is, in plain words, what its official text says, the rulings published by Wizards of the Coast, and the combos players actually run.
Official card text
This land enters tapped. When this land enters, return a land you control to its owner's hand.: Add
.

Complete guide
Simic Growth Chamber is a classic staple for mana fixing and utility, serving as a pillar for decks that need both Green and Blue mana. While it provides two mana from a single land slot, it requires careful timing to navigate its unique entry requirement. Understanding the bounce mechanic is key to maximizing your turn's efficiency.
What It Does
Simic Growth Chamber is a nonbasic land that enters the battlefield tapped. Its primary function is providing two mana—one Green and one Blue—simultaneously when tapped. However, it features a triggered ability that occurs as it enters, requiring you to return a land you control to its owner's hand.
How It Resolves Step by Step
First, you play Simic Growth Chamber as your land for the turn; it enters the battlefield tapped. Immediately, its triggered ability goes on the stack. When this ability resolves, you must choose one land you currently control—which can be the Simic Growth Chamber itself—and return it to your hand. You do not choose the target until the ability is resolving, meaning if you have multiple lands, you decide which one to bounce at that moment.
Common Mistakes
The most frequent error is playing Simic Growth Chamber as your very first land. Because the ability is not optional, if you control no other lands, you must return the Simic Growth Chamber to your hand, essentially wasting your land play for the turn. Additionally, remember that you cannot tap the Chamber for mana in response to its own bounce trigger, as it enters the battlefield tapped.
When to Play It
This land is best played on turn two or later, once you have already established a mana base. It is particularly powerful when you want to reuse 'enters-the-battlefield' effects from other lands or if you have already tapped a land for mana and want to pick it back up to play it again next turn for a fresh activation.
Interaction examples
 Command Tower
You have a Command Tower on the battlefield. You play Simic Growth Chamber, which enters tapped. The trigger goes on the stack. You choose to return Command Tower to your hand. On your next turn, you can play the Command Tower again, effectively having three mana available from two land cards.
If you play Simic Growth Chamber on turn one with no other lands in play, its triggered ability still triggers. Since it is the only land you control, you are forced to return it to your hand, leaving your battlefield empty.
 Exotic Orchard
You tap Exotic Orchard for mana to cast a spell. You then play Simic Growth Chamber as your land for the turn. When the Chamber's trigger resolves, you return the already-tapped Exotic Orchard to your hand. This allows you to play the Orchard again on a future turn to get more mana, rather than bouncing an untapped land.
Guide written with AI from the official text and rulings. Official English text prevails.
How it works : Simic Growth Chamber
Original English text — Wizards of the Coast / Scryfall
- #1· Wizards of the Coast
If this land enters the battlefield and you control no other lands, its ability will force you to return it to your hand.
No other card is named in this ruling.
Popular combos
Real combos played by the community, sorted by popularity.
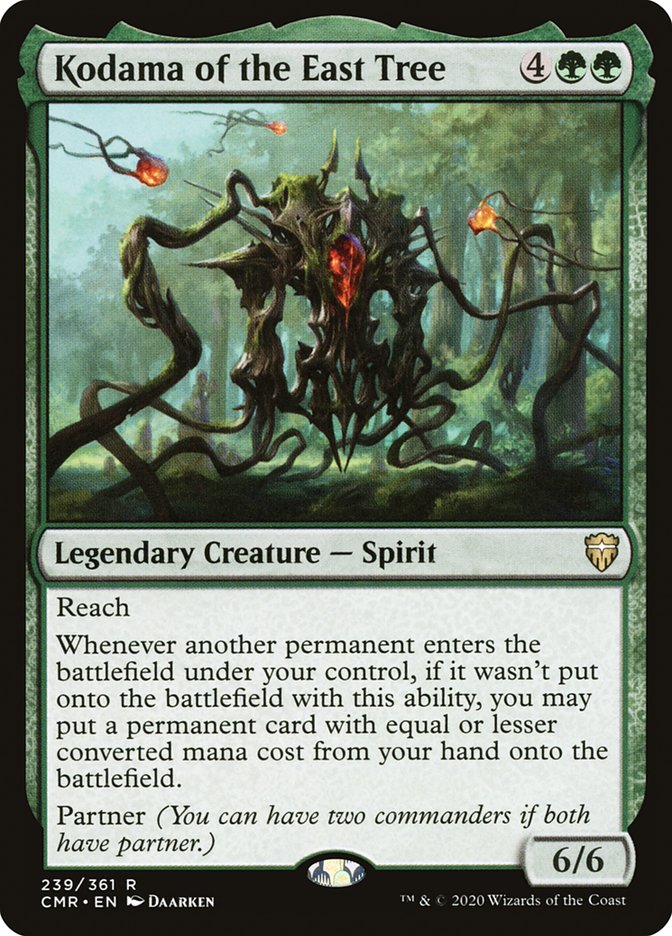

Kodama of the East Tree + Simic Growth Chamber + Scute Swarm
- 1Play Simic Growth Chamber.
- 2When Simic Growth Chamber enters the battlefield, it, Scute Swarm, and Kodama of the East Tree trigger.
- 3Resolve the Kodama of the East Tree trigger, choosing not to put anything from your hand onto the battlefield.
- 4Resolve the Simic Growth Chamber trigger, returning it from the battlefield to your hand.
- 5Resolve the Scute Swarm trigger, creating a token.
- 6When the token enters the battlefield, Kodama triggers, putting Simic Growth Chamber from your hand onto the battlefield.
- 7When Simic Growth Chamber enters the battlefield, it and Scute Swarm trigger.
- 8Repeat from step 4.
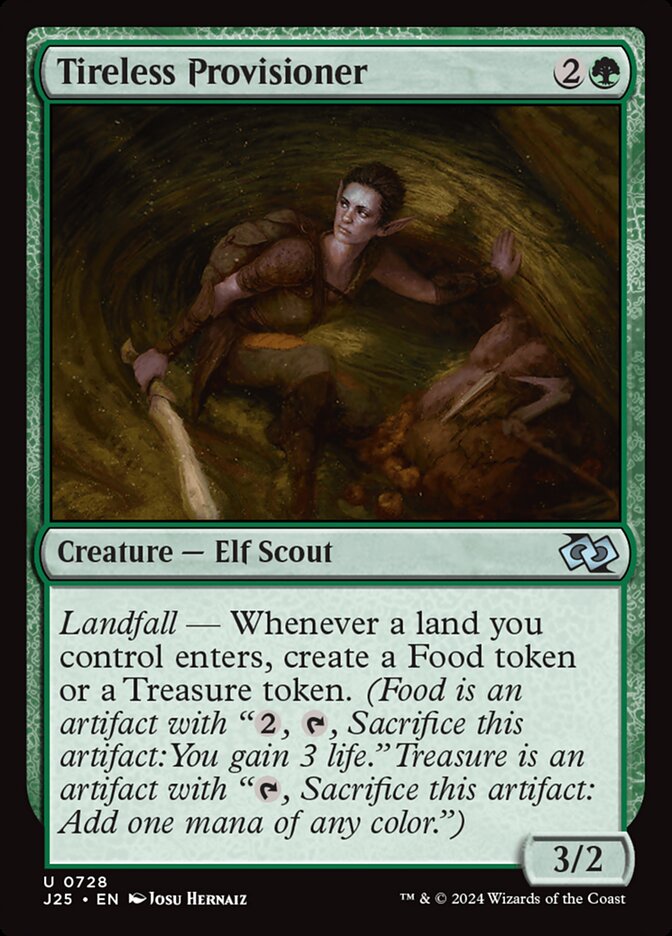
Kodama of the East Tree + Tireless Provisioner + Simic Growth Chamber
- 1Play Simic Growth Chamber.
- 2When Simic Growth Chamber enters the battlefield, it, Tireless Provisioner, and Kodama of the East Tree trigger.
- 3Resolve the Kodama of the East Tree trigger, choosing not to put anything from your hand onto the battlefield.
- 4Resolve the Simic Growth Chamber trigger, returning it from the battlefield to your hand.
- 5Resolve the Tireless Provisioner trigger, creating a token.
- 6When the token enters the battlefield, Kodama triggers, putting Simic Growth Chamber from your hand onto the battlefield.
- 7When Simic Growth Chamber enters the battlefield, it and Tireless Provisioner trigger.
- 8Repeat from step 4.
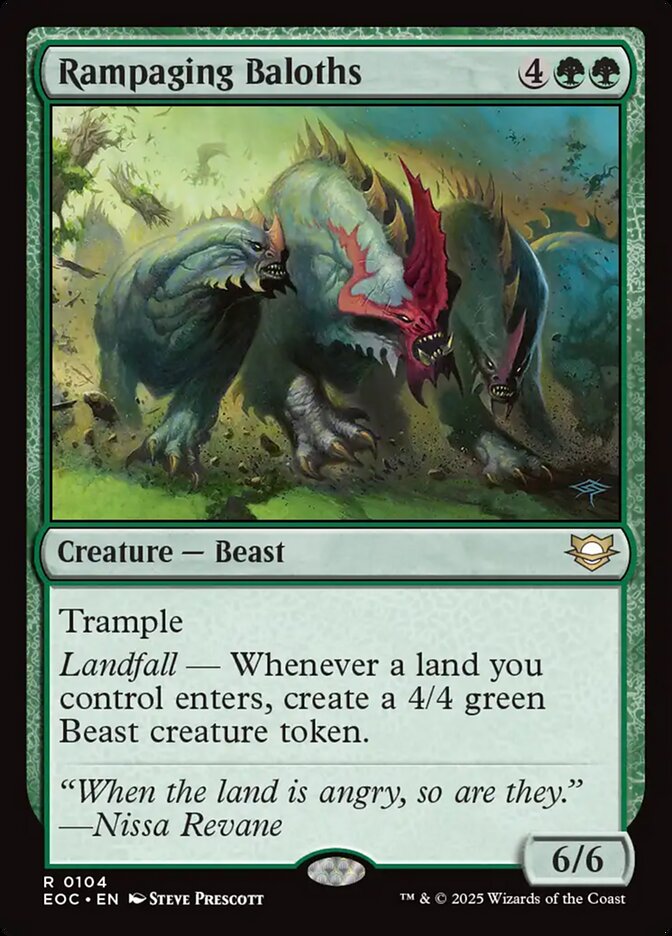
Kodama of the East Tree + Simic Growth Chamber + Rampaging Baloths
- 1Play Simic Growth Chamber.
- 2When Simic Growth Chamber enters the battlefield, it, Rampaging Baloths, and Kodama of the East Tree trigger.
- 3Resolve the Kodama of the East Tree trigger, choosing not to put anything from your hand onto the battlefield.
- 4Resolve the Simic Growth Chamber trigger, returning it from the battlefield to your hand.
- 5Resolve the Rampaging Baloths trigger, creating a token.
- 6When the token enters the battlefield, Kodama triggers, putting Simic Growth Chamber from your hand onto the battlefield.
- 7When Simic Growth Chamber enters the battlefield, it and Rampaging Baloths trigger.
- 8Repeat from step 4.
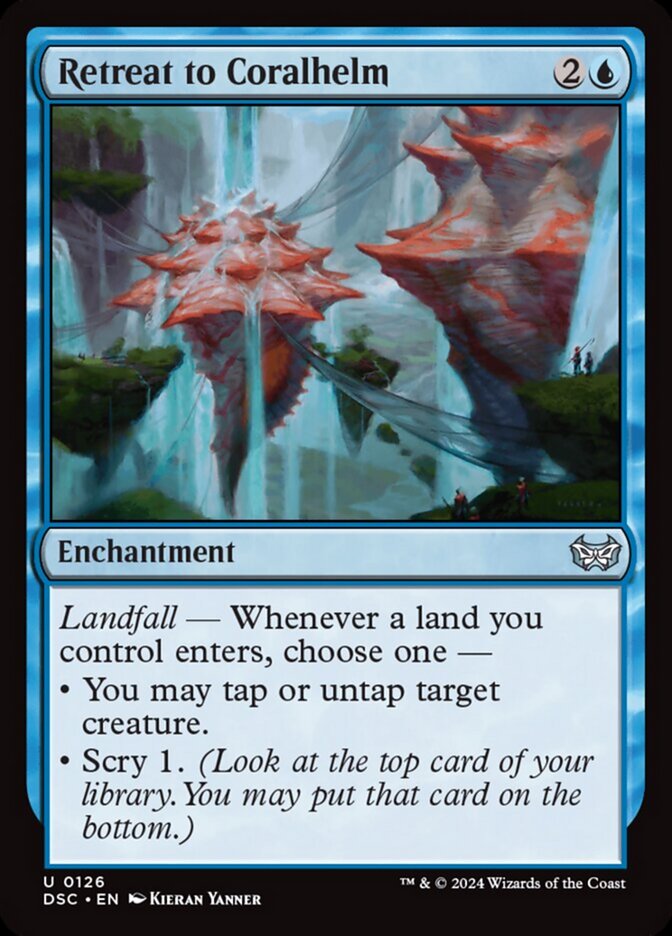
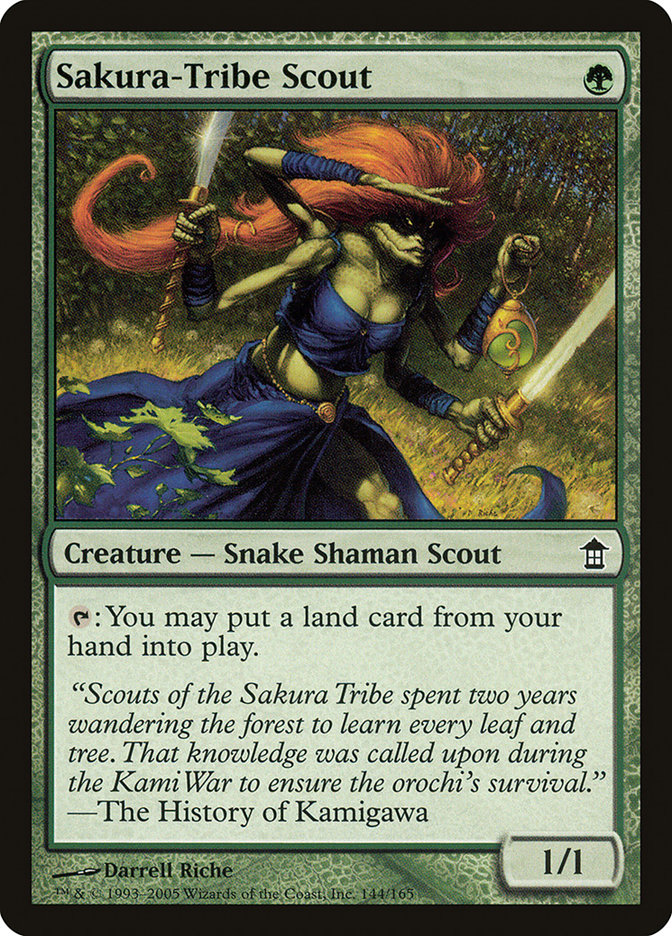
Retreat to Coralhelm + Simic Growth Chamber + Sakura-Tribe Scout
- 1Activate Sakura-Tribe Scout by tapping it, putting Simic Growth Chamber from your hand onto the battlefield.
- 2When Simic Growth Chamber enters the battlefield, it and Retreat to Coralhelm trigger.
- 3Resolve the Simic Growth Chamber trigger, returning itself from the battlefield to your hand.
- 4Resolve the Retreat to Coralhelm trigger, untapping Sakura-Tribe Scout.
- 5Repeat.
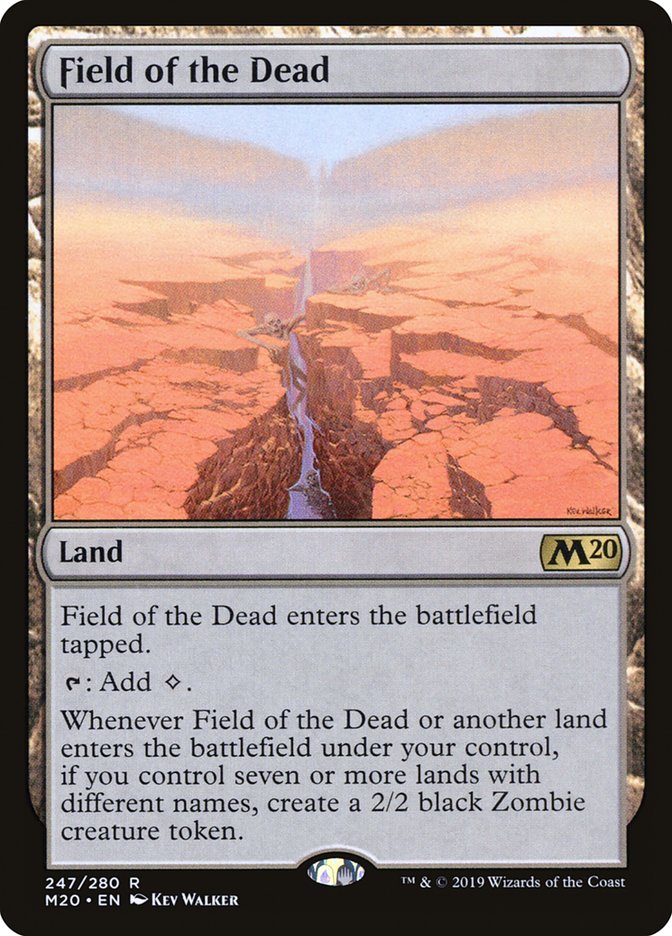
Kodama of the East Tree + Simic Growth Chamber + Field of the Dead
- 1Play Simic Growth Chamber.
- 2When Simic Growth Chamber enters the battlefield, it, Field of the Dead, and Kodama of the East Tree trigger.
- 3Resolve the Kodama of the East Tree trigger, choosing not to put anything from your hand onto the battlefield.
- 4Resolve the Simic Growth Chamber trigger, returning it from the battlefield to your hand.
- 5Resolve the Field of the Dead trigger, creating a token.
- 6When the token enters the battlefield, Kodama triggers, putting Simic Growth Chamber from your hand onto the battlefield.
- 7When Simic Growth Chamber enters the battlefield, it and Field of the Dead trigger.
- 8Repeat from step 4.
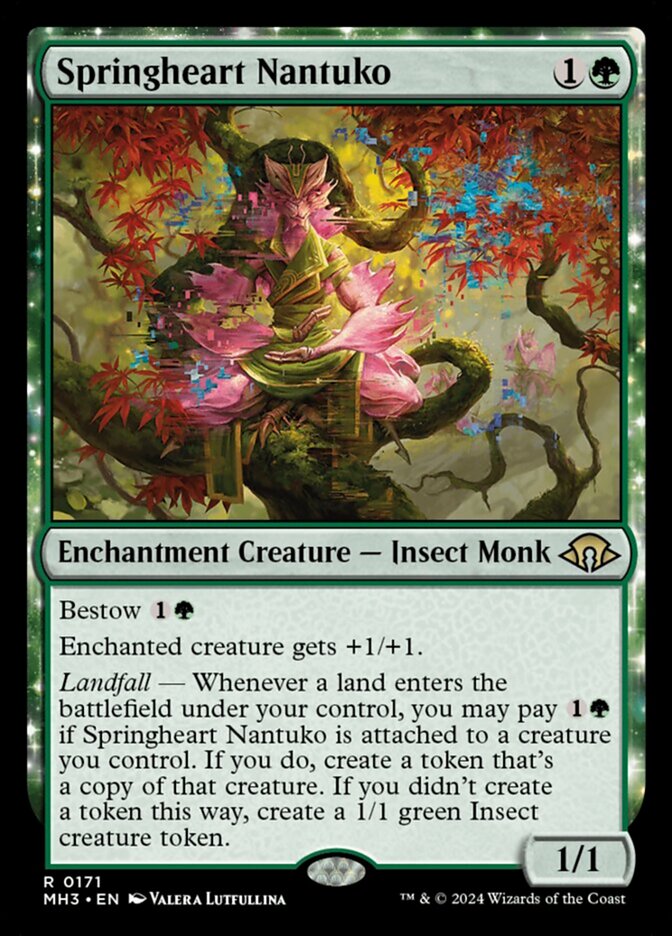
Kodama of the East Tree + Simic Growth Chamber + Springheart Nantuko
- 1Play Simic Growth Chamber.
- 2When Simic Growth Chamber enters the battlefield, it, Springheart Nantuko, and Kodama of the East Tree trigger.
- 3Resolve the Kodama of the East Tree trigger, choosing not to put anything from your hand onto the battlefield.
- 4Resolve the Simic Growth Chamber trigger, returning it from the battlefield to your hand.
- 5Resolve the Springheart Nantuko trigger, creating a token.
- 6When the token enters the battlefield, Kodama triggers, putting Simic Growth Chamber from your hand onto the battlefield.
- 7When Simic Growth Chamber enters the battlefield, it and Springheart Nantuko trigger.
- 8Repeat from step 4.
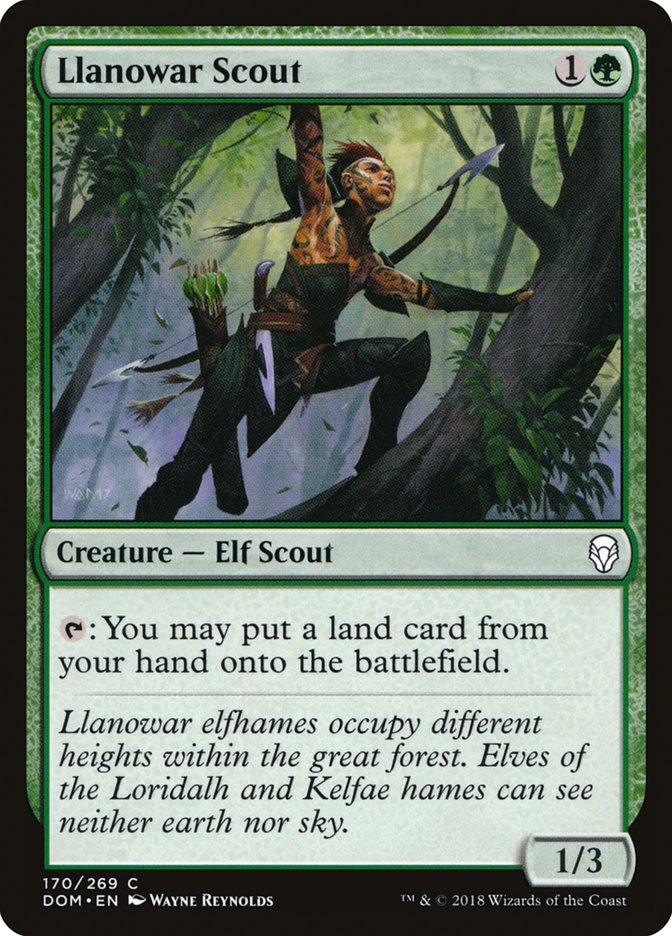
Retreat to Coralhelm + Llanowar Scout + Simic Growth Chamber
- 1Activate Llanowar Scout by tapping it, putting Simic Growth Chamber from your hand onto the battlefield.
- 2When Simic Growth Chamber enters the battlefield, it and Retreat to Coralhelm trigger.
- 3Resolve the Simic Growth Chamber trigger, returning itself from the battlefield to your hand.
- 4Resolve the Retreat to Coralhelm trigger, untapping Llanowar Scout.
- 5Repeat.
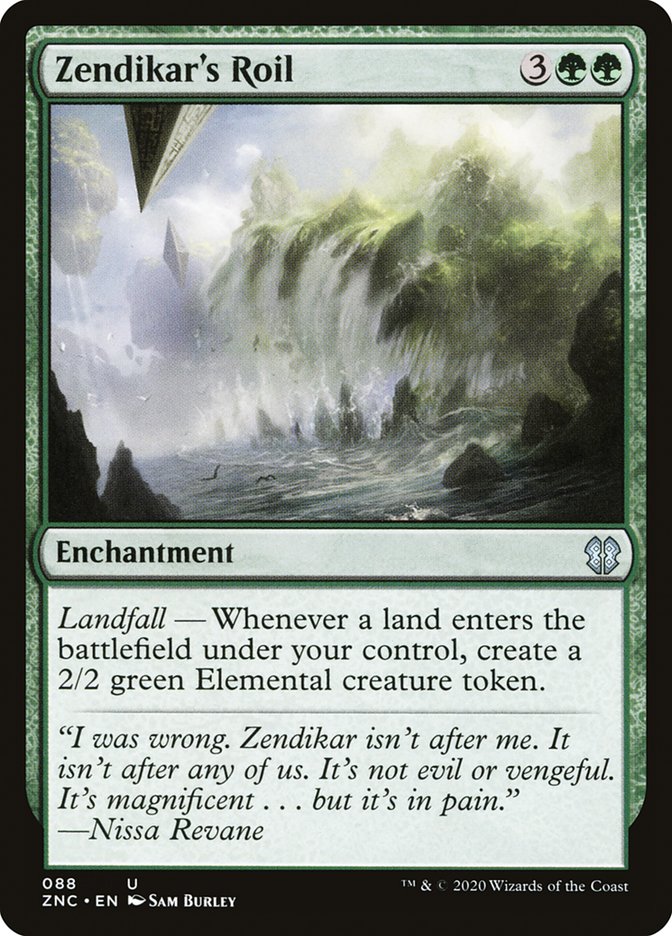
Kodama of the East Tree + Simic Growth Chamber + Zendikar's Roil
- 1Play Simic Growth Chamber.
- 2When Simic Growth Chamber enters the battlefield, it, Zendikar's Roil, and Kodama of the East Tree trigger.
- 3Resolve the Kodama of the East Tree trigger, choosing not to put anything from your hand onto the battlefield.
- 4Resolve the Simic Growth Chamber trigger, returning it from the battlefield to your hand.
- 5Resolve the Zendikar's Roil trigger, creating a token.
- 6When the token enters the battlefield, Kodama triggers, putting Simic Growth Chamber from your hand onto the battlefield.
- 7When Simic Growth Chamber enters the battlefield, it and Zendikar's Roil trigger.
- 8Repeat from step 4.
Legal formats
Commentaires
- Sois le premier à commenter cette carte.
Read next
Meta decks with Simic Growth Chamber
No archived Top 8 deck with this card yet.