
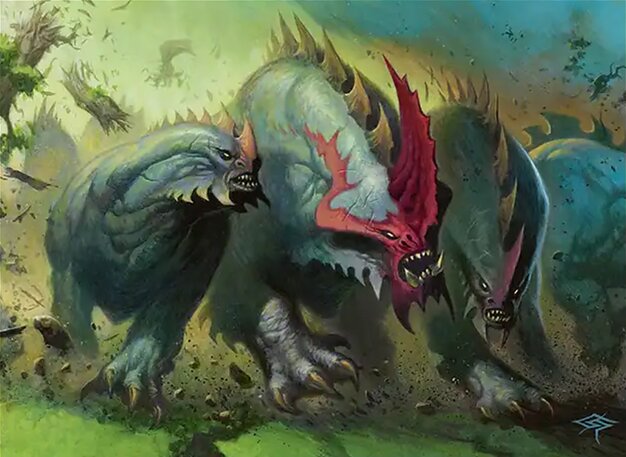
Rampaging Baloths is one of those cards players keep asking about. Here is, in plain words, what its official text says, the rulings published by Wizards of the Coast, and the combos players actually run.
Official card text
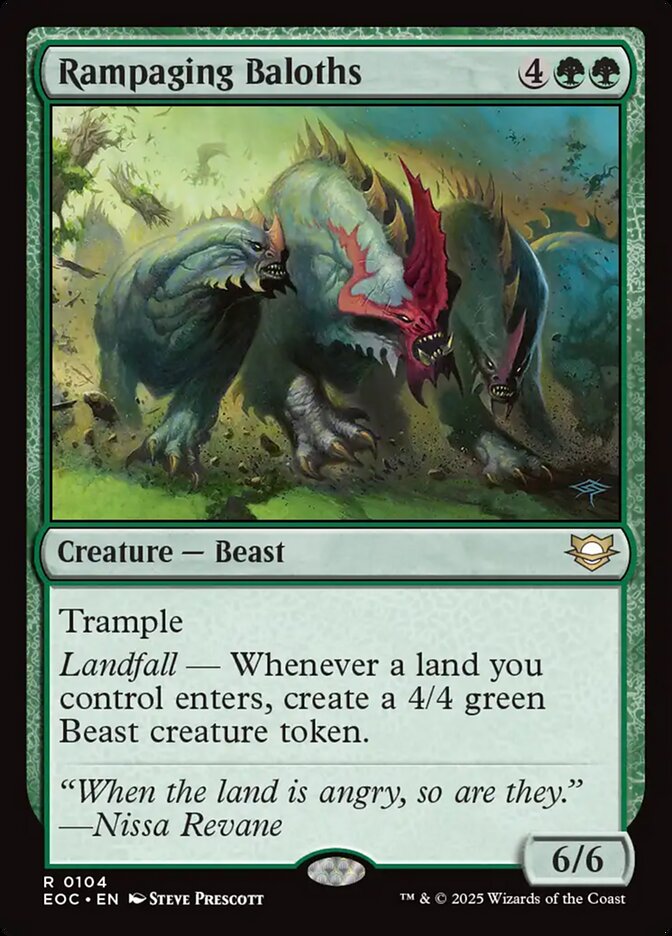
Trample Landfall — Whenever a land you control enters, create a 4/4 green Beast creature token.
Complete guide
Rampaging Baloths is a powerhouse in green decks that rewards you for simply playing the game. This massive Beast turns every land drop into an immediate board presence, making it a must-answer threat in any long game.
Massive Reinforcements
The core of Rampaging Baloths is the Landfall keyword. Every time a land enters the battlefield under your control, this creature's triggered ability goes on the stack. Unlike some abilities that only trigger when you 'play' a land during your main phase, Rampaging Baloths triggers regardless of how the land gets there—whether it is your normal land play for the turn or a land brought out by a spell or ability.
Resolving the Stampede
When a land enters, the Landfall ability is placed on the stack. If you have multiple permanents with Landfall, you choose the order in which these abilities are placed on the stack, and they resolve one by one. Each resolution of the Rampaging Baloths ability creates a 4/4 green Beast creature token. These tokens do not have haste, so they will typically need to wait a turn before they can join the attack alongside the Baloths.
Common Pitfalls
A common mistake is assuming that if a permanent you already control becomes a land (such as through an effect that animates a non-land permanent), Landfall will trigger. It does not. The permanent must actually enter the battlefield as a land. Additionally, if Rampaging Baloths is removed from the battlefield in response to a land entering, the ability that already triggered will still resolve and create a token.
Strategic Timing
Because the ability triggers on any land entering, cards that allow you to put lands onto the battlefield on an opponent's turn become much more powerful. This allows you to create surprise blockers that can ambush attackers, effectively using your lands as combat tricks.
Interaction examples
 Avenger of Zendikar
If you have both creatures on the battlefield and a land enters, both Landfall abilities trigger. You can stack them so that Rampaging Baloths resolves first, creating a 4/4 Beast, and then Avenger of Zendikar resolves to put +1/+1 counters on your Plant tokens. Note that the Beast token will not receive a counter from the Avenger, as it is not a Plant.
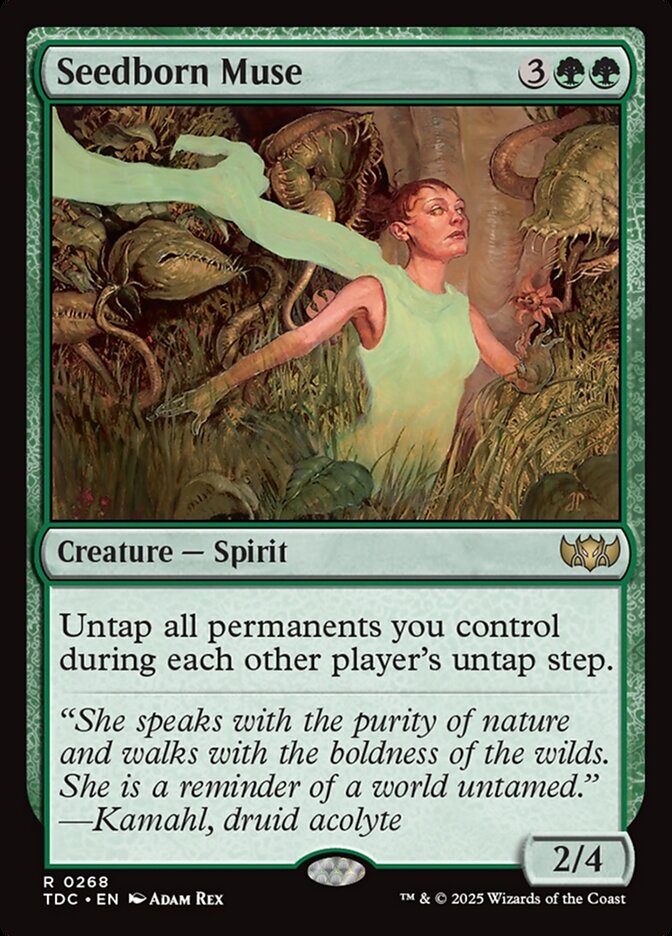 Seedborn Muse
While Seedborn Muse untaps your creatures each turn, it doesn't trigger Landfall itself. However, if you use a card to put a land into play during an opponent's turn while Rampaging Baloths is out, you create a 4/4 Beast. With Seedborn Muse keeping your mana and existing creatures ready, you can continuously generate blockers and maintain a daunting defense throughout every player's turn.
 Beast
When you play a Forest, the Landfall ability triggers. Once the ability resolves, you place a 4/4 green Beast token onto the battlefield. If you then use an effect to put another land into play during the same turn, you create a second 4/4 green Beast token, quickly building an army from a single creature.
Guide written with AI from the official text and rulings. Official English text prevails.
How it works : Rampaging Baloths
Original English text — Wizards of the Coast / Scryfall
- #1· Wizards of the Coast
A landfall ability triggers whenever a land you control enters for any reason. It triggers whenever you play a land, as well as whenever a spell or ability puts a land onto the battlefield under your control.
No other card is named in this ruling.
- #2· Wizards of the Coast
A landfall ability doesn't trigger if a permanent already on the battlefield becomes a land.
No other card is named in this ruling.
- #3· Wizards of the Coast
Whenever a land you control enters, each landfall ability of the permanents you control will trigger. You can put them on the stack in any order. The last ability you put on the stack will be the first one to resolve (As a result, you can have those abilities resolve in the order of your choosing.).
No other card is named in this ruling.
Popular combos
Real combos played by the community, sorted by popularity.
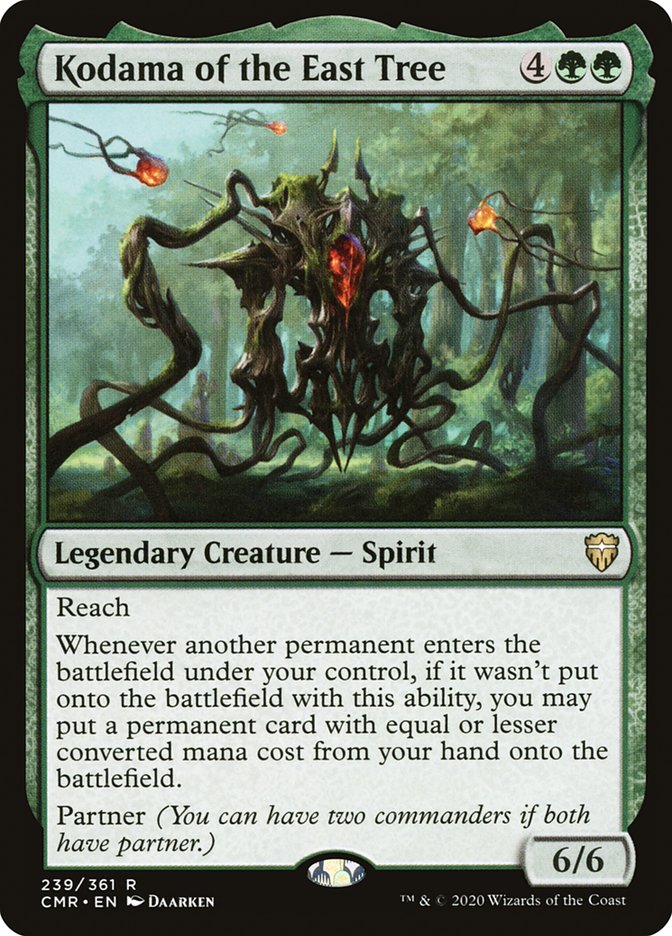
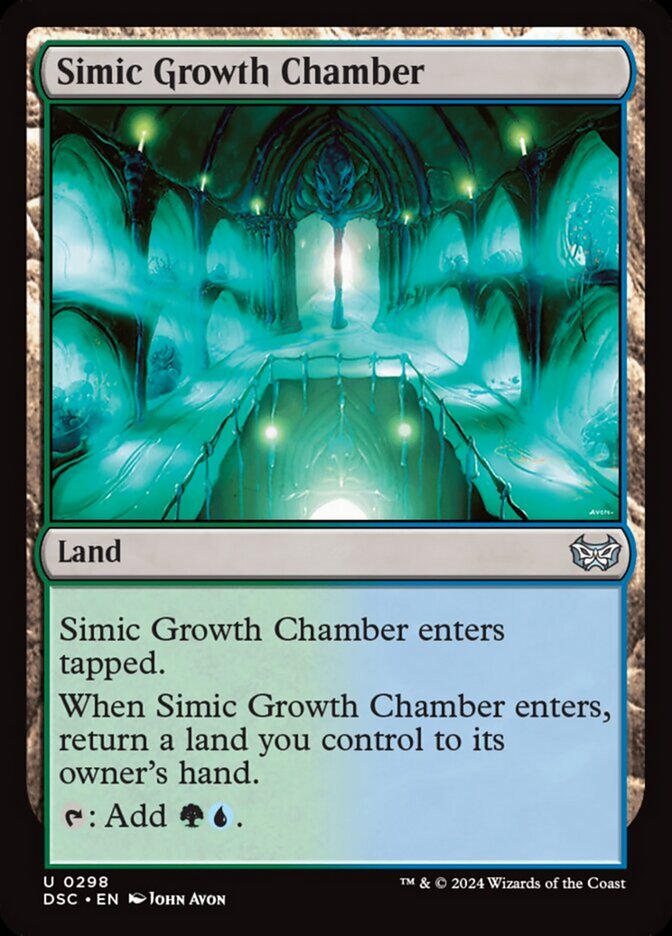
Kodama of the East Tree + Simic Growth Chamber + Rampaging Baloths
- 1Play Simic Growth Chamber.
- 2When Simic Growth Chamber enters the battlefield, it, Rampaging Baloths, and Kodama of the East Tree trigger.
- 3Resolve the Kodama of the East Tree trigger, choosing not to put anything from your hand onto the battlefield.
- 4Resolve the Simic Growth Chamber trigger, returning it from the battlefield to your hand.
- 5Resolve the Rampaging Baloths trigger, creating a token.
- 6When the token enters the battlefield, Kodama triggers, putting Simic Growth Chamber from your hand onto the battlefield.
- 7When Simic Growth Chamber enters the battlefield, it and Rampaging Baloths trigger.
- 8Repeat from step 4.

Kodama of the East Tree + Gruul Turf + Rampaging Baloths
- 1Play Gruul Turf.
- 2When Gruul Turf enters the battlefield, it, Rampaging Baloths, and Kodama of the East Tree trigger.
- 3Resolve the Kodama of the East Tree trigger, choosing not to put anything from your hand onto the battlefield.
- 4Resolve the Gruul Turf trigger, returning it from the battlefield to your hand.
- 5Resolve the Rampaging Baloths trigger, creating a token.
- 6When the token enters the battlefield, Kodama triggers, putting Gruul Turf from your hand onto the battlefield.
- 7When Gruul Turf enters the battlefield, it and Rampaging Baloths trigger.
- 8Repeat from step 4.
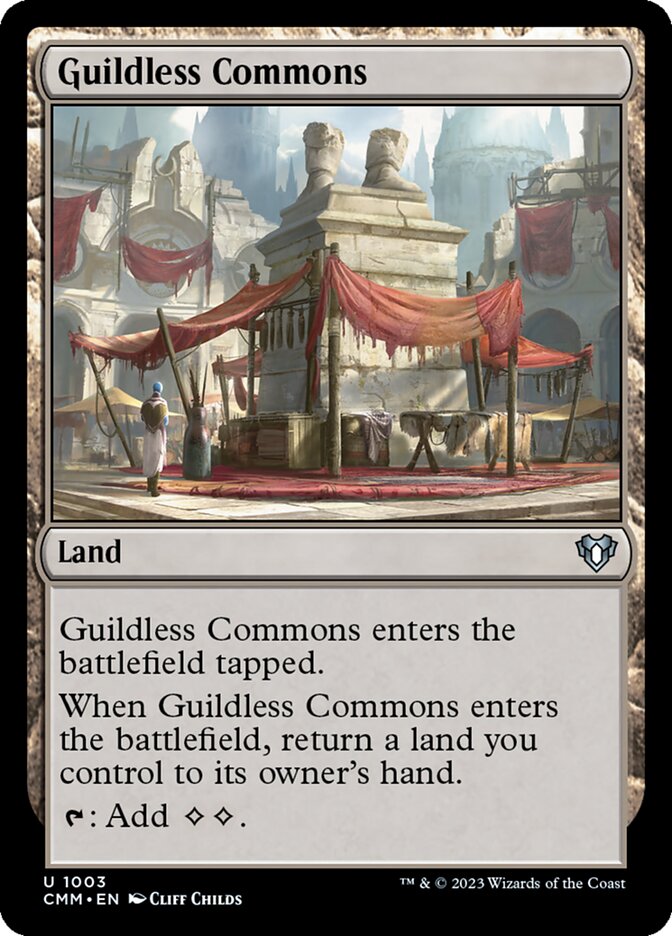
Kodama of the East Tree + Guildless Commons + Rampaging Baloths
- 1Play Guildless Commons.
- 2When Guildless Commons enters the battlefield, it, Rampaging Baloths, and Kodama of the East Tree trigger.
- 3Resolve the Kodama of the East Tree trigger, choosing not to put anything from your hand onto the battlefield.
- 4Resolve the Guildless Commons trigger, returning it from the battlefield to your hand.
- 5Resolve the Rampaging Baloths trigger, creating a token.
- 6When the token enters the battlefield, Kodama triggers, putting Guildless Commons from your hand onto the battlefield.
- 7When Guildless Commons enters the battlefield, it and Rampaging Baloths trigger.
- 8Repeat from step 4.

Kodama of the East Tree + Golgari Rot Farm + Rampaging Baloths
- 1Play Golgari Rot Farm.
- 2When Golgari Rot Farm enters the battlefield, it, Rampaging Baloths, and Kodama of the East Tree trigger.
- 3Resolve the Kodama of the East Tree trigger, choosing not to put anything from your hand onto the battlefield.
- 4Resolve the Golgari Rot Farm trigger, returning it from the battlefield to your hand.
- 5Resolve the Rampaging Baloths trigger, creating a token.
- 6When the token enters the battlefield, Kodama triggers, putting Golgari Rot Farm from your hand onto the battlefield.
- 7When Golgari Rot Farm enters the battlefield, it and Rampaging Baloths trigger.
- 8Repeat from step 4.
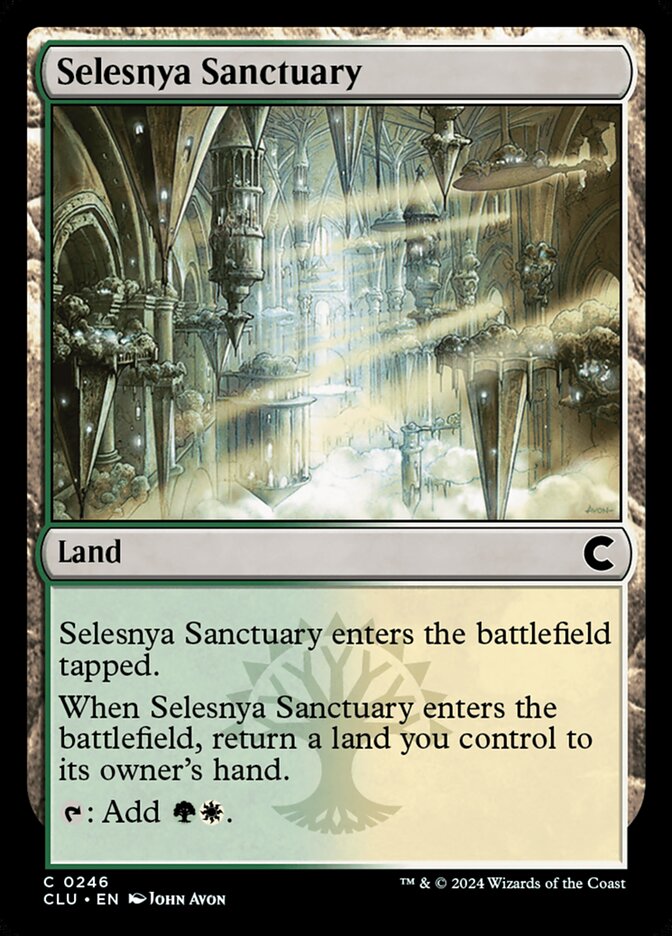
Kodama of the East Tree + Selesnya Sanctuary + Rampaging Baloths
- 1Play Selesnya Sanctuary.
- 2When Selesnya Sanctuary enters the battlefield, it, Rampaging Baloths, and Kodama of the East Tree trigger.
- 3Resolve the Kodama of the East Tree trigger, choosing not to put anything from your hand onto the battlefield.
- 4Resolve the Selesnya Sanctuary trigger, returning it from the battlefield to your hand.
- 5Resolve the Rampaging Baloths trigger, creating a token.
- 6When the token enters the battlefield, Kodama triggers, putting Selesnya Sanctuary from your hand onto the battlefield.
- 7When Selesnya Sanctuary enters the battlefield, it and Rampaging Baloths trigger.
- 8Repeat from step 4.
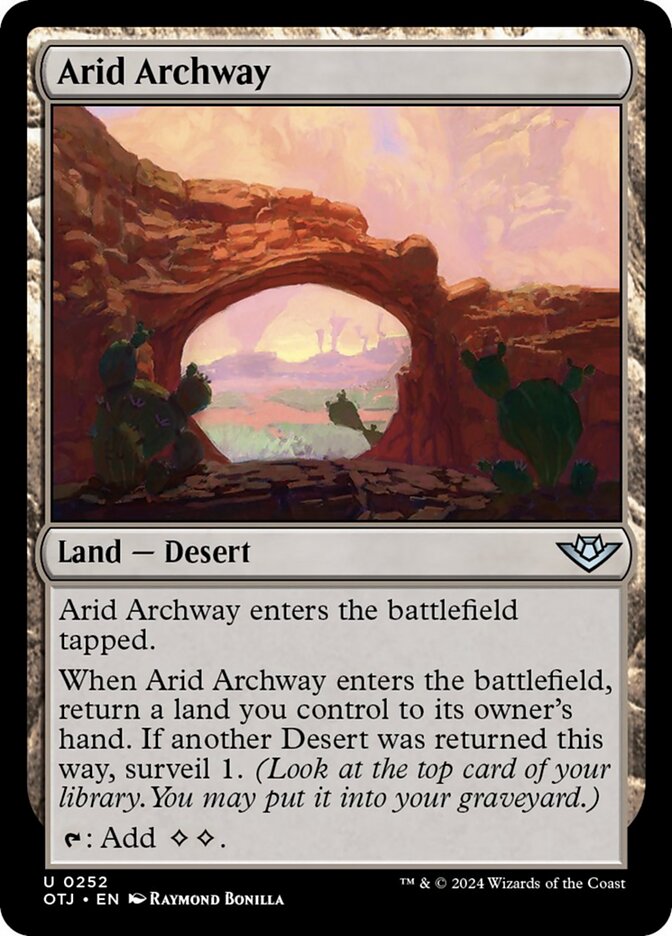
Kodama of the East Tree + Rampaging Baloths + Arid Archway
- 1Play Arid Archway.
- 2When Arid Archway enters the battlefield, it, Rampaging Baloths, and Kodama of the East Tree trigger.
- 3Resolve the Kodama of the East Tree trigger, choosing not to put anything from your hand onto the battlefield.
- 4Resolve the Arid Archway trigger, returning it from the battlefield to your hand.
- 5Resolve the Rampaging Baloths trigger, creating a token.
- 6When the token enters the battlefield, Kodama triggers, putting Arid Archway from your hand onto the battlefield.
- 7When Arid Archway enters the battlefield, it and Rampaging Baloths trigger.
- 8Repeat from step 4.
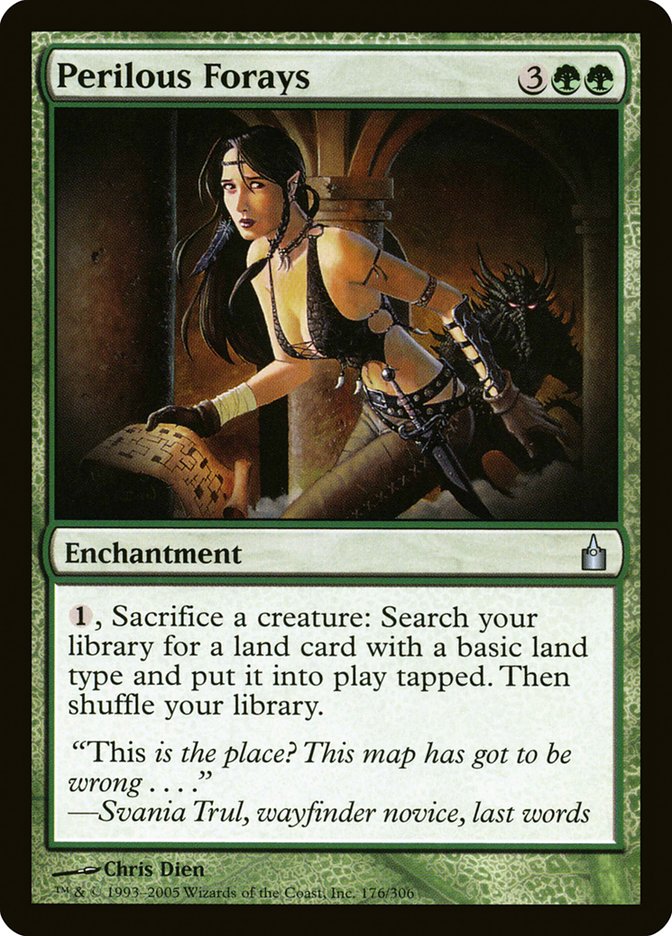
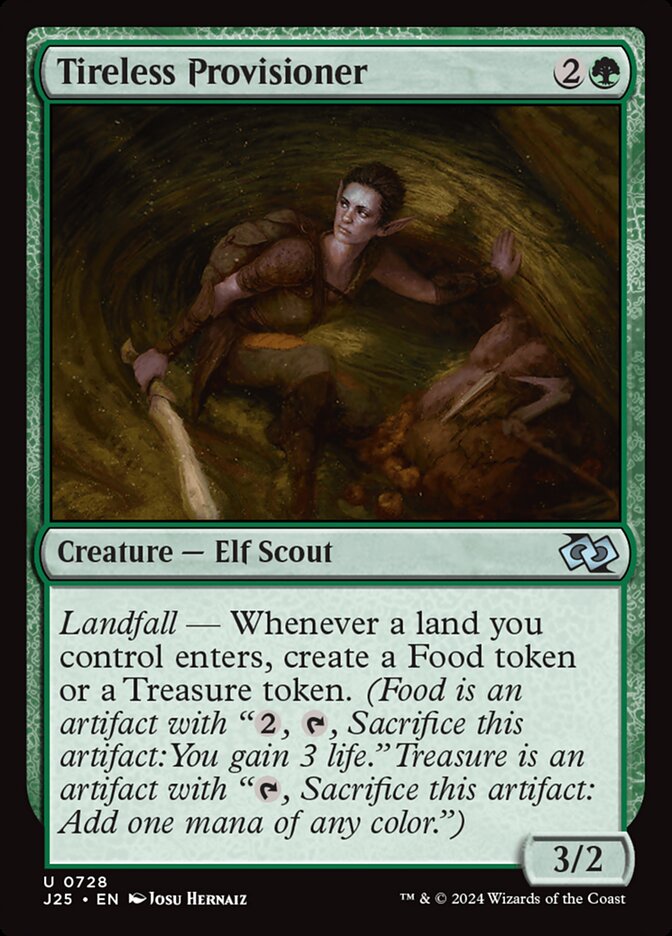
Perilous Forays + Tireless Provisioner + Rampaging Baloths
- 1Activate Perilous Forays by paying
 and sacrificing a creature, causing you to search your library for a land card with a basic land type and put it onto the battlefield tapped.
- 2When the land enters the battlefield Tireless Provisioner and Rampaging Baloths trigger.
- 3Resolve the Tireless Provisioner trigger, creating a Treasure token.
- 4Activate the Treasure by tapping and sacrificing it, adding .
- 5Resolve the Rampaging Baloths trigger, creating a creature token.
- 6Repeat.

Perilous Forays + Lotus Cobra + Rampaging Baloths
- 1Activate Perilous Forays by paying and sacrificing a creature, causing you to search your library for a land card with a basic land type and put it onto the battlefield tapped.
- 2When the land enters the battlefield Lotus Cobra and Rampaging Baloths trigger.
- 3Resolve the Lotus Cobra trigger, adding .
- 4Resolve the Rampaging Baloths trigger, creating a creature token.
- 5Repeat.
Related cards and tokens
Legal formats
Commentaires
- Sois le premier à commenter cette carte.
Read next
Meta decks with Rampaging Baloths
No archived Top 8 deck with this card yet.