
Sefris of the Hidden Ways is one of those cards players keep asking about. Here is, in plain words, what its official text says, the rulings published by Wizards of the Coast, and the combos players actually run.
Official card text
Whenever one or more creature cards are put into your graveyard from anywhere, venture into the dungeon. This ability triggers only once each turn. (To venture into the dungeon, enter the first room or advance to the next room.) Create Undead — Whenever you complete a dungeon, return target creature card from your graveyard to the battlefield.
How it works : Sefris of the Hidden Ways
Original English text — Wizards of the Coast / Scryfall
- #1· Wizards of the Coast
Sefris of the Hidden Ways must be on the battlefield for its first ability to trigger. It does not trigger when Sefris goes to the graveyard from the battlefield, even if other creature cards also went to the graveyard at the same time.
No other card is named in this ruling.
- #2· Wizards of the Coast
To venture into the dungeon, a player moves their venture marker into the next room of the dungeon they are currently in. If they aren't currently in a dungeon, that player instead chooses a dungeon card from outside the game, puts it into the command zone, and moves their venture marker onto the first room.
No other card is named in this ruling.
- #3· Wizards of the Coast
Moving into a dungeon room will cause its room ability to trigger.
No other card is named in this ruling.
- #4· Wizards of the Coast
Once you resolve the last room ability of a dungeon, that dungeon is now completed and is removed from the game.
No other card is named in this ruling.
- #5· Wizards of the Coast
A player may only have one dungeon in the command zone at a time.
No other card is named in this ruling.
- #6· Wizards of the Coast
The player venturing into the dungeon chooses which dungeon they will venture into. They may choose a dungeon that they have already completed this game.
No other card is named in this ruling.
- #7· Wizards of the Coast
Sefris of the Hidden Ways' first ability looks only at the type the card has in the graveyard, not the type it had in any other zone. For example, animated lands dying won't cause the ability to trigger. The opposite is also true. For example, if a creature that was cast as an Adventure is countered, it's a creature card in the graveyard and the first ability will trigger.
No other card is named in this ruling.
- #8· Wizards of the Coast
You can only move forward (well, downward) in a dungeon, never backwards or sideways.
No other card is named in this ruling.
- #9· Wizards of the Coast
Dungeons are removed from the game as a state-based action.
No other card is named in this ruling.
- #10· Wizards of the Coast
If you somehow venture into the dungeon while a room's ability is on the stack, you will continue on in the dungeon. If you're already in the last room, complete that dungeon and start a new one.
No other card is named in this ruling.
- #11· Wizards of the Coast
Choosing the dungeon or room to venture into is part of resolving the venture into the dungeon keyword action. Once that choice is made, players may not respond until after the appropriate room ability has triggered.
No other card is named in this ruling.
- #12· Wizards of the Coast
Dungeon cards are not part of a player's deck or sideboard. In both constructed and limited formats, players can use any dungeon card when they venture into the dungeon.
No other card is named in this ruling.
Popular combos
Real combos played by the community, sorted by popularity.
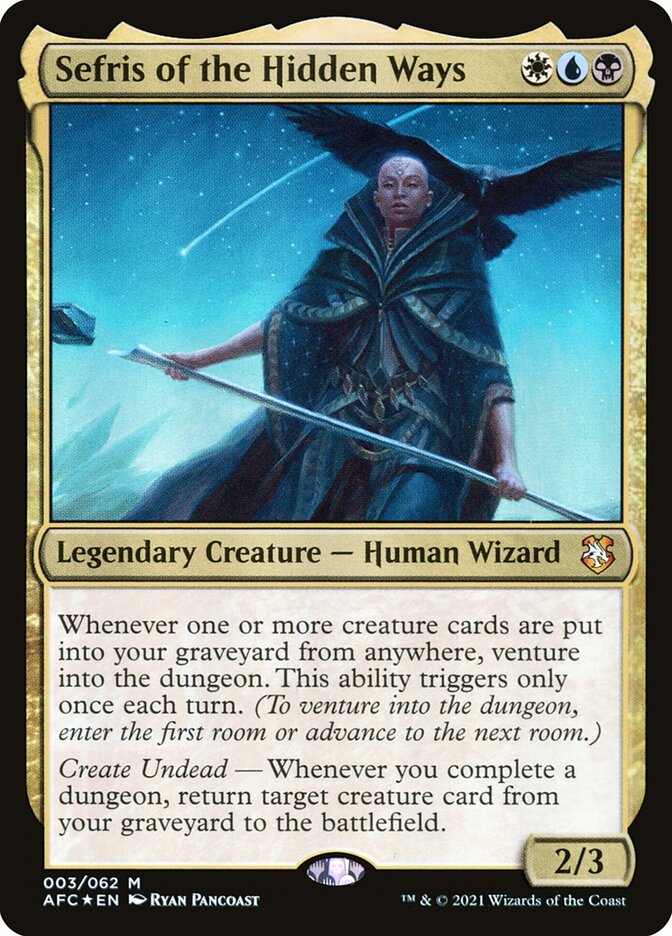
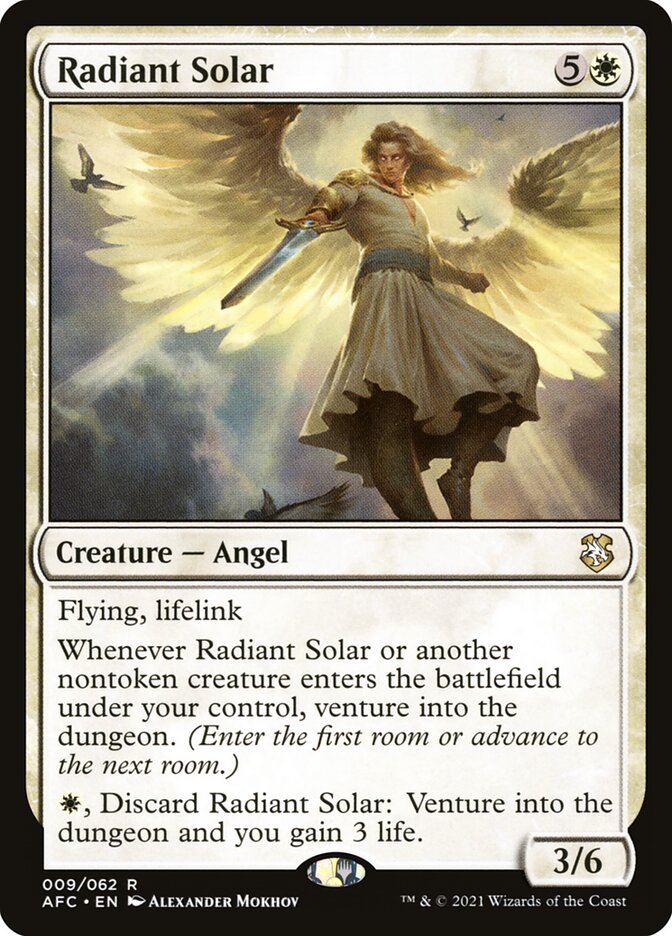


Sefris of the Hidden Ways + Radiant Solar + Sun Titan + Karmic Guide
- 1Activate Viscera Seer by sacrificing Karmic Guide.
- 2Sefris' first ability triggers, causing you to venture into the final room of a dungeon, causing you to complete the dungeon.
- 3Sefris' second ability triggers. Holding priority, activate Viscera Seer twice by sacrificing Sefris and Sun Titan.
- 4Resolve the Sefris trigger, returning Karmic Guide from your graveyard to the battlefield.
- 5When Karmic Guide enters, it and Radiant Solar trigger.
- 6Resolve the Radiant Solar trigger, venturing into Lost Mine of Phandelver and into the Cave Entrace room, causing you to scry 1.
- 7Resolve the Karmic Guide trigger, returning Sun Titan from your graveyard to the battlefield.
- 8When Sun Titan enters, it and Radiant Solar trigger.
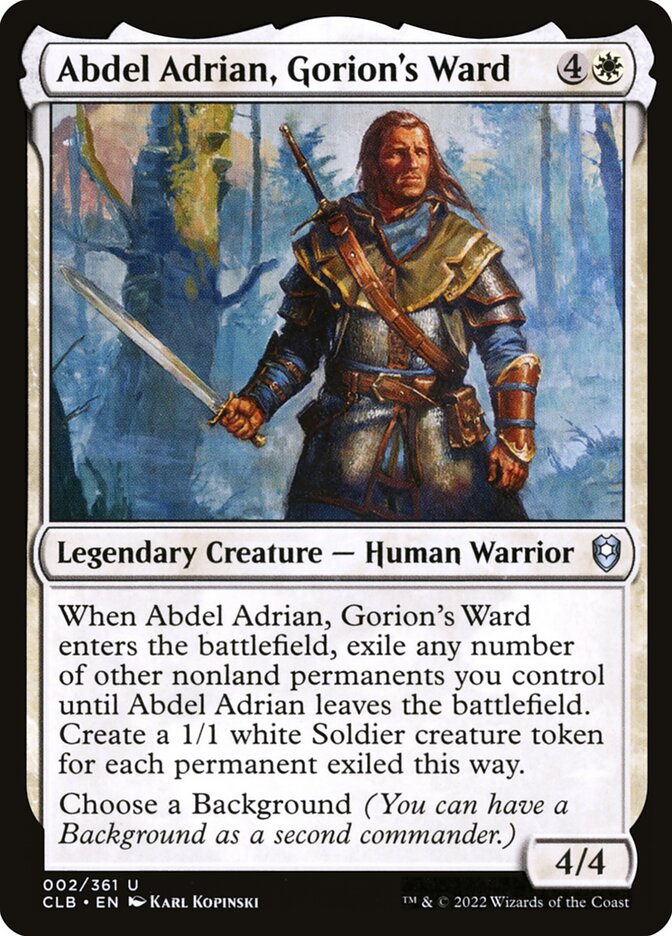
Sefris of the Hidden Ways + Radiant Solar + Abdel Adrian, Gorion's Ward
- 1Cast Abdel Adrian by paying its mana cost.
- 2When Abdel Adrian enters, it and Radiant Solar trigger.
- 3Resolve the Abdel Adrian trigger, exiling Radiant Solar and two other nontoken creatures until Abdel Adrian leaves the battlefield and creating three 1/1 Soldier tokens.
- 4Resolve the Radiant Solar trigger, venturing into the "Sandfall Cell" room, causing you to sacrifice Abdel Adrian and each opponent to either sacrifice a creature, artifact or land or lose 2 life.
- 5Abdel Adrian leaves the battlefield, returning Radiant Solar and the two other nontoken creatures from exile to the battlefield.
- 6Radiant Solar and the two creatures enter the battlefield, triggering Radiant Solar three times.
- 7Resolve the first Radiant Solar trigger, venturing into the "Cradle of the Death God" room, creating a 4/4 The Atropal legendary creature token, and completing Tomb of Annihilation.
- 8Sefris' second ability triggers, returning Abdel Adrian from your graveyard to the battlefield.
Sefris of the Hidden Ways + Radiant Solar + Sun Titan + Karmic Guide
- 1Activate Altar of Dementia by sacrificing Karmic Guide.
- 2Sefris' first ability triggers, causing you to venture into the final room of a dungeon, causing you to complete the dungeon.
- 3Sefris' second ability triggers. Holding priority, activate Altar of Dementia twice by sacrificing Sefris and Sun Titan.
- 4Resolve the Sefris trigger, returning Karmic Guide from your graveyard to the battlefield.
- 5When Karmic Guide enters, it and Radiant Solar trigger.
- 6Resolve the Radiant Solar trigger, venturing into Lost Mine of Phandelver and into the Cave Entrace room, causing you to scry 1.
- 7Resolve the Karmic Guide trigger, returning Sun Titan from your graveyard to the battlefield.
- 8When Sun Titan enters, it and Radiant Solar trigger.
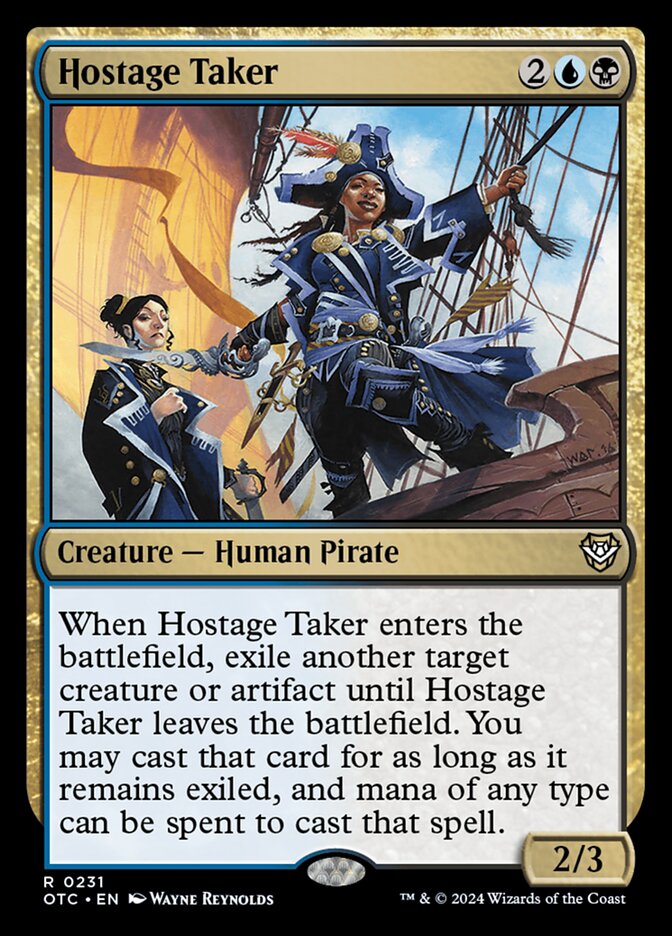
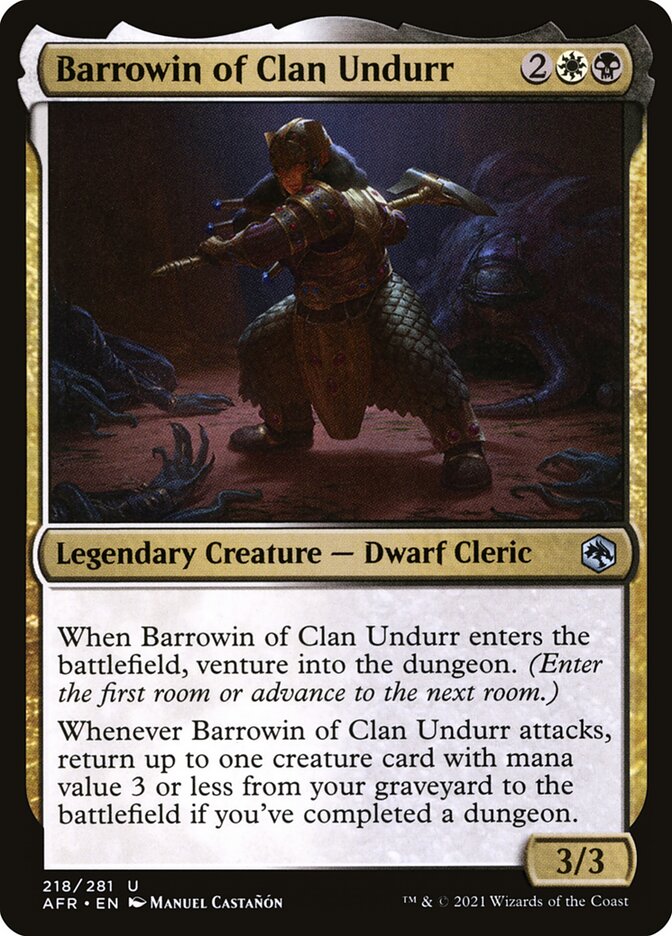
Radiant Solar + Sefris of the Hidden Ways + Hostage Taker + Barrowin of Clan Undurr
- 1Cast Hostage Taker by paying its mana cost.
- 2When Hostage Taker enters, it and Radiant Solar trigger.
- 3Resolve the Hostage Taker trigger, exiling Barrowin of Clan Undurr until Hostage Taker leaves the battlefield.
- 4Resolve the Radiant Solar trigger, venturing into the Oubliette room, causing you to discard a card and then sacrifice Hostage Taker.
- 5Hostage Taker leaves the battlefield, causing Barrowin of Clan Undurr to be returned to the battlefield from exile.
- 6When Barrowin of Clan Undurr enters, it and Radiant Solar trigger.
- 7Resolve the Barrowin of Clan Undurr trigger, venturing into the Cradle of the Death God room, creating a 4/4 legendary The Atropal creature token and completing Tomb of Annihilation.
- 8If you control two or more The Atropal tokens, put all but one into your graveyard due to the legend rule.
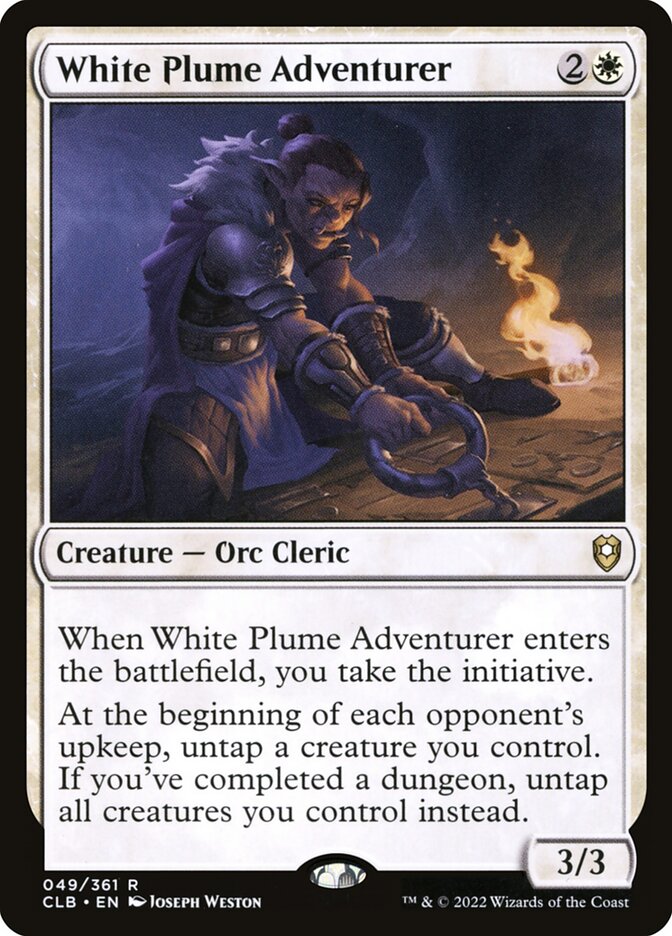
Radiant Solar + Sefris of the Hidden Ways + Hostage Taker + White Plume Adventurer
- 1Cast Hostage Taker by paying its mana cost.
- 2When Hostage Taker enters, it and Radiant Solar trigger.
- 3Resolve the Hostage Taker trigger, exiling White Plume Adventurer until Hostage Taker leaves the battlefield.
- 4Resolve the Radiant Solar trigger, venturing into the Oubliette room, causing you to discard a card and then sacrifice Hostage Taker.
- 5Hostage Taker leaves the battlefield, causing White Plume Adventurer to be returned to the battlefield from exile.
- 6When White Plume Adventurer enters, it and Radiant Solar trigger.
- 7Resolve the White Plume Adventurer trigger, venturing into the Cradle of the Death God room, creating a 4/4 legendary The Atropal creature token and completing Tomb of Annihilation.
- 8If you control two or more The Atropal tokens, put all but one into your graveyard due to the legend rule.
Sefris of the Hidden Ways + Radiant Solar + Sun Titan + Karmic Guide
- 1Activate Ashnod's Altar by sacrificing Karmic Guide.
- 2Sefris' first ability triggers, causing you to venture into the final room of a dungeon, causing you to complete the dungeon.
- 3Sefris' second ability triggers. Holding priority, activate Ashnod's Altar twice by sacrificing Sefris and Sun Titan.
- 4Resolve the Sefris trigger, returning Karmic Guide from your graveyard to the battlefield.
- 5When Karmic Guide enters, it and Radiant Solar trigger.
- 6Resolve the Radiant Solar trigger, venturing into Lost Mine of Phandelver and into the Cave Entrace room, causing you to scry 1.
- 7Resolve the Karmic Guide trigger, returning Sun Titan from your graveyard to the battlefield.
- 8When Sun Titan enters, it and Radiant Solar trigger.
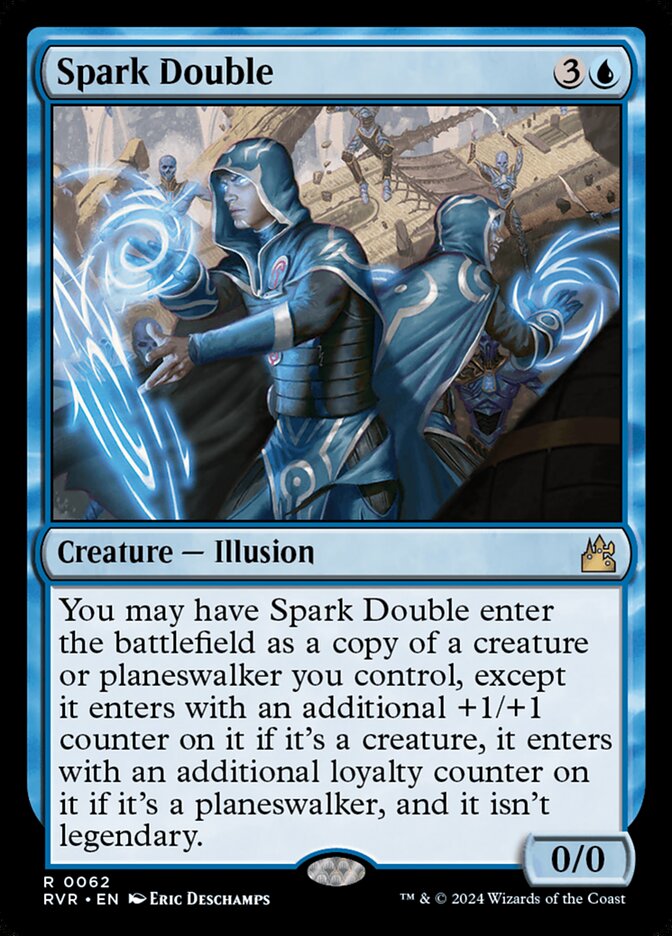
Sefris of the Hidden Ways + Radiant Solar + Spark Double + Glasspool Mimic // Glasspool Shore
- 1Put any nontoken creature onto the battlefield.
- 2When the creature enters, Radiant Solar, Spark Double and Glasspool Mimic each trigger.
- 3Resolve the Radiant Solar trigger, causing you to venture into Tomb of Annihilation and into the Trapped Entry room, causing each player to lose 1 life.
- 4Resolve the Spark Double trigger, venturing into the Oubliette room, causing you to discard a card and then sacrifice Radiant Solar.
- 5Resolve the Glasspool Mimic trigger, venturing into the Cradle of the Death God room, creating a 4/4 legendary The Atropal creature token and completing Tomb of Annihilation.
- 6If you control two or more The Atropal tokens, put all but one into your graveyard due to the legend rule.
- 7Sefris' second ability triggers, returning Radiant Solar from your graveyard to the battlefield.
- 8Repeat from step 2.
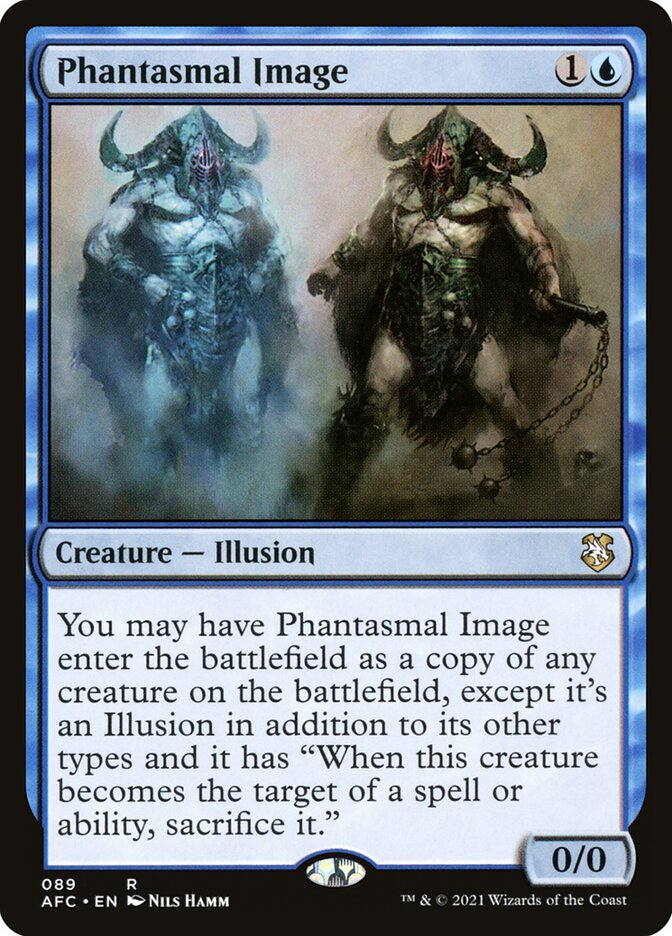
Sefris of the Hidden Ways + Radiant Solar + Phantasmal Image + Glasspool Mimic // Glasspool Shore
- 1Put any nontoken creature onto the battlefield.
- 2When the creature enters, Radiant Solar, Phantasmal Image and Glasspool Mimic each trigger.
- 3Resolve the Radiant Solar trigger, causing you to venture into Tomb of Annihilation and into the Trapped Entry room, causing each player to lose 1 life.
- 4Resolve the Phantasmal Image trigger, venturing into the Oubliette room, causing you to discard a card and then sacrifice Radiant Solar.
- 5Resolve the Glasspool Mimic trigger, venturing into the Cradle of the Death God room, creating a 4/4 legendary The Atropal creature token and completing Tomb of Annihilation.
- 6If you control two or more The Atropal tokens, put all but one into your graveyard due to the legend rule.
- 7Sefris' second ability triggers, returning Radiant Solar from your graveyard to the battlefield.
- 8Repeat from step 2.
Related cards and tokens
Legal formats
Commentaires
- Sois le premier à commenter cette carte.
Read next

Meta decks with Sefris of the Hidden Ways