

Bloodghast is one of those cards players keep asking about. Here is, in plain words, what its official text says, the rulings published by Wizards of the Coast, and the combos players actually run.
Official card text
This creature can't block. This creature has haste as long as an opponent has 10 or less life. Landfall — Whenever a land you control enters, you may return this card from your graveyard to the battlefield.
Complete guide
Bloodghast is a cornerstone of graveyard-based strategies, offering a relentless offensive presence that refuses to stay dead. By utilizing the Landfall mechanic, this Vampire Spirit turns every land drop into a free creature directly from your graveyard.
A Persistent Predator
Bloodghast is built for speed and recursion. While it cannot block, it gains Haste automatically if any opponent has 10 or less life, making it a terrifying top-deck in the late game. Its primary strength lies in its triggered ability: whenever a land enters under your control, you can return Bloodghast from your graveyard to the battlefield for free.
Navigating Landfall Resolving
The Landfall ability triggers whenever a land enters the battlefield under your control, whether you played it as your land for the turn or put it into play via a spell. Crucially, Bloodghast must already be in the graveyard when the land enters for the ability to trigger. Once the trigger is on the stack, you choose whether to return it; if you do, it enters the battlefield immediately upon resolution.
Strategic Timing and Common Pitfalls
A common mistake is thinking Bloodghast triggers if it is put into the graveyard at the same time a land enters; it does not. The land must see Bloodghast in the graveyard to 'find' it. Remember that Bloodghast's Haste is a static ability that checks life totals constantly; as soon as an opponent hits 10 life, it can attack immediately, even if it entered the battlefield earlier that turn.
Interaction examples
 Blood Artist
If you have Blood Artist on the battlefield and a way to sacrifice Bloodghast, you can create a powerful loop. Sacrifice Bloodghast to an effect, causing Blood Artist to trigger and drain life from your opponent. Then, play a land to trigger Landfall, returning Bloodghast to the battlefield, ready to be sacrificed and drained again.
 Ornithopter of Paradise
Early in the game, you can use Ornithopter of Paradise to ensure you have the double Black mana {B}{B} required to cast Bloodghast from your hand. If your opponent manages to kill the Bloodghast, your subsequent land drops will bring it back, allowing your mana-producing creatures like the Ornithopter to focus on casting other spells while Bloodghast provides free pressure.
Guide written with AI from the official text and rulings. Official English text prevails.
How it works : Bloodghast
Original English text — Wizards of the Coast / Scryfall
- #1· Wizards of the Coast
Whenever a land you control enters, each landfall ability of permanents you control will trigger. You can put them on the stack in any order. The last ability you put on the stack will be the first one to resolve. As a result, you can have those abilities resolve in the order of your choosing.
No other card is named in this ruling.
- #2· Wizards of the Coast
A landfall ability triggers whenever a land you control enters for any reason. It triggers whenever you play a land, as well as whenever a spell or ability puts a land onto the battlefield under your control.
No other card is named in this ruling.
- #3· Wizards of the Coast
A landfall ability doesn't trigger if a permanent already on the battlefield becomes a land.
No other card is named in this ruling.
- #4· Wizards of the Coast
Bloodghast's landfall ability triggers only if it's already in your graveyard at the time a land enters under your control.
No other card is named in this ruling.
Popular combos
Real combos played by the community, sorted by popularity.


Zimone and Dina + Bloodghast + Retreat to Coralhelm + Simic Growth Chamber
- 1Activate Zimone and Dina by tapping it and sacrificing Bloodghast, causing you to draw a card and put Simic Growth Chamber from your hand onto the battlefield, and then repeat this process once if you control eight or more lands, putting any other land from your hand onto the battlefield instead.
- 2When Simic Growth Chamber enters the battlefield, it, Bloodghast and Retreat to Coralhelm trigger.
- 3Resolve the Simic Growth Chamber trigger, returning it from the battlefield to your hand.
- 4Resolve the Bloodghast trigger, returning it from your graveyard to the battlefield.
- 5Resolve the Retreat to Coralhelm trigger, untapping Zimone and Dina.
- 6Repeat.

Zimone and Dina + Bloodghast + Retreat to Coralhelm + Golgari Rot Farm
- 1Activate Zimone and Dina by tapping it and sacrificing Bloodghast, causing you to draw a card and put Golgari Rot Farm from your hand onto the battlefield, and then repeat this process once if you control eight or more lands, putting any other land from your hand onto the battlefield instead.
- 2When Golgari Rot Farm enters the battlefield, it, Bloodghast and Retreat to Coralhelm trigger.
- 3Resolve the Golgari Rot Farm trigger, returning it from the battlefield to your hand.
- 4Resolve the Bloodghast trigger, returning it from your graveyard to the battlefield.
- 5Resolve the Retreat to Coralhelm trigger, untapping Zimone and Dina.
- 6Repeat.

Zimone and Dina + Bloodghast + Retreat to Coralhelm + Dimir Aqueduct
- 1Activate Zimone and Dina by tapping it and sacrificing Bloodghast, causing you to draw a card and put Dimir Aqueduct from your hand onto the battlefield, and then repeat this process once if you control eight or more lands, putting any other land from your hand onto the battlefield instead.
- 2When Dimir Aqueduct enters the battlefield, it, Bloodghast and Retreat to Coralhelm trigger.
- 3Resolve the Dimir Aqueduct trigger, returning it from the battlefield to your hand.
- 4Resolve the Bloodghast trigger, returning it from your graveyard to the battlefield.
- 5Resolve the Retreat to Coralhelm trigger, untapping Zimone and Dina.
- 6Repeat.


Sméagol, Helpful Guide + Dúnedain Rangers + Bloodghast + Viscera Seer
- 1Play a land card, triggering Dúnedain Rangers and Bloodghast.
- 2Resolve the Bloodghast trigger, returning it from your graveyard to the battlefield.
- 3Resolve the Dúnedain Rangers trigger, causing the Ring to tempt you, and causing Bloodghast to become your Ring-bearer.
- 4Sméagol triggers.
- 5Holding priority, activate Viscera Seer by sacrificing Bloodghast, causing you to scry 1.
- 6Resolve the Sméagol trigger, causing an opponent to reveal cards from the top of their library until they reveal a land card, then causing you to put the land onto the battlefield tapped under your control, and your opponent to put all other revealed cards into their graveyard.
- 7When the land enters the battlefield, Dúnedain Rangers and Bloodghast trigger.
- 8Repeat from step 2.
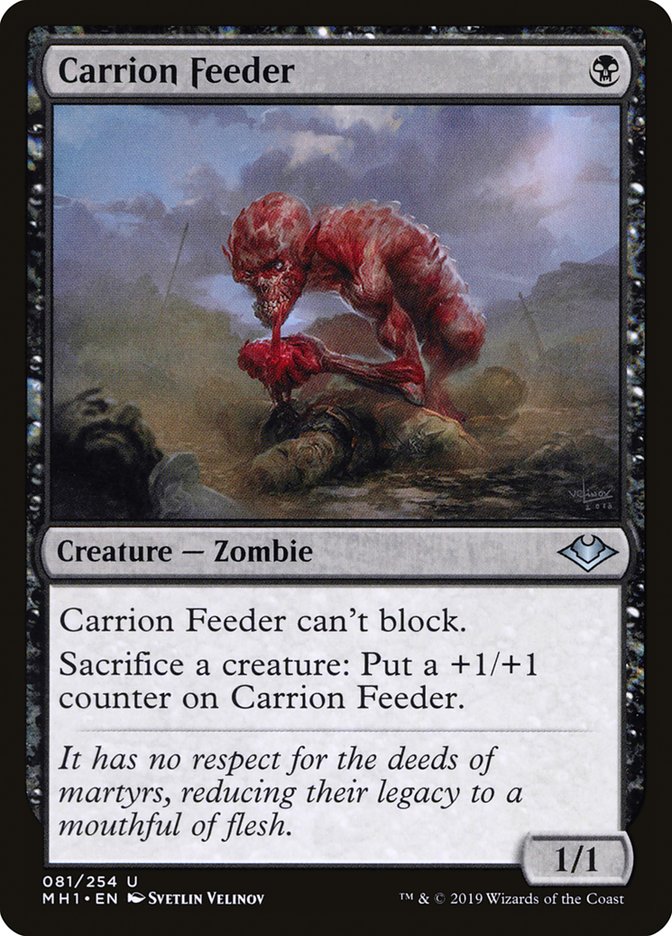
Sméagol, Helpful Guide + Dúnedain Rangers + Bloodghast + Carrion Feeder
- 1Play a land card, triggering Dúnedain Rangers and Bloodghast.
- 2Resolve the Bloodghast trigger, returning it from your graveyard to the battlefield.
- 3Resolve the Dúnedain Rangers trigger, causing the Ring to tempt you, and causing Bloodghast to become your Ring-bearer.
- 4Sméagol triggers.
- 5Holding priority, activate Carrion Feeder by sacrificing Bloodghast, putting a +1/+1 counter on Carrion Feeder.
- 6Resolve the Sméagol trigger, causing an opponent to reveal cards from the top of their library until they reveal a land card, then causing you to put the land onto the battlefield tapped under your control, and your opponent to put all other revealed cards into their graveyard.
- 7When the land enters the battlefield, Dúnedain Rangers and Bloodghast trigger.
- 8Repeat from step 2.
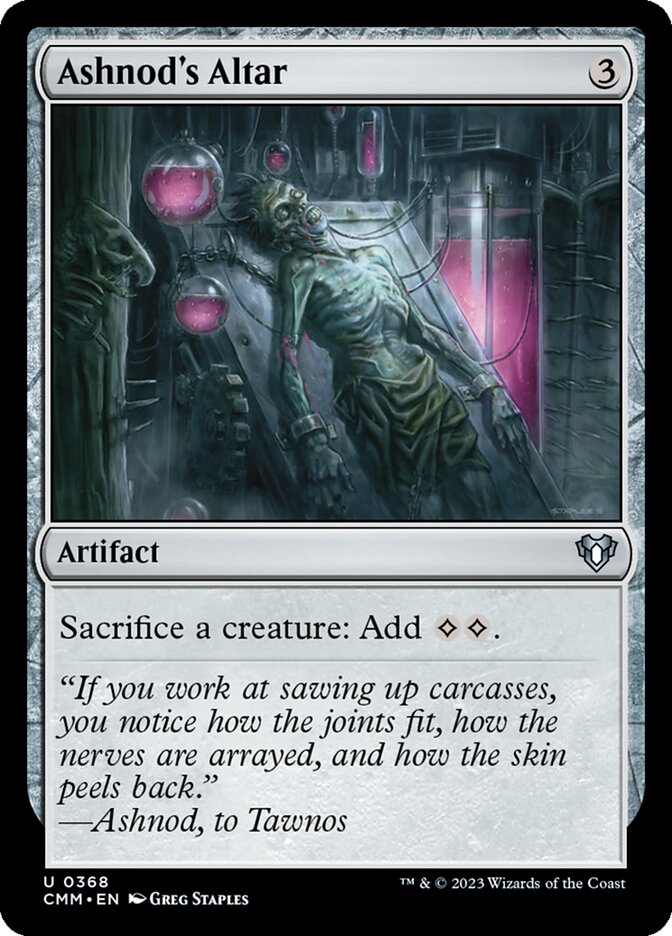
Sméagol, Helpful Guide + Dúnedain Rangers + Bloodghast + Ashnod's Altar
- 1Play a land card, triggering Dúnedain Rangers and Bloodghast.
- 2Resolve the Bloodghast trigger, returning it from your graveyard to the battlefield.
- 3Resolve the Dúnedain Rangers trigger, causing the Ring to tempt you, and causing Bloodghast to become your Ring-bearer.
- 4Sméagol triggers.
- 5Holding priority, activate Ashnod's Altar by sacrificing Bloodghast, adding
 .
- 6Resolve the Sméagol trigger, causing an opponent to reveal cards from the top of their library until they reveal a land card, then causing you to put the land onto the battlefield tapped under your control, and your opponent to put all other revealed cards into their graveyard.
- 7When the land enters the battlefield, Dúnedain Rangers and Bloodghast trigger.
- 8Repeat from step 2.

Wight of the Reliquary + Retreat to Coralhelm + Bloodghast
- 1Activate Wight of the Reliquary by tapping it and sacrificing Bloodghast, causing you to search your library for a land card and put it onto the battlefield tapped.
- 2When the land enters the battlefield, Bloodghast and Retreat to Coralhelm trigger.
- 3Resolve the Bloodghast trigger, returning it from your graveyard to the battlefield.
- 4Resolve the Retreat to Coralhelm trigger, untapping Wight of the Reliquary.
- 5Repeat.

Zimone and Dina + Bloodghast + Intruder Alarm + Simic Growth Chamber
- 1Activate Zimone and Dina by tapping it and sacrificing Bloodghast, causing you to draw a card and put Simic Growth Chamber from your hand onto the battlefield, and then repeat this process once if you control eight or more lands, putting any other land from your hand onto the battlefield instead.
- 2When Simic Growth Chamber enters the battlefield, it and Bloodghast trigger.
- 3Resolve the Simic Growth Chamber trigger, returning it from the battlefield to your hand.
- 4Resolve the Bloodghast trigger, returning it from your graveyard to the battlefield.
- 5When Bloodghast enters the battlefield, Intruder Alarm triggers, untapping all creatures.
- 6Repeat.
Legal formats
Commentaires
- Sois le premier à commenter cette carte.
Read next
Meta decks with Bloodghast
No archived Top 8 deck with this card yet.