

Fabled Passage is one of those cards players keep asking about. Here is, in plain words, what its official text says, the rulings published by Wizards of the Coast, and the combos players actually run.
Official card text
, Sacrifice this land: Search your library for a basic land card, put it onto the battlefield tapped, then shuffle. Then if you control four or more lands, untap that land.
Complete guide
Fabled Passage trades itself for a basic land from your library, helping you find the mana source you need. With four or more lands under your control as its ability resolves, it also untaps the land it finds—but that land still enters tapped first.
What Fabled Passage Does
Fabled Passage has an activated ability whose cost is tapping and sacrificing it. The ability searches your library for a basic land card, puts it onto the battlefield tapped, and has you shuffle. Then, if you control four or more lands, it untaps the land it put onto the battlefield. Fabled Passage has no ability that directly produces mana. It also cannot find Command Tower or Exotic Orchard: neither has the basic supertype.
How the Ability Resolves, Step by Step
1. Activate the ability by tapping Fabled Passage and sacrificing it. Both actions are costs, so Fabled Passage is already in your graveyard before anyone can respond. 2. The ability goes on the stack. Players may respond before it resolves. 3. On resolution, search your library for a basic land card. Because you are searching a hidden zone for a card with a stated quality, you may choose not to find one, even if one is available. 4. If you find a card, put it onto the battlefield tapped. Then shuffle your library, whether or not you found a card. 5. Check how many lands you control. If you control four or more, untap the land this ability put onto the battlefield. The new basic land counts; the sacrificed Fabled Passage does not. No player receives priority between these instructions. In particular, no one can act between the basic land entering tapped and the check that may untap it.
Common Mistakes—and Two Examples
The four-land requirement is checked during resolution, not when you activate the ability. Also, satisfying it does not make the basic land enter untapped: it enters tapped and then untaps. Putting that land onto the battlefield is not playing a land, so it does not use your normal land play for the turn. Example 1 — Three lands with Command Tower and Exotic Orchard: You control only Fabled Passage, Command Tower, and Exotic Orchard. Tap and sacrifice Fabled Passage, leaving two lands. When the ability resolves, find a basic land and put it onto the battlefield tapped, then shuffle. You now control three lands, so the basic land stays tapped. Example 2 — Four lands with Command Tower and Exotic Orchard: You control Fabled Passage, Command Tower, Exotic Orchard, and one basic land. Tap and sacrifice Fabled Passage, leaving three lands. Resolve its ability by finding another basic land, putting it onto the battlefield tapped, and shuffling. You now control four lands, so you untap the basic land you just found.
When to Play and Activate It
Playing Fabled Passage follows the normal timing and limits for playing lands. Its activated ability, however, has no sorcery-speed restriction: you can activate it whenever you have priority and can pay its costs. As long as it is not a creature, you can tap it for this ability even on the turn it enters. If you need the fetched land's mana immediately, aim to control at least four lands after the ability puts it onto the battlefield. With fewer lands, activating during an opponent's end step can set up the basic land to untap during your next untap step. Remember that sacrificing Fabled Passage usually replaces one land with another—it does not itself increase your land count.
Guide written with AI from the official text and rulings. Official English text prevails.
How it works : Fabled Passage
Original English text — Wizards of the Coast / Scryfall
- #1· Wizards of the Coast
The land that you put onto the battlefield will be counted when determining whether you control four or more lands, but Fabled Passage will not.
No other card is named in this ruling.
- #2· Wizards of the Coast
If you control four or more lands, the basic land doesn't enter untapped; it enters tapped and then you untap it.
No other card is named in this ruling.
Popular combos
Real combos played by the community, sorted by popularity.
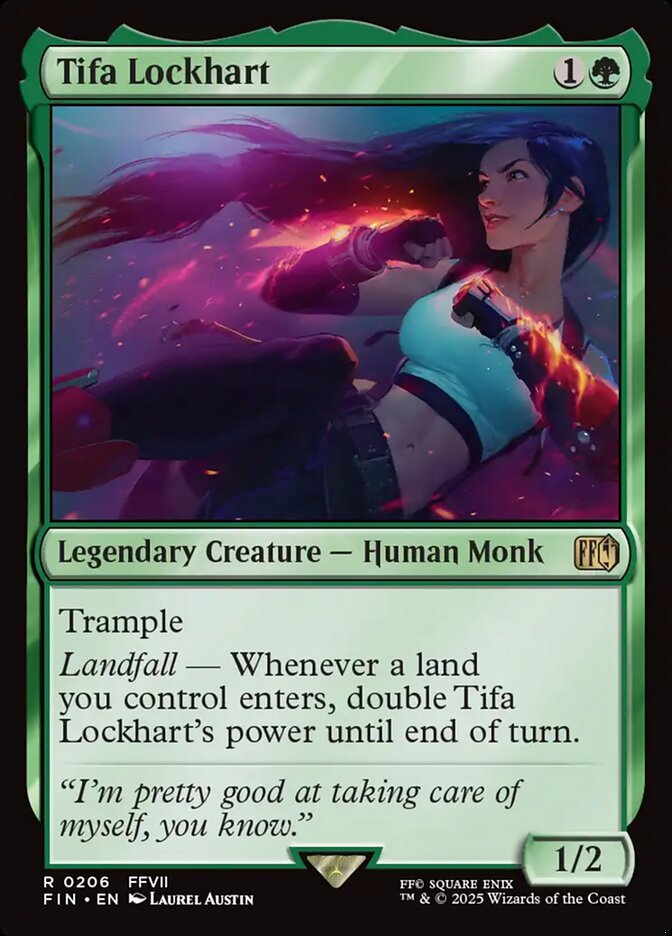
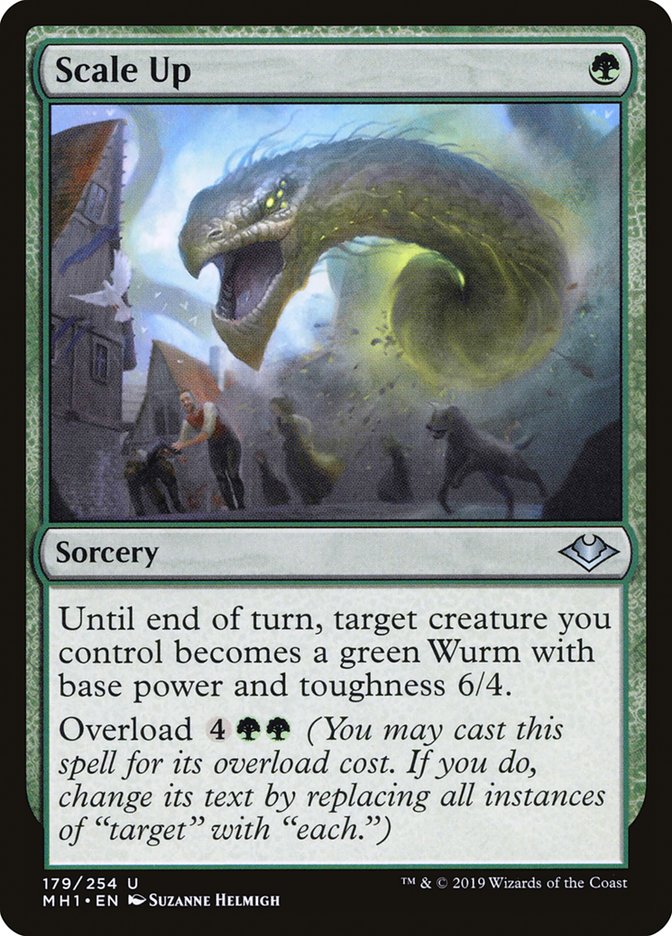

Tifa Lockhart + Scale Up + Fabled Passage
- 1Cast Scale Up by paying
 , targeting Tifa.
- 2Play Fabled Passage.
- 3When Fabled Passage enters, Tifa triggers, doubling its power until end of turn.
- 4Activate Fabled Passage by tapping and sacrificing it, searching your library for an applicable land and putting it onto the battlefield.
- 5When the land enters, Tifa triggers, doubling its power until end of turn
- 6Deal combat damage to an opponent using Tifa. That opponent loses the game due to being dealt 21 or more combat damage by your commander.
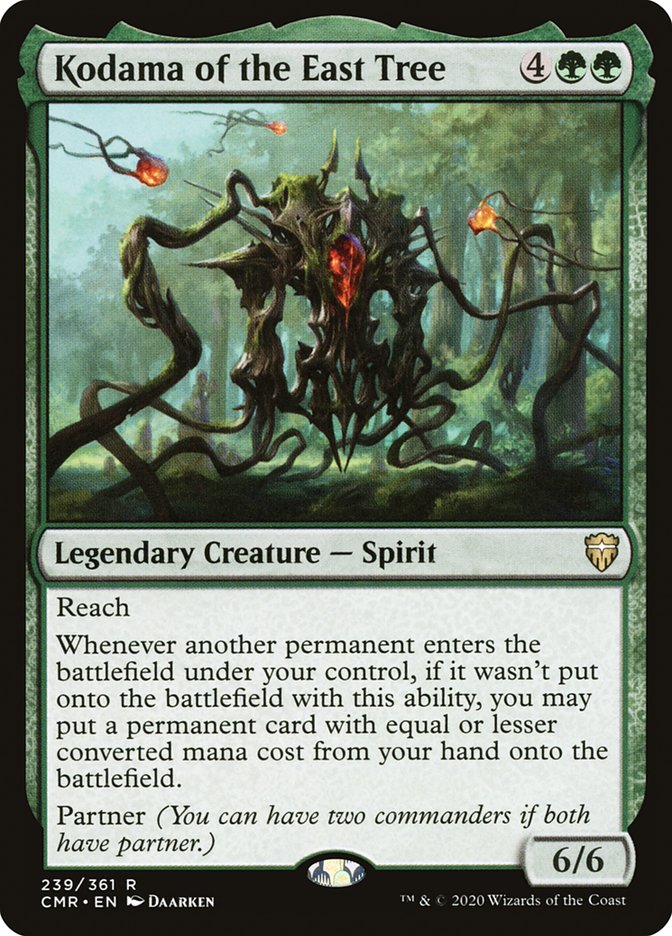
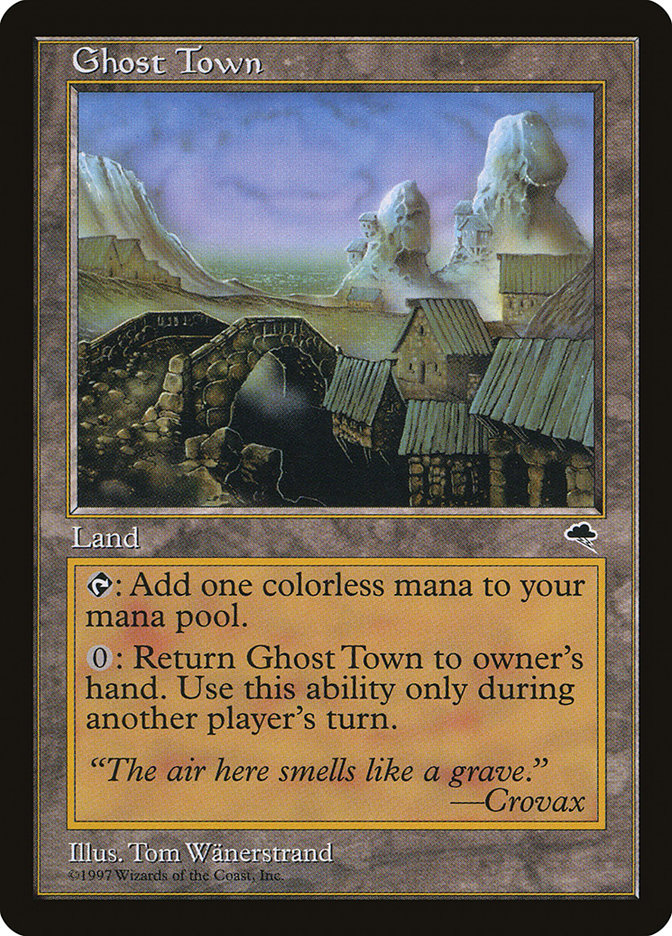

Kodama of the East Tree + Ghost Town + Scute Swarm + Fabled Passage
- 1Fetch a land using Fabled Passage.
- 2When the fetched land enters, Scute Swarm and Kodama trigger.
- 3Resolve the Kodama trigger, putting Ghost Town from your hand onto the battlefield.
- 4When Ghost Town enters, Kodama and Scute Swarm trigger.
- 5Holding priority, activate Ghost Town's first abiltiy by tapping it, adding
 .
- 6Activate Ghost Town's second ability by paying
 , returning it from the battlefield to your hand.
- 7Resolve the Scute Swarm from step 4, creating a token.
- 8When the token enters, Kodama triggers, putting Ghost Town from your hand onto the battlefield.
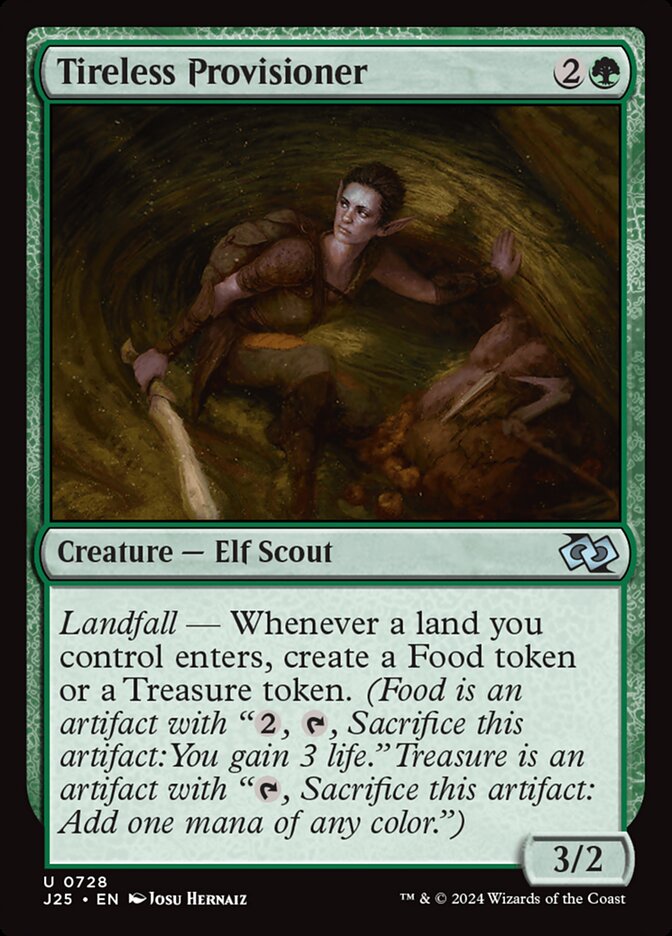
Kodama of the East Tree + Ghost Town + Tireless Provisioner + Fabled Passage
- 1Fetch a land using Fabled Passage.
- 2When the fetched land enters, Tireless Provisioner and Kodama trigger.
- 3Resolve the Kodama trigger, putting Ghost Town from your hand onto the battlefield.
- 4When Ghost Town enters, Kodama and Tireless Provisioner trigger.
- 5Holding priority, activate Ghost Town's first abiltiy by tapping it, adding .
- 6Activate Ghost Town's second ability by paying , returning it from the battlefield to your hand.
- 7Resolve the Tireless Provisioner from step 4, creating a token.
- 8When the token enters, Kodama triggers, putting Ghost Town from your hand onto the battlefield.
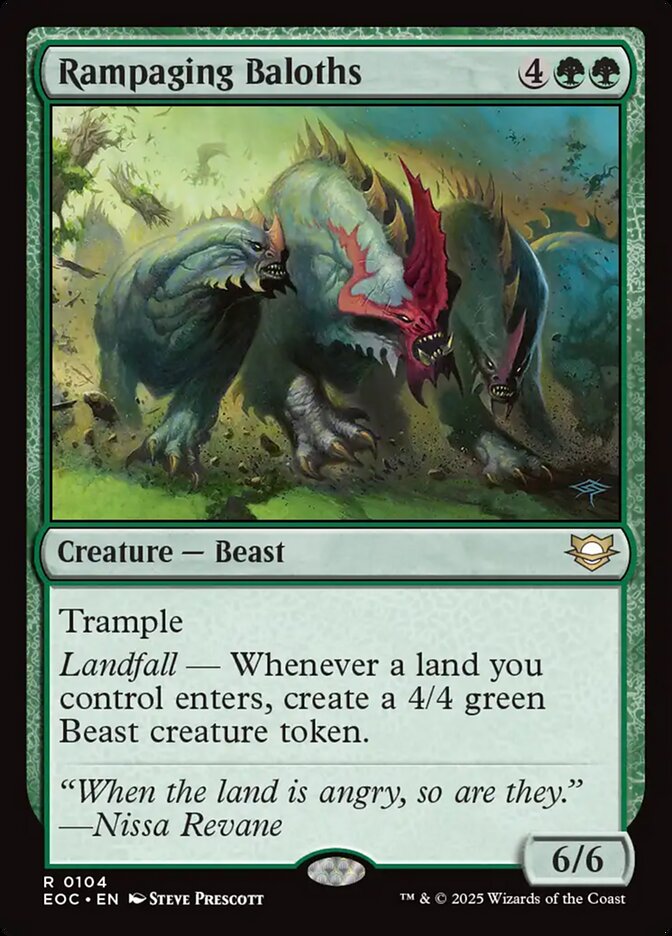
Kodama of the East Tree + Ghost Town + Fabled Passage + Rampaging Baloths
- 1Fetch a land using Fabled Passage.
- 2When the fetched land enters, Rampaging Baloths and Kodama trigger.
- 3Resolve the Kodama trigger, putting Ghost Town from your hand onto the battlefield.
- 4When Ghost Town enters, Kodama and Rampaging Baloths trigger.
- 5Holding priority, activate Ghost Town's first abiltiy by tapping it, adding .
- 6Activate Ghost Town's second ability by paying , returning it from the battlefield to your hand.
- 7Resolve the Rampaging Baloths from step 4, creating a token.
- 8When the token enters, Kodama triggers, putting Ghost Town from your hand onto the battlefield.

Kodama of the East Tree + Ghost Town + Fabled Passage + Omnath, Locus of Rage
- 1Fetch a land using Fabled Passage.
- 2When the fetched land enters, Omnath and Kodama trigger.
- 3Resolve the Kodama trigger, putting Ghost Town from your hand onto the battlefield.
- 4When Ghost Town enters, Kodama and Omnath trigger.
- 5Holding priority, activate Ghost Town's first abiltiy by tapping it, adding .
- 6Activate Ghost Town's second ability by paying , returning it from the battlefield to your hand.
- 7Resolve the Omnath from step 4, creating a token.
- 8When the token enters, Kodama triggers, putting Ghost Town from your hand onto the battlefield.
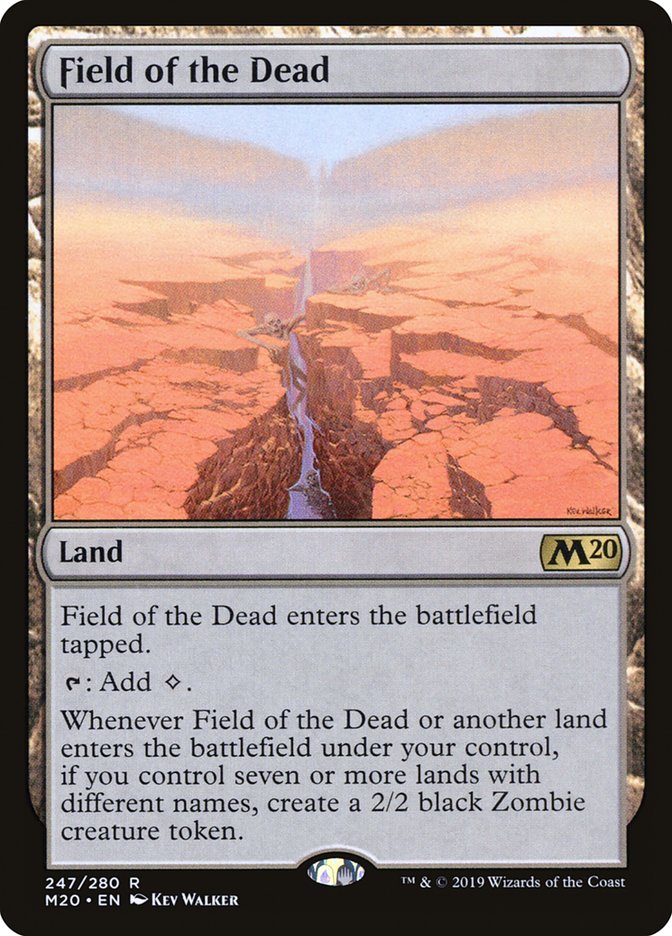
Kodama of the East Tree + Ghost Town + Fabled Passage + Field of the Dead
- 1Fetch a land using Fabled Passage.
- 2When the fetched land enters, Field of the Dead and Kodama trigger.
- 3Resolve the Kodama trigger, putting Ghost Town from your hand onto the battlefield.
- 4When Ghost Town enters, Kodama and Field of the Dead trigger.
- 5Holding priority, activate Ghost Town's first abiltiy by tapping it, adding .
- 6Activate Ghost Town's second ability by paying , returning it from the battlefield to your hand.
- 7Resolve the Field of the Dead from step 4, creating a token.
- 8When the token enters, Kodama triggers, putting Ghost Town from your hand onto the battlefield.
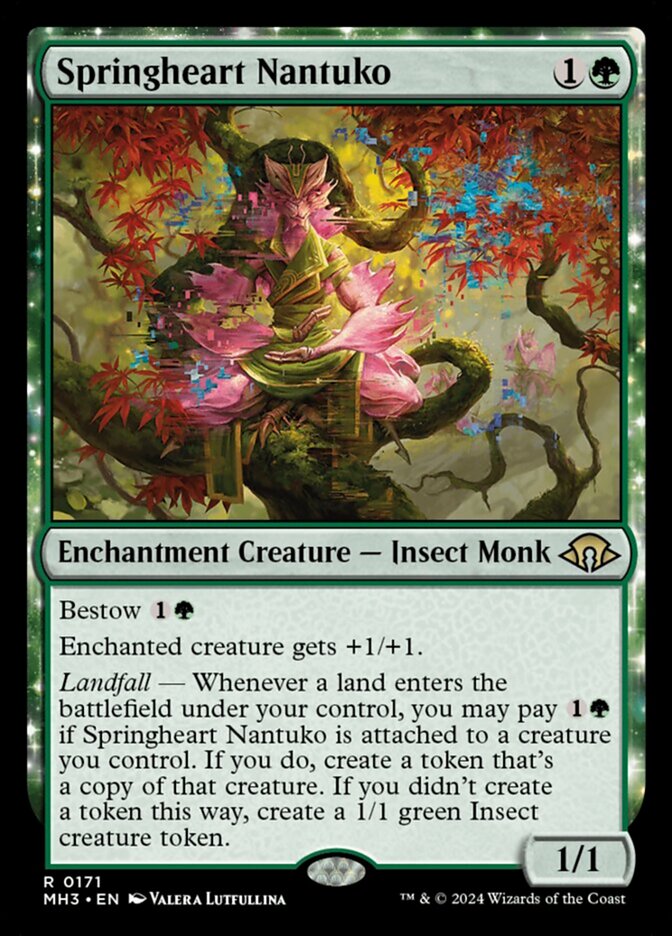
Kodama of the East Tree + Ghost Town + Fabled Passage + Springheart Nantuko
- 1Fetch a land using Fabled Passage.
- 2When the fetched land enters, Springheart Nantuko and Kodama trigger.
- 3Resolve the Kodama trigger, putting Ghost Town from your hand onto the battlefield.
- 4When Ghost Town enters, Kodama and Springheart Nantuko trigger.
- 5Holding priority, activate Ghost Town's first abiltiy by tapping it, adding .
- 6Activate Ghost Town's second ability by paying , returning it from the battlefield to your hand.
- 7Resolve the Springheart Nantuko from step 4, creating a token.
- 8When the token enters, Kodama triggers, putting Ghost Town from your hand onto the battlefield.

Kodama of the East Tree + Ghost Town + Tireless Tracker + Fabled Passage
- 1Fetch a land using Fabled Passage.
- 2When the fetched land enters, Tireless Tracker and Kodama trigger.
- 3Resolve the Kodama trigger, putting Ghost Town from your hand onto the battlefield.
- 4When Ghost Town enters, Kodama and Tireless Tracker trigger.
- 5Holding priority, activate Ghost Town's first abiltiy by tapping it, adding .
- 6Activate Ghost Town's second ability by paying , returning it from the battlefield to your hand.
- 7Resolve the Tireless Tracker from step 4, creating a token.
- 8When the token enters, Kodama triggers, putting Ghost Town from your hand onto the battlefield.
Legal formats
Commentaires
- Sois le premier à commenter cette carte.
Read next


Meta decks with Fabled Passage
No archived Top 8 deck with this card yet.