

Seluma, Light of Aysen is one of those cards players keep asking about. Here is, in plain words, what its official text says, the rulings published by Wizards of the Coast, and the combos players actually run.
Official card text
Rulebreaker — A deck with this commander can have Angel cards of any color identity and any basic land cards. Flying Whenever Seluma deals combat damage to a player, return target Angel creature card from your graveyard to the battlefield.
Complete guide
Seluma, Light of Aysen is a unique Legendary Angel that shatters traditional deckbuilding restrictions with her Rulebreaker ability. While she is mono-white, she allows you to command a diverse heavenly host from across all five colors. This makes her a powerful build-around commander for Angel tribal enthusiasts.
Understanding Rulebreaker
The Rulebreaker ability functions specifically during the deck construction phase. Even though Seluma's color identity is technically white, you are legally allowed to include any card with the Angel creature type regardless of its mana symbols. Furthermore, you may include any basic land cards (Plains, Islands, Swamps, Mountains, and Forests) to help pay for those off-color Angels.
Combat and Resurrection
Seluma's second ability is a triggered ability that occurs during the combat damage step. When she successfully deals damage to a player's life total, you choose a target Angel creature card in your graveyard. That card is put directly onto the battlefield. Note that because this happens after damage is dealt, any Angel that died earlier in that same combat can be a legal target for this ability.
Common Pitfalls
It is important to remember that Rulebreaker only applies to cards with the Angel creature type and basic lands. You cannot include non-Angel multicolored spells or non-basic lands that fall outside of a white color identity (like a Raugrin Triome) unless they also happen to be basic lands. Additionally, Seluma must deal damage to a player to trigger; damage dealt to planeswalkers or battles will not trigger the resurrection.
Strategic Timing
Because Seluma has Flying, she is an excellent evasive threat. You should aim to play her when your graveyard is already populated with high-impact Angels. Since the ability triggers on combat damage, giving her Double Strike can result in two separate triggers, potentially returning two Angels in a single turn.
Interaction examples
 Solemn Simulacrum
If you are playing a five-color Angel deck under Seluma, you can use Solemn Simulacrum to search for any basic land, such as a Forest or Mountain, even though Seluma herself is mono-white. This helps ensure you have the correct colors to cast the Angels you have included via Rulebreaker.
 Roaming Throne
If you control Roaming Throne and chose 'Angel' as it entered, Seluma's combat damage trigger will trigger an additional time. When Seluma deals combat damage to a player, you will be able to target and return two Angel creature cards from your graveyard to the battlefield instead of just one.
Guide written with AI from the official text and rulings. Official English text prevails.
How it works : Seluma, Light of Aysen
Original English text — Wizards of the Coast / Scryfall
No additional ruling has been published for this card.
Popular combos
Real combos played by the community, sorted by popularity.


Aurelia, the Warleader + Seluma, Light of Aysen + Altar of Dementia
- 1Declare Aurelia and Seluma as attackers. Aurelia triggers, causing you to untap all creatures you control and to get an additional combat phase after this one.
- 2Activate Altar of Dementia by sacrificing Aurelia.
- 3Deal combat damage using Seluma. Seluma triggers, returning Aurelia from your graveyard to the battlefield.
- 4Repeat.

Aurelia, the Warleader + Seluma, Light of Aysen + Phyrexian Altar
- 1Declare Aurelia and Seluma as attackers. Aurelia triggers, causing you to untap all creatures you control and to get an additional combat phase after this one.
- 2Activate Phyrexian Altar by sacrificing Aurelia.
- 3Deal combat damage using Seluma. Seluma triggers, returning Aurelia from your graveyard to the battlefield.
- 4Repeat.
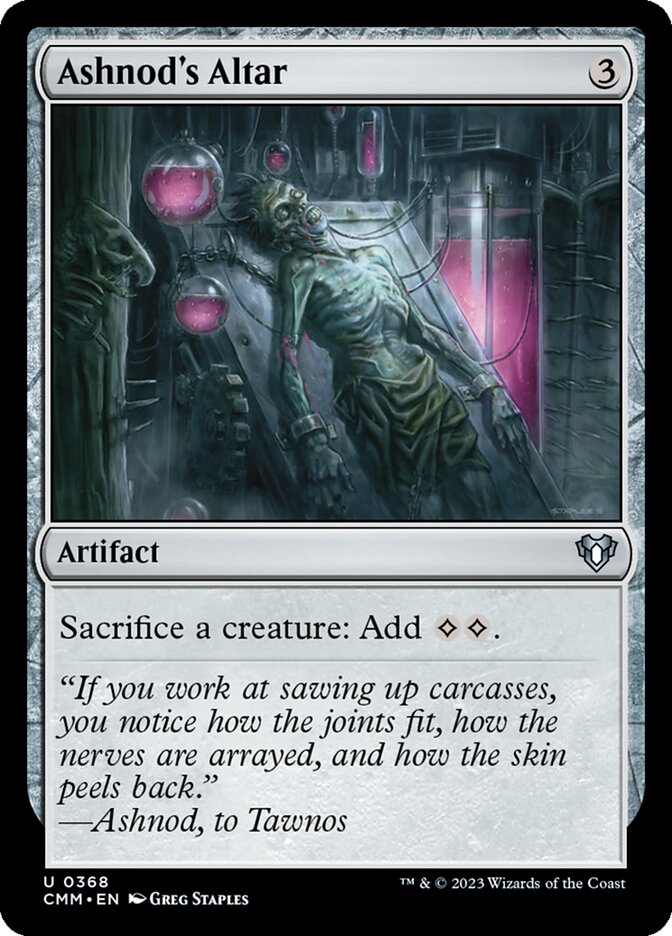
Aurelia, the Warleader + Seluma, Light of Aysen + Ashnod's Altar
- 1Declare Aurelia and Seluma as attackers. Aurelia triggers, causing you to untap all creatures you control and to get an additional combat phase after this one.
- 2Activate Ashnod's Altar by sacrificing Aurelia.
- 3Deal combat damage using Seluma. Seluma triggers, returning Aurelia from your graveyard to the battlefield.
- 4Repeat.

Aurelia, the Warleader + Seluma, Light of Aysen + Shilgengar, Sire of Famine
- 1Declare Aurelia and Seluma as attackers. Aurelia triggers, causing you to untap all creatures you control and to get an additional combat phase after this one.
- 2Activate Shilgengar by sacrificing Aurelia.
- 3Deal combat damage using Seluma. Seluma triggers, returning Aurelia from your graveyard to the battlefield.
- 4Repeat.

Aurelia, the Warleader + Seluma, Light of Aysen + Blasting Station
- 1Declare Aurelia and Seluma as attackers. Aurelia triggers, causing you to untap all creatures you control and to get an additional combat phase after this one.
- 2Activate Blasting Station by tapping it and sacrificing Aurelia.
- 3Deal combat damage using Seluma. Seluma triggers, returning Aurelia from your graveyard to the battlefield.
- 4When Aurelia enters, Blasting Station triggers, untapping Blasting Station.
- 5Repeat.

Aurelia, the Warleader + Seluma, Light of Aysen + Yahenni, Undying Partisan
- 1Declare Aurelia and Seluma as attackers. Aurelia triggers, causing you to untap all creatures you control and to get an additional combat phase after this one.
- 2Activate Yahenni by sacrificing Aurelia.
- 3Deal combat damage using Seluma. Seluma triggers, returning Aurelia from your graveyard to the battlefield.
- 4Repeat.


Breath of Fury + Seluma, Light of Aysen + The Fire Crystal
- 1Deal combat damage using the creature that has Breath of Fury attached and Seluma, triggering both Breath of Fury and Seluma.
- 2Resolve the Seluma trigger, returning an Angel from your graveyard to the battlefield.
- 3Resolve the Breath of Fury trigger, causing you to sacrifice the creature it is attached to, then attach Breath of Fury to the Angel returned in step 2, then causing you to untap all creatures you control and to get an additional combat phase after this one.
- 4Repeat each combat phase.

Breath of Fury + Seluma, Light of Aysen + Concordant Crossroads
- 1Deal combat damage using the creature that has Breath of Fury attached and Seluma, triggering both Breath of Fury and Seluma.
- 2Resolve the Seluma trigger, returning an Angel from your graveyard to the battlefield.
- 3Resolve the Breath of Fury trigger, causing you to sacrifice the creature it is attached to, then attach Breath of Fury to the Angel returned in step 2, then causing you to untap all creatures you control and to get an additional combat phase after this one.
- 4Repeat each combat phase.
Legal formats
Commentaires
- Sois le premier à commenter cette carte.
Read next
Meta decks with Seluma, Light of Aysen
No archived Top 8 deck with this card yet.