

Sporemound is one of those cards players keep asking about. Here is, in plain words, what its official text says, the rulings published by Wizards of the Coast, and the combos players actually run.
Official card text
Landfall — Whenever a land you control enters, create a 1/1 green Saproling creature token.
Complete guide
Sporemound is a classic green creature that turns your land drops into an expanding army of tokens. By utilizing the Landfall mechanic, it ensures that every resource you build also contributes to your board presence. This Fungus creature is a staple for players who love to ramp and overwhelm opponents with sheer numbers.
The Mechanics of Landfall
Sporemound features a triggered ability known as Landfall. This ability watches the battlefield for any land entering under your control. It does not matter if the land was played as your normal land for the turn or if it entered because of a spell or another creature's ability; as long as the land is now on your side of the field, the ability triggers.
Step-by-Step Resolution
First, a land enters the battlefield under your control. This causes Sporemound's Landfall ability to trigger and be put onto the stack. Players then have a chance to respond with spells or abilities. Once both players pass priority, the ability resolves, and you create one 1/1 green Saproling creature token. This process repeats individually for every single land that enters.
Strategic Timing and Common Mistakes
A common mistake is forgetting that Sporemound itself must be on the battlefield to see the land enter. If you play a land and Sporemound at the same time (due to a rare effect), it will not trigger. Additionally, remember that the Saproling token is a creature and is subject to summoning sickness, so it cannot attack the turn it is created unless you have a way to grant it haste.
When to Play Sporemound
Sporemound is most effective in decks that can put multiple lands into play each turn. Because it costs five mana, you want to follow it up immediately with land-search effects to guarantee value before your opponent can remove it. It serves as both a defensive wall of blockers and a scaling offensive threat.
Interaction examples
 Saproling
With Sporemound on the battlefield, you play a Forest from your hand. This triggers Landfall, and you create one 1/1 green Saproling creature token.
 Solemn Simulacrum
You cast Solemn Simulacrum while Sporemound is out. When the Golem enters, you search for a basic land and put it onto the battlefield. Even though the land enters tapped, it still triggers Sporemound, granting you a Saproling token in addition to the mana acceleration.
 Roaming Throne
You have Roaming Throne on the battlefield with 'Fungus' chosen as the creature type. When a land enters under your control, Sporemound's ability triggers. Because it is a Fungus, Roaming Throne causes that ability to trigger an additional time, resulting in two Saproling tokens for every one land.
Guide written with AI from the official text and rulings. Official English text prevails.
How it works : Sporemound
Original English text — Wizards of the Coast / Scryfall
- #1· Wizards of the Coast
Sporemound's ability triggers whenever you play a land and also whenever a land enters the battlefield under your control for some other reason, such as the ability of Into the Wilds.
No other card is named in this ruling.
Popular combos
Real combos played by the community, sorted by popularity.


Sporemound + Life and Limb
- 1Play the Forest.
- 2Sporemound triggers, creating a 1/1 Saproling Forest land creature token.
- 3Repeat step 2 infinite times.
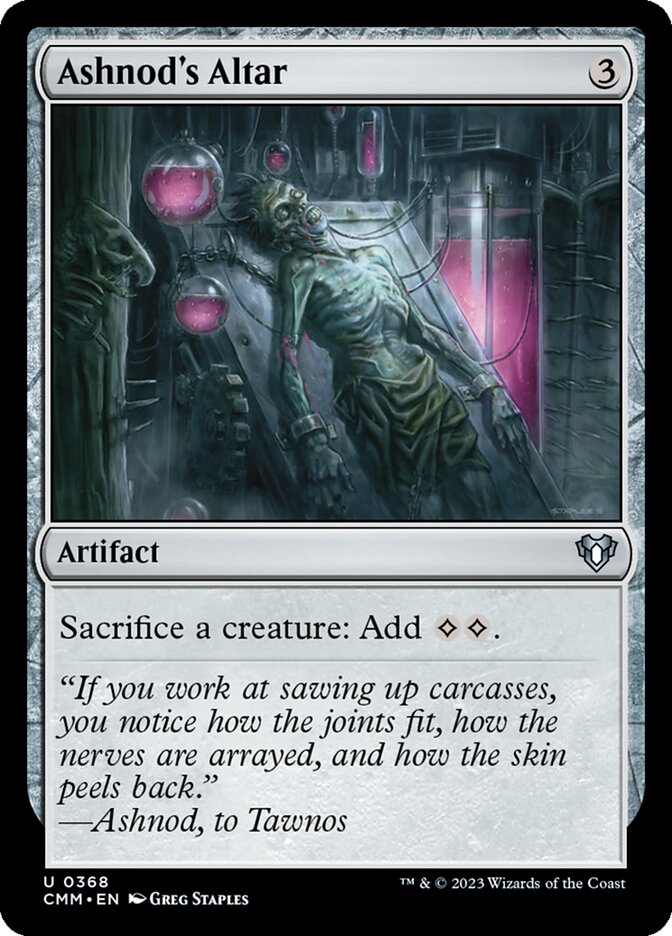
Sporemound + Life and Limb + Ashnod's Altar
- 1Play a land.
- 2Sporemound triggers, creating a 1/1 Saproling token that is also a Forest.
- 3Repeat step 2 any number of times.
- 4Activate Ashnod's Altar any number of times by sacrificing Sporemound and any number of Saprolings, adding any amount of colorless mana.


Kodama of the East Tree + Simic Growth Chamber + Sporemound
- 1Play Simic Growth Chamber.
- 2When Simic Growth Chamber enters the battlefield, it, Sporemound, and Kodama of the East Tree trigger.
- 3Resolve the Kodama of the East Tree trigger, choosing not to put anything from your hand onto the battlefield.
- 4Resolve the Simic Growth Chamber trigger, returning it from the battlefield to your hand.
- 5Resolve the Sporemound trigger, creating a token.
- 6When the token enters the battlefield, Kodama triggers, putting Simic Growth Chamber from your hand onto the battlefield.
- 7When Simic Growth Chamber enters the battlefield, it and Sporemound trigger.
- 8Repeat from step 4.

Sporemound + Life and Limb + Phyrexian Altar
- 1Play a land.
- 2Sporemound triggers, creating a 1/1 Saproling token that is also a Forest.
- 3Repeat step 2 any number of times.
- 4Activate Phyrexian Altar any number of times by sacrificing Sporemound and any number of other creatures, adding any amount of colored mana.

Kodama of the East Tree + Guildless Commons + Sporemound
- 1Play Guildless Commons.
- 2When Guildless Commons enters the battlefield, it, Sporemound, and Kodama of the East Tree trigger.
- 3Resolve the Kodama of the East Tree trigger, choosing not to put anything from your hand onto the battlefield.
- 4Resolve the Guildless Commons trigger, returning it from the battlefield to your hand.
- 5Resolve the Sporemound trigger, creating a token.
- 6When the token enters the battlefield, Kodama triggers, putting Guildless Commons from your hand onto the battlefield.
- 7When Guildless Commons enters the battlefield, it and Sporemound trigger.
- 8Repeat from step 4.

Sporemound + Life and Limb + Altar of Dementia
- 1Play a land.
- 2Sporemound triggers, creating a 1/1 Saproling token that is also a Forest.
- 3Repeat step 2 any number of times.
- 4Activate Altar of Dementia any number of times by sacrificing Sporemound and any number of other creatures, milling any players any number of cards.

Kodama of the East Tree + Gruul Turf + Sporemound
- 1Play Gruul Turf.
- 2When Gruul Turf enters the battlefield, it, Sporemound, and Kodama of the East Tree trigger.
- 3Resolve the Kodama of the East Tree trigger, choosing not to put anything from your hand onto the battlefield.
- 4Resolve the Gruul Turf trigger, returning it from the battlefield to your hand.
- 5Resolve the Sporemound trigger, creating a token.
- 6When the token enters the battlefield, Kodama triggers, putting Gruul Turf from your hand onto the battlefield.
- 7When Gruul Turf enters the battlefield, it and Sporemound trigger.
- 8Repeat from step 4.


Zimone and Dina + Abundance + Retreat to Coralhelm + Sporemound
- 1Activate Zimone and Dina by tapping it and sacrificing another creature, causing you to reveal cards from the top of your library until you reveal a land card, put it into your hand, then put the land onto the battlefield tapped, and repeat this process once if you control at least eight lands.
- 2Retreat to Coralhelm and Sporemound trigger for each land that enters the battlefield this way.
- 3Resolve the Retreat to Coralhelm trigger(s), untapping Zimone and Dina.
- 4Resolve the Sporemound trigger(s), creating that many 1/1 Saproling creature tokens.
- 5Repeat.
Related cards and tokens
Legal formats
Commentaires
- Sois le premier à commenter cette carte.
Read next
Meta decks with Sporemound
No archived Top 8 deck with this card yet.