

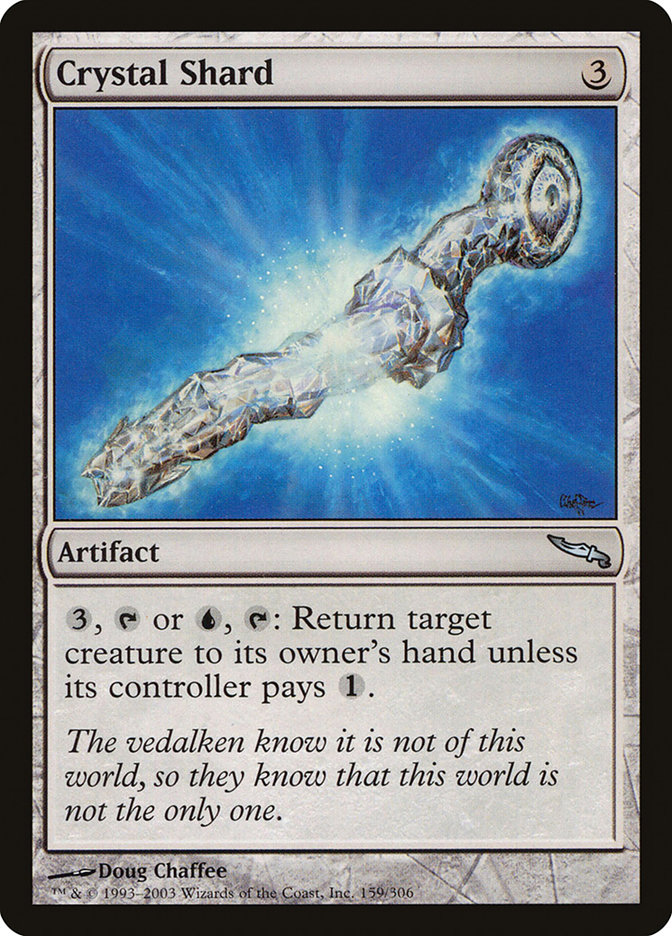
Crystal Shard is one of those cards players keep asking about. Here is, in plain words, what its official text says, the rulings published by Wizards of the Coast, and the combos players actually run.
Official card text
,
or
,
.
Complete guide
Crystal Shard is a versatile artifact from the Mirrodin block that offers powerful board control for a very low cost. Whether you are using it to protect your own threats or to punish an opponent for tapping out, this card is a staple in many blue-based strategies. Its flexible activation cost makes it accessible to any deck, but it truly shines in decks that can produce blue mana.
What It Does
Crystal Shard features a modal activation cost. You can pay either {3} and tap it, or just {U} and tap it. Once activated, you target a creature, and its controller must pay {1} or that creature is returned to its owner's hand. This is a special type of tax effect that targets, meaning it can be used for both offensive and defensive purposes.
How It Resolves Step by Step
First, you choose which cost to pay ({3} or {U}) and tap Crystal Shard to put the ability on the stack, choosing a target creature. Once the ability resolves, the controller of that creature is given the choice to pay {1}. If they cannot or choose not to pay, the creature is immediately bounced to its owner's hand. If they do pay the {1}, the creature remains on the battlefield and the ability finishes resolving with no further effect.
Common Mistakes
A common error is forgetting that you can target your own creatures. If you have a creature with a powerful 'enters-the-battlefield' effect, you can use Crystal Shard to return it to your hand at the end of an opponent's turn to cast it again. Also, remember that since this is an activated ability that targets, creatures with Hexproof or Shroud cannot be targeted by it if they are controlled by an opponent.
When to Play It
The best time to use Crystal Shard offensively is right after an opponent has spent all their mana, leaving them unable to pay the {1} tax. Defensively, you can use it in response to a removal spell targeting one of your creatures. By bouncing your own creature, you save it from the graveyard and can replay it later.
Interaction examples
 Arcane Signet
If your Commander's color identity includes blue, you can tap Arcane Signet for {U}. This allows you to use Crystal Shard's cheaper activation cost of {U} and {T} rather than paying the full {3} and {T}. This synergy ensures you always have the mana available to bounce a creature while keeping your other lands untapped for spells.
 Swiftfoot Boots
If an opponent equips their creature with Swiftfoot Boots, that creature gains hexproof. Because Crystal Shard requires a 'target creature,' you can no longer target that specific creature with the Shard's ability. However, you could still target your own creatures equipped with Swiftfoot Boots, as hexproof only prevents targeting by opponents.
Guide written with AI from the official text and rulings. Official English text prevails.
How it works : Crystal Shard
Original English text — Wizards of the Coast / Scryfall
- #1· Wizards of the Coast
You can pay either of the two costs (but not both at the same time) to activate the ability.
No other card is named in this ruling.
Popular combos
Real combos played by the community, sorted by popularity.
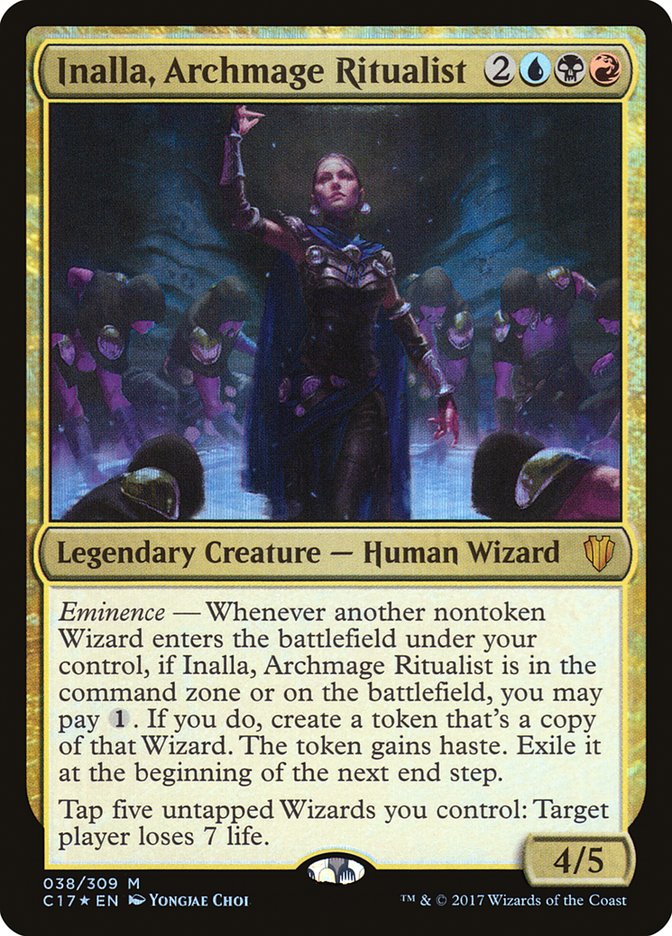
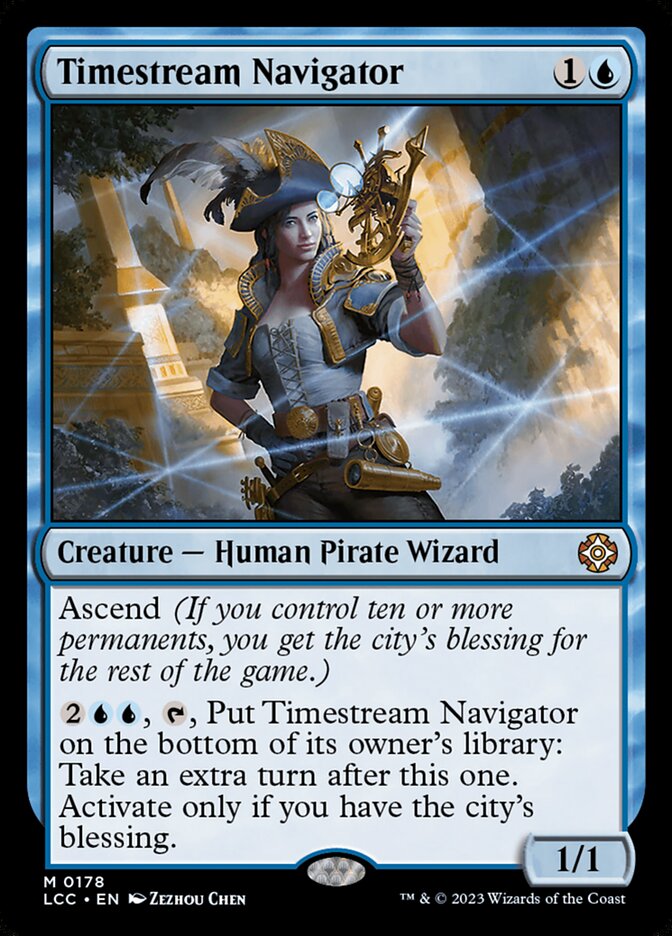
Inalla, Archmage Ritualist + Timestream Navigator + Crystal Shard
- 1Cast Timestream Navigator by paying .
- 2Timestream Navigator enters the battlefield, triggering Inalla; pay to make a token copy of Timestream Navigator with haste.
- 3Activate the token Timestream Navigator by paying
 , tapping it, and putting it on the bottom of your library, taking an extra turn after this one.
- 4Activate Crystal Shard by paying and tapping it, returning the original Timestream Navigator to your hand.
- 5Repeat each turn.


Archaeomancer + Crystal Shard + Time Warp
- 1Cast Time Warp by paying , taking an extra turn after this one.
- 2Cast Archaeomancer by paying .
- 3Archaeomancer enters the battlefield, returning Time Warp to your hand.
- 4Activate Crystal Shard by paying and tapping it, returning Archaeomancer to your hand.
- 5Move to your next turn.
- 6Repeat.
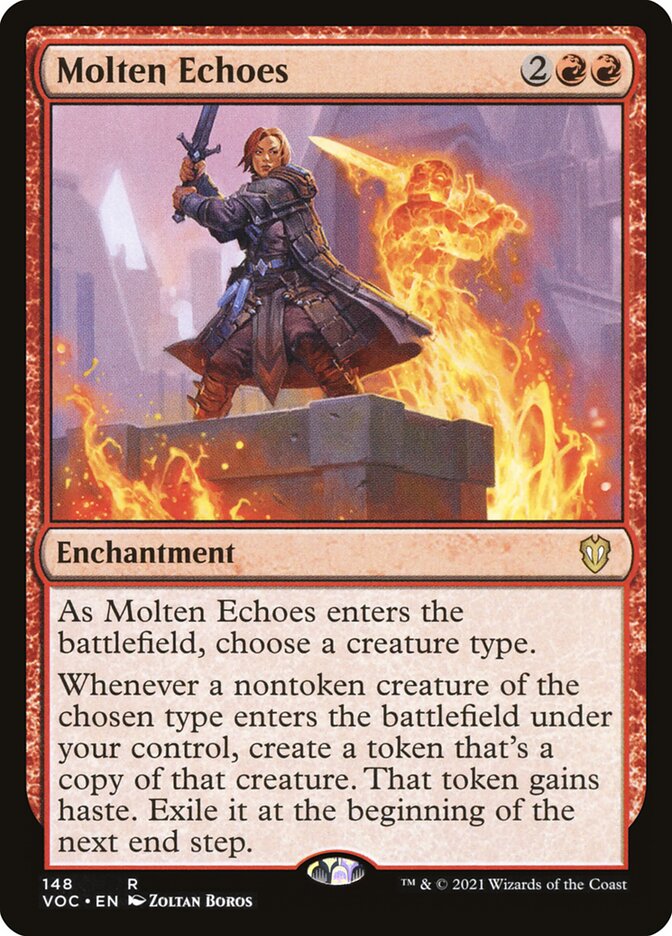
Timestream Navigator + Molten Echoes + Crystal Shard
- 1Cast Timestream Navigator by paying .
- 2If you don't have the city's blessing and control ten or more permanents, Timestream Navigator gives you the city's blessing.
- 3When Timestream Navigator enters the battlefield, Molten Echoes triggers, creating a token copy of Timestream Navigator with haste.
- 4If you don't have the city's blessing, the Timestream Navigator token gives you the city's blessing.
- 5Activate Crystal Shard by paying or and tapping it, returning the nontoken Timestream Navigator to your hand from the battlefield.
- 6Activate the Timestream Navigator token by paying , tapping it and putting it on the bottom of your library from the battlefield, causing you to take an extra turn after this one.
- 7Repeat each turn.
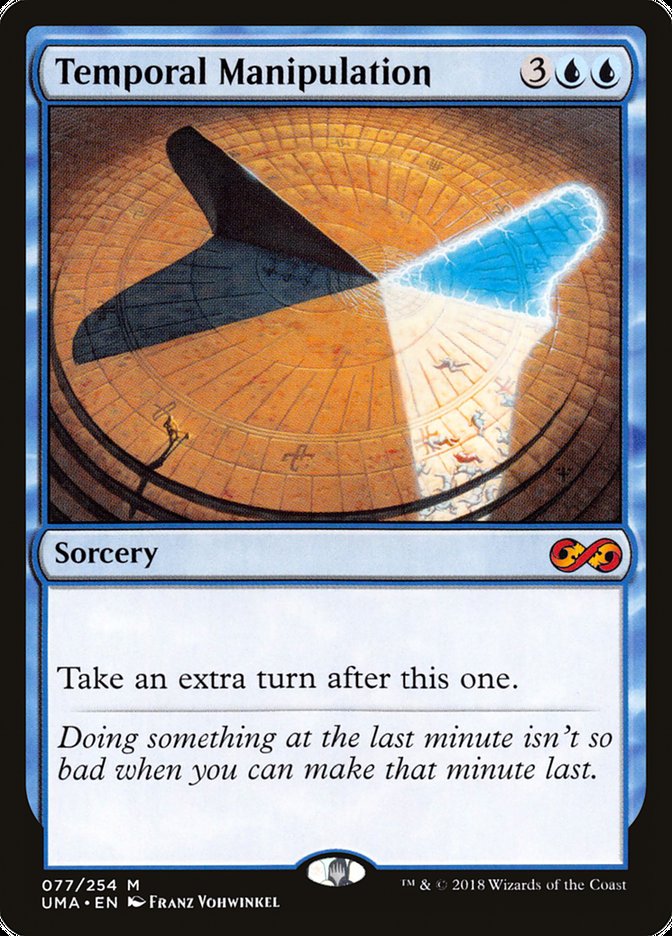
Archaeomancer + Crystal Shard + Temporal Manipulation
- 1Cast Temporal Manipulation by paying , taking an extra turn after this one.
- 2Cast Archaeomancer by paying .
- 3Archaeomancer enters the battlefield, returning Temporal Manipulation to your hand.
- 4Activate Crystal Shard by paying and tapping it, returning Archaeomancer to your hand.
- 5Move to your next turn.
- 6Repeat.
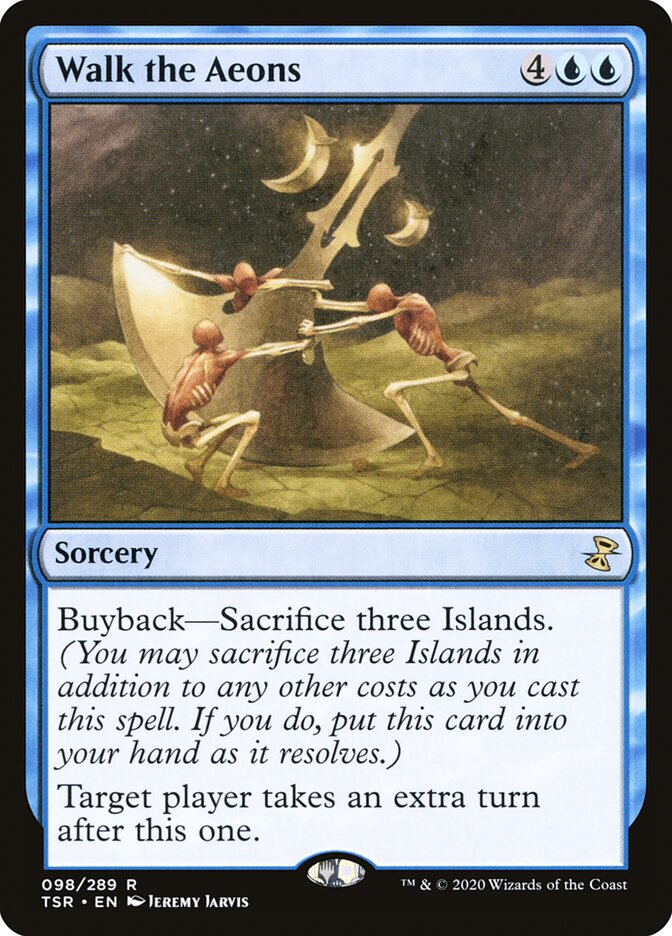
Archaeomancer + Crystal Shard + Walk the Aeons
- 1Cast Walk the Aeons by paying
 , taking an extra turn after this one.
- 2Cast Archaeomancer by paying .
- 3Archaeomancer enters the battlefield, returning Walk the Aeons to your hand.
- 4Activate Crystal Shard by paying and tapping it, returning Archaeomancer to your hand.
- 5Move to your next turn.
- 6Repeat.
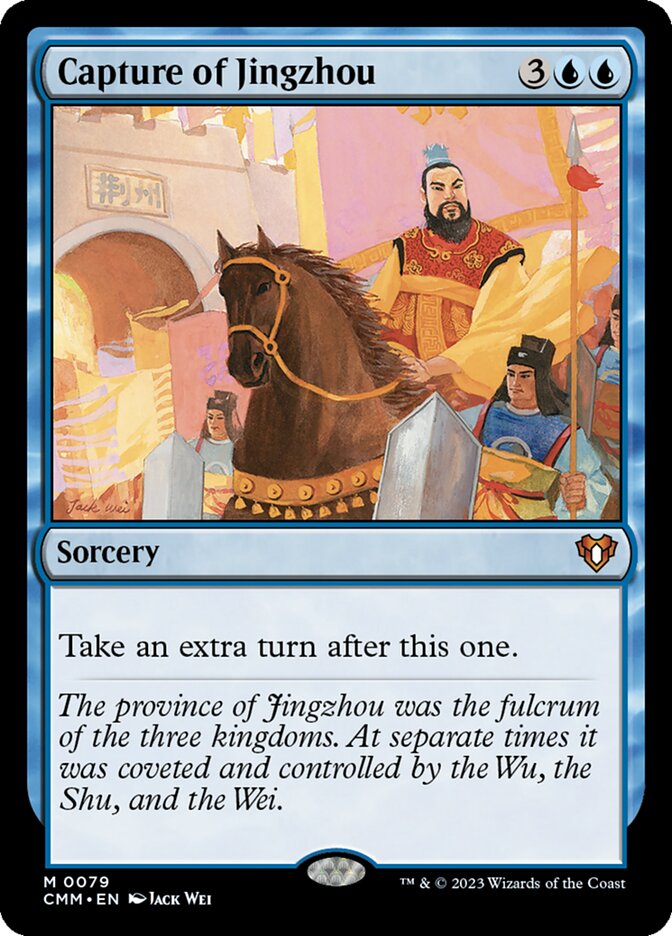
Archaeomancer + Crystal Shard + Capture of Jingzhou
- 1Cast Capture of Jingzhou by paying , taking an extra turn after this one.
- 2Cast Archaeomancer by paying .
- 3Archaeomancer enters the battlefield, returning Capture of Jingzhou to your hand.
- 4Activate Crystal Shard by paying and tapping it, returning Archaeomancer to your hand.
- 5Move to your next turn.
- 6Repeat.
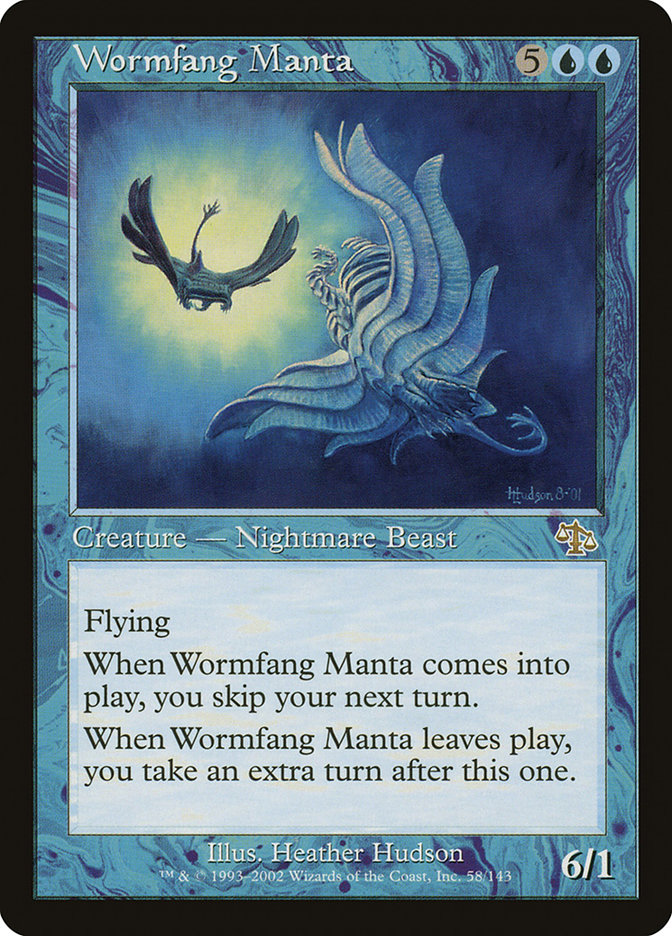
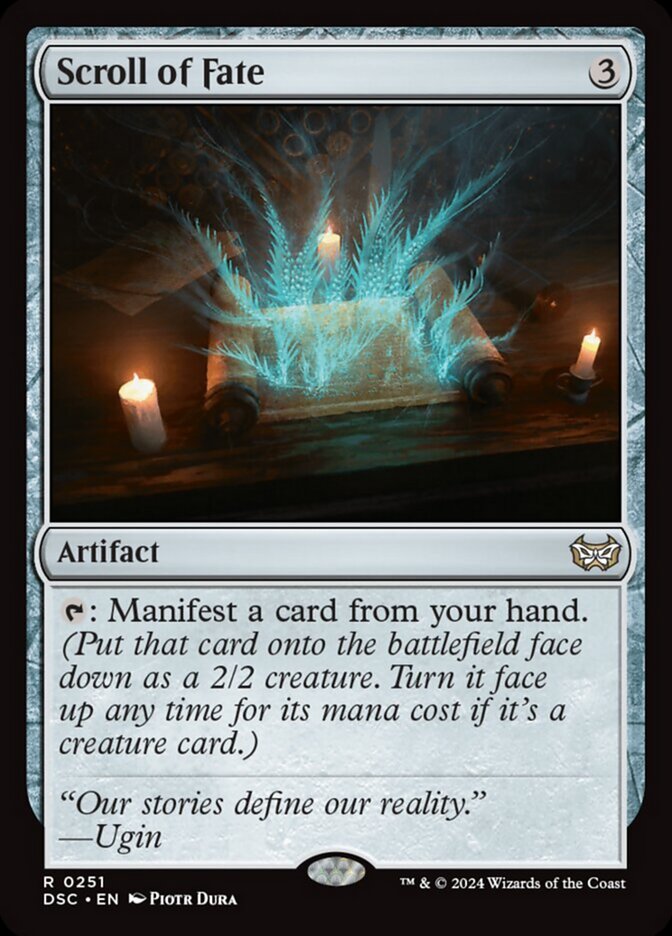
Wormfang Manta + Scroll of Fate + Crystal Shard
- 1Activate Scroll of Fate by tapping it, manifesting Wormfang Manta from your hand.
- 2Pay
 to turn Wormfang Manta face up.
- 3Activate Crystal Shard by paying and tapping it, returning Wormfang Manta from the battlefield to your hand.
- 4Wormfang Manta's LTB ability triggers, creating an extra turn after this one.
- 5Repeat each turn.
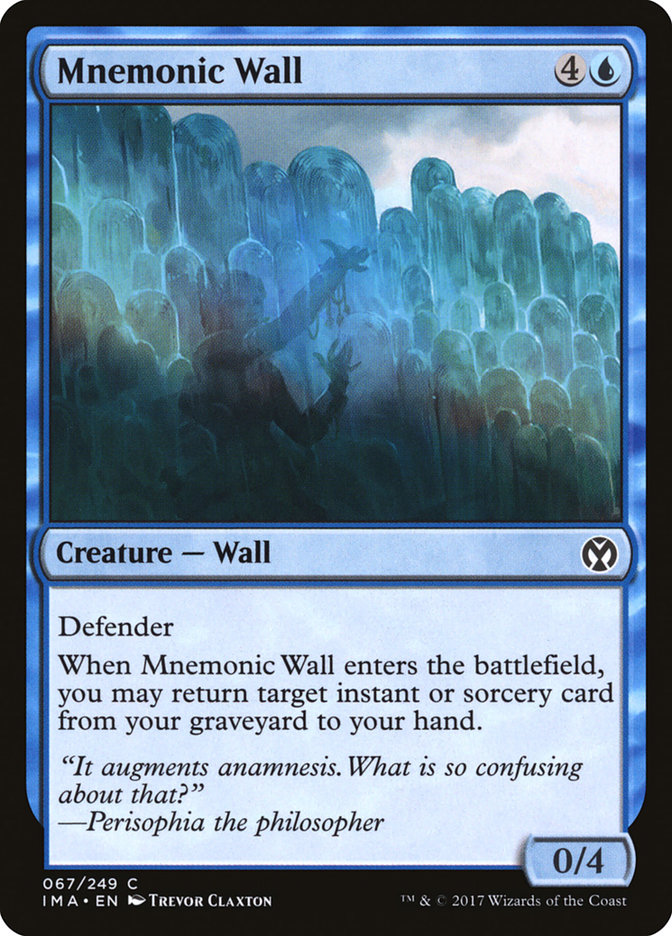
Mnemonic Wall + Crystal Shard + Time Warp
- 1Cast Time Warp by paying , taking an extra turn after this one.
- 2Cast Mnemonic Wall by paying .
- 3Mnemonic Wall enters the battlefield, returning Time Warp from your graveyard to your hand.
- 4Activate Crystal Shard by paying and tapping it, returning Mnemonic Wall from the battlefield to your hand.
- 5Repeat each turn.
Legal formats
Commentaires
- Sois le premier à commenter cette carte.
Read next
Meta decks with Crystal Shard
No archived Top 8 deck with this card yet.