

Skullwinder is one of those cards players keep asking about. Here is, in plain words, what its official text says, the rulings published by Wizards of the Coast, and the combos players actually run.
Official card text
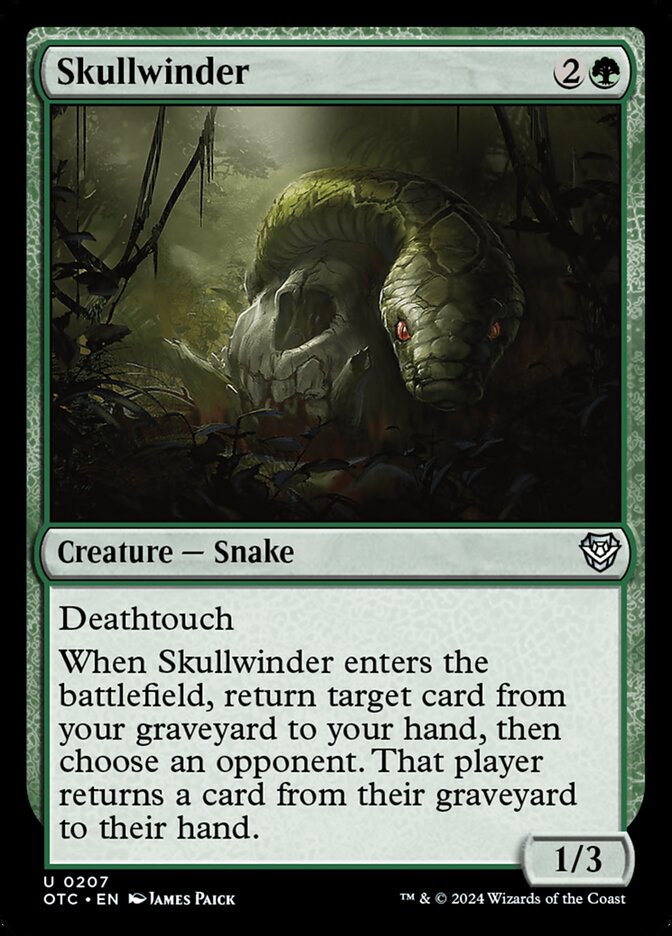
Deathtouch When this creature enters, return target card from your graveyard to your hand, then choose an opponent. That player returns a card from their graveyard to their hand.
Complete guide
Skullwinder is a versatile Snake that brings a political twist to the classic Regrowth effect. Not only does it provide a lethal blocker with Deathtouch, but it also allows you to reclaim a lost resource while potentially forging an alliance with an opponent. Use it wisely to retrieve your best spells while controlling who else benefits from the exchange.
Returning Resources to Hand
When Skullwinder enters the battlefield, its triggered ability goes on the stack. You must immediately choose a target card in your own graveyard. Importantly, the choice of opponent happens later, during the resolution of the ability. If your chosen target is removed from your graveyard before the ability resolves (for example, by an effect that exiles cards), the entire ability fails; you will not return a card, and no opponent will be chosen to return one either.
Step-by-Step Resolution
First, the ability is placed on the stack and you select a target in your graveyard. Second, if the target is still legal when the ability resolves, you move that card to your hand. Third, you choose an opponent. Finally, that opponent chooses any card in their graveyard and returns it to their hand. Note that you can choose an opponent who has zero cards in their graveyard, which effectively denies anyone else from getting a benefit while still allowing you to get your card back.
Common Mistakes
One common error is thinking you choose the opponent when you cast the spell or when the trigger first goes on the stack. You actually wait until you have successfully returned your card to pick the player. Additionally, remember that you do not get to pick which card the opponent returns; they have full control over their own choice once they are selected.
Strategic Timing
Since Skullwinder has Deathtouch, it is an excellent defensive tool to play when an opponent has a large creature you need to deter. In multiplayer games, it functions as a political tool. You can offer to return a specific answer (like a board wipe) to an opponent's hand if they agree to use it against a shared threat, turning a symmetric effect into a strategic advantage.
Interaction examples
 Sakura-Tribe Elder
1. Sacrifice Sakura-Tribe Elder to search for a basic land and put it into play. 2. Cast Skullwinder. 3. When Skullwinder enters, target the Sakura-Tribe Elder in your graveyard. 4. Return the Elder to your hand and choose an opponent. 5. The opponent returns a card of their choice. You can now cast the Elder again to ramp a second time.
 Solemn Simulacrum
1. After Solemn Simulacrum has died (and you have drawn your card), cast Skullwinder. 2. Target Solemn Simulacrum in your graveyard with the enters-the-battlefield trigger. 3. If the Golem returns to your hand, choose an opponent. 4. Even if the opponent has a powerful card to return, you have successfully set up a loop to search for more lands and draw more cards when the Golem dies again.
Guide written with AI from the official text and rulings. Official English text prevails.
How it works : Skullwinder
Original English text — Wizards of the Coast / Scryfall
- #1· Wizards of the Coast
Skullwinder's enters-the-battlefield ability targets only the card in your graveyard. If that card is an illegal target as the ability tries to resolve, the ability won't resolve and none of its effects will happen. No cards will be returned to any player's hand.
No other card is named in this ruling.
- #2· Wizards of the Coast
You choose the target card as you put Skullwinder's triggered ability on the stack, but you don't choose an opponent until after you have returned the card to your hand.
No other card is named in this ruling.
- #3· Wizards of the Coast
The chosen opponent gets to choose which card to return from their graveyard to their hand.
No other card is named in this ruling.
- #4· Wizards of the Coast
You may choose an opponent with no cards in their graveyard. In that case, they will not get to return anything.
No other card is named in this ruling.
- #5· Wizards of the Coast
Skullwinder's enters-the-battlefield ability targets only the card in your graveyard. If that card is an illegal target as the ability tries to resolve, the ability won't resolve and none of its effects will happen. No cards will be returned to any player's hand.
No other card is named in this ruling.
- #6· Wizards of the Coast
You choose the opponent as the ability is resolving. You may choose an opponent with no cards in their graveyard.
No other card is named in this ruling.
Popular combos
Real combos played by the community, sorted by popularity.
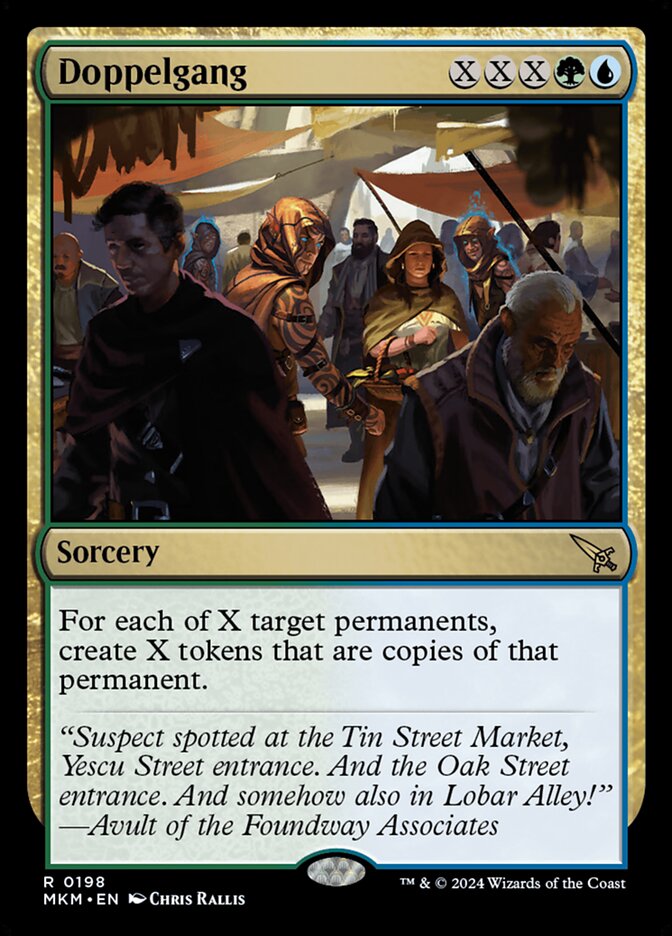
Doppelgang + Skullwinder
- 1Cast Doppelgang by paying


 , creating five token copies of Skullwinder and of the four mana-producing permanents.
- 2When the Skullwinder tokens enter the battlefield, they trigger, returning Doppelgang and up to four other instant or sorcery cards from your graveyard to your hand.
- 3Activate seventeen of the mana-producing permanent tokens by tapping them, adding at least .
- 4Repeat.
- 5Once you have infinite tokens and mana, you may instead target any other permanents using Doppelgang.
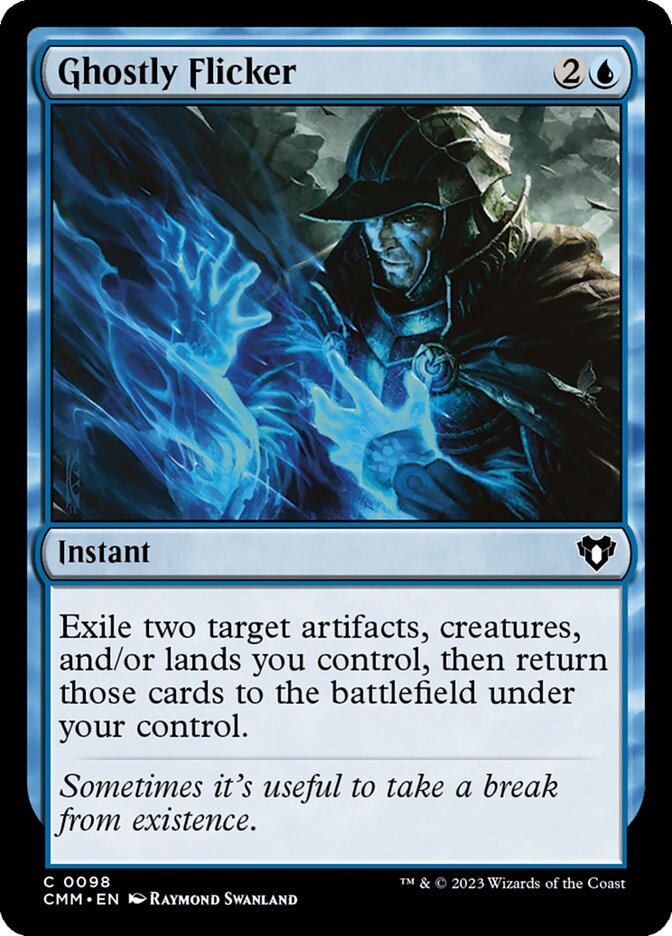
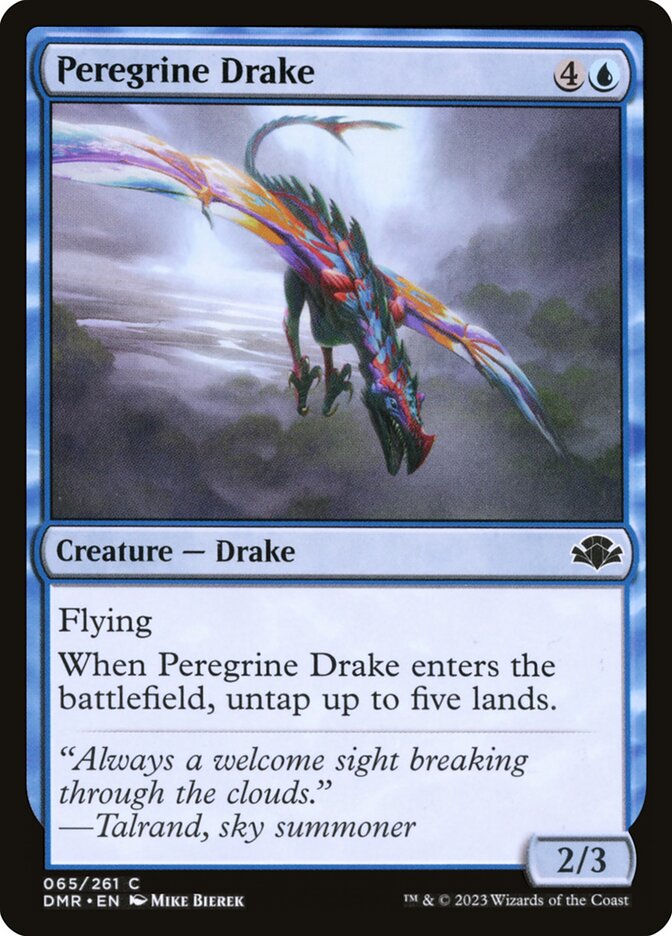
Ghostly Flicker + Peregrine Drake + Skullwinder
- 1Activate up to five lands by tapping them, adding at least
 .
- 2Cast Ghostly Flicker by paying , blinking Skullwinder and Peregrine Drake.
- 3When Skullwinder and Peregrine Drake enter the battlefield, their abilities trigger.
- 4Resolve the Skullwinder trigger, returning Ghostly Flicker to your hand from your graveyard and causing an opponent to return a card to their hand from their graveyard.
- 5Resolve the Peregrine Drake trigger, untapping up to five lands.
- 6Repeat.
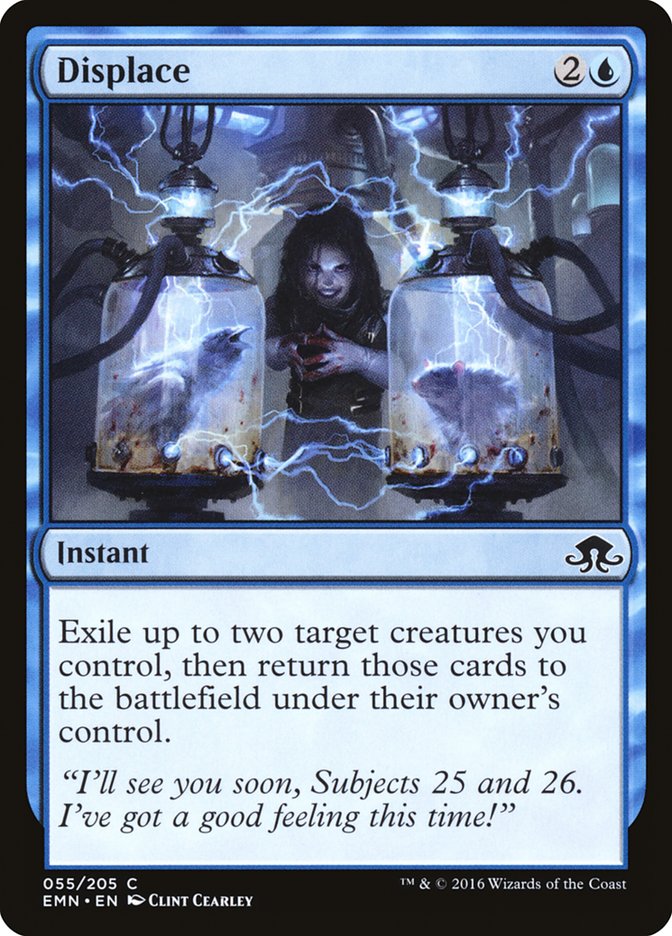
Displace + Skullwinder + Peregrine Drake
- 1Activate up to five lands by tapping them, adding at least .
- 2Cast Displace by paying , blinking Skullwinder and Peregrine Drake
- 3When Skullwinder and Peregrine Drake enter the battlefield, their abilities trigger.
- 4Resolve the Skullwinder trigger, returning Displace from your graveyard to your hand.
- 5Resolve the Peregrine Drake trigger, untapping up to five lands.
- 6Repeat.
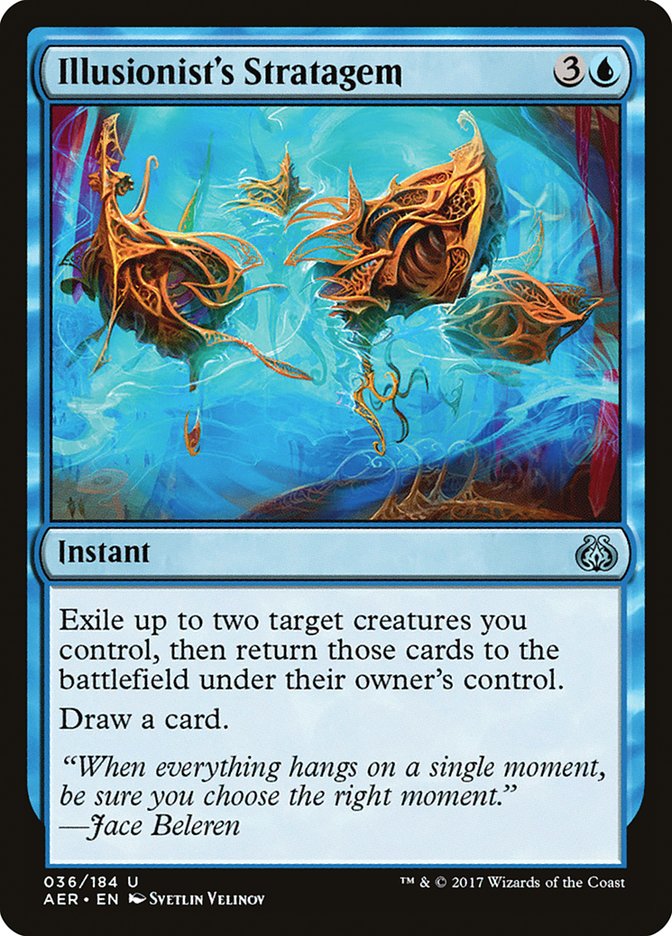
Illusionist's Stratagem + Peregrine Drake + Skullwinder
- 1Activate up to five lands by tapping them, adding at least
 .
- 2Cast Illusionist's Stratagem by paying , blinking Skullwinder and Peregrine Drake and causing you to draw a card.
- 3When Skullwinder and Peregrine Drake enter the battlefield, their abilities trigger.
- 4Resolve the Skullwinder trigger, returning Illusionist's Stratagem to your hand from your graveyard.
- 5Resolve the Peregrine Drake trigger, untapping up to five lands.
- 6Repeat.
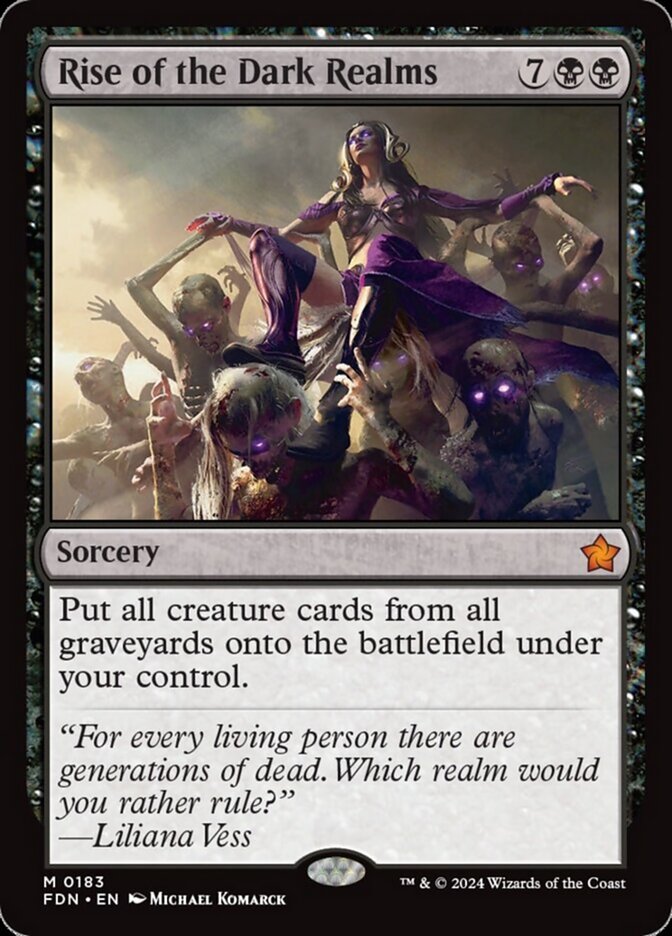
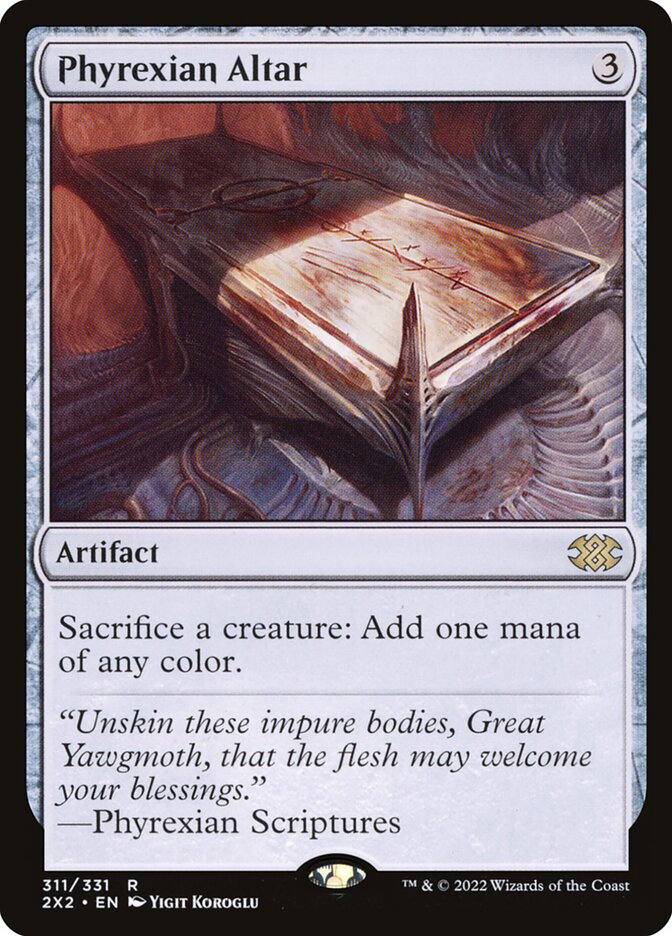
Rise of the Dark Realms + Phyrexian Altar + Skullwinder
- 1Activate Phyrexian Altar twice by sacrificing Skullwinder, adding
 .
- 2Repeat step 1 for each other nontoken creature you control.
- 3Cast Rise of the Dark Realms by paying
 , returning all creature cards from all graveyards to the battlefield under your control.
- 4When Skullwinder enters the battlefield, it triggers, returning Rise of the Dark Realms to your hand from your graveyard and causing an opponent to return a card to their hand from their graveyard.
- 5Repeat.
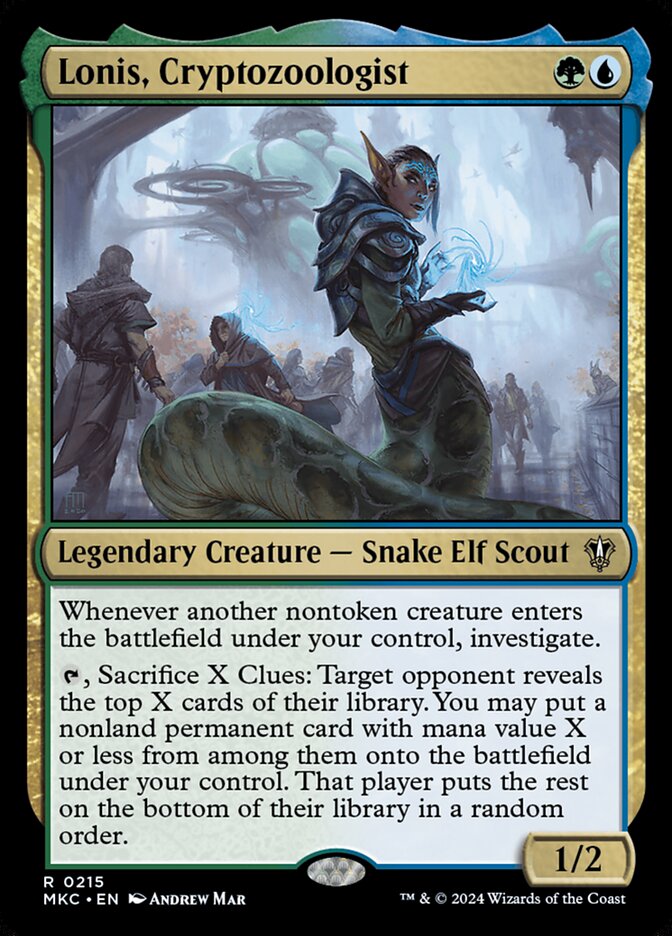
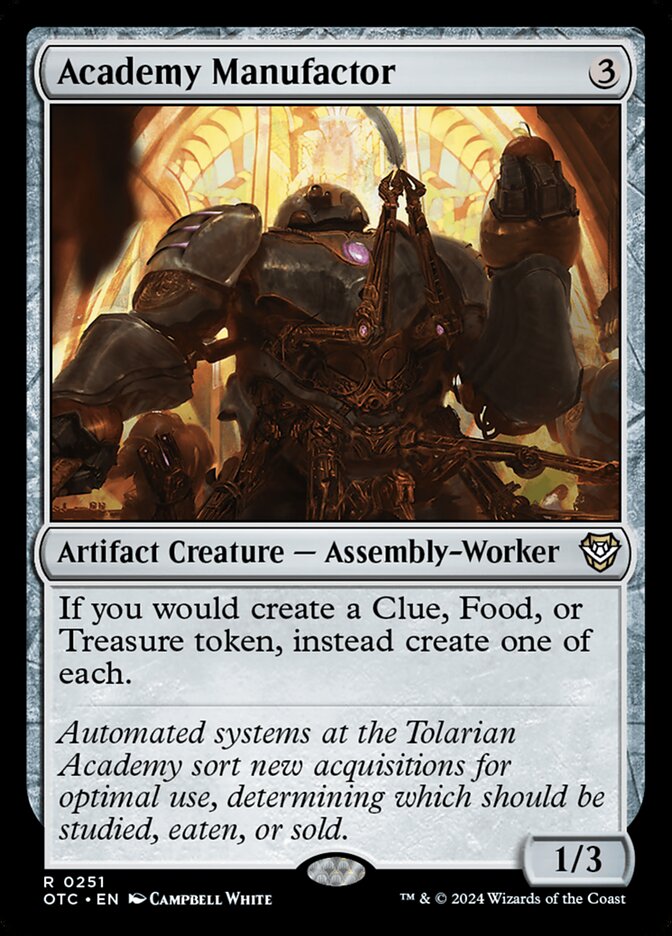
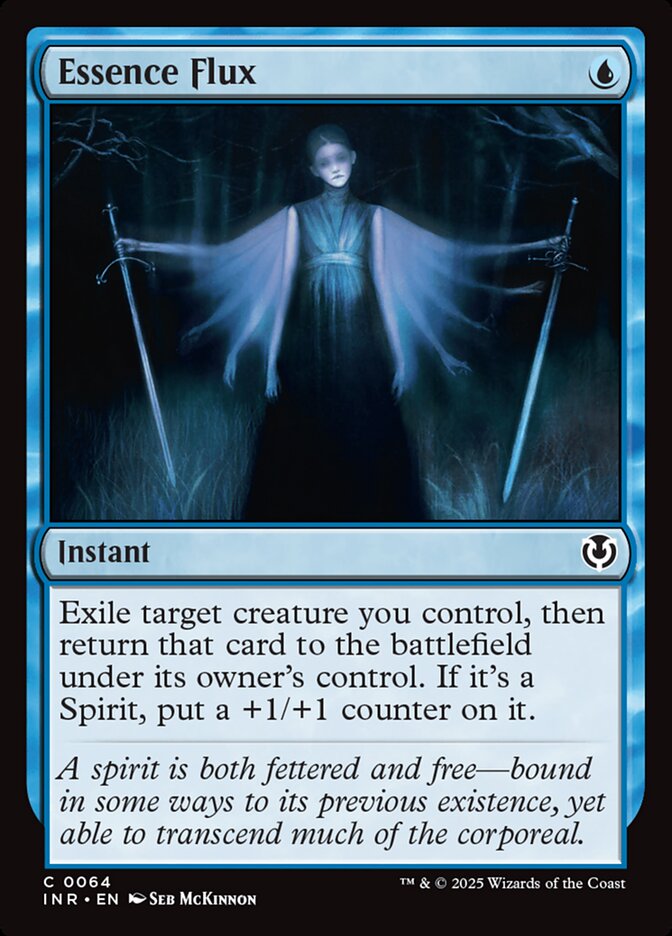
Lonis, Cryptozoologist + Academy Manufactor + Skullwinder + Essence Flux
- 1Cast Essence Flux by paying , blinking Skullwinder.
- 2When Skullwinder enters the battlefield, it and Lonis trigger.
- 3Resolve the Skullwinder trigger, returning Essence Flux from your graveyard to your hand, and causing target opponent to return a card from their graveyard to their hand.
- 4Resolve the Lonis trigger, creating a Food, a Clue, and a Treasure artifact token.
- 5Activate the Treasure by tapping and sacrificing it, adding .
- 6Repeat.
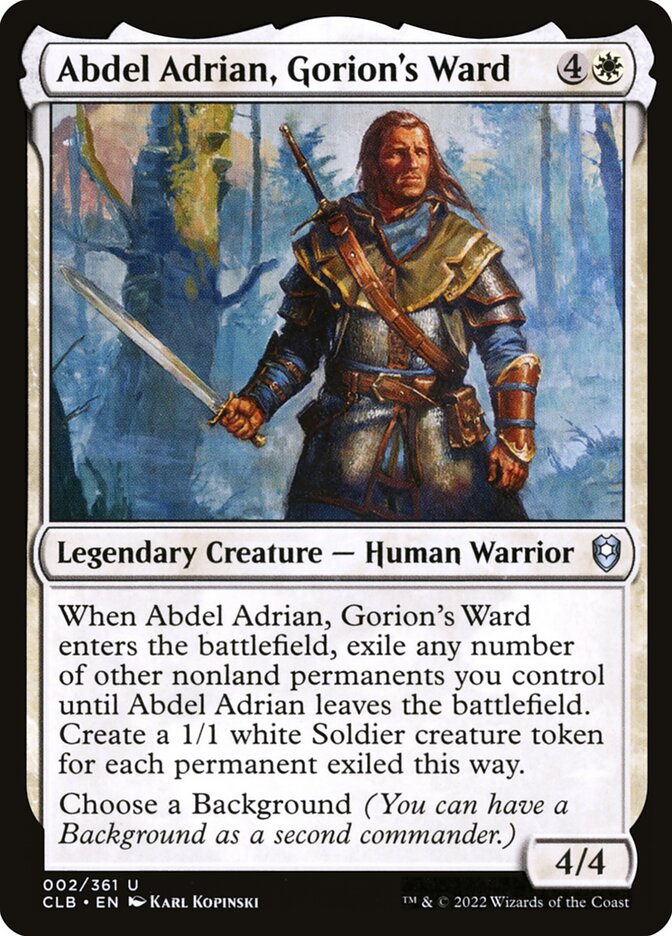
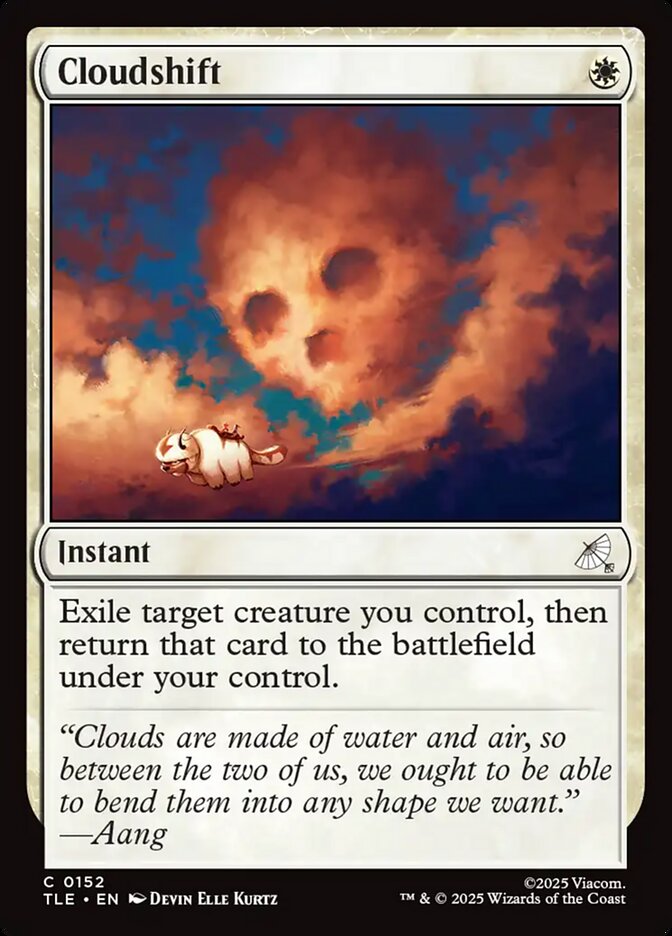
Abdel Adrian, Gorion's Ward + Skullwinder + Cloudshift
- 1Cast Cloudshift by paying its mana cost, blinking Abdel Adrian.
- 2Abdel Adrian leaves the battlefield, returning Skullwinder and all other cards that were exiled with it to the battlefield.
- 3Abdel Adrian and Skullwinder trigger.
- 4Resolve the Skullwinder trigger, returning Cloudshift from your graveyard to your hand.
- 5Holding priority, activate any number of nonland permanents you control by tapping them, adding at least enough mana to cast Cloudshift.
- 6Resolve the Abdel Adrian trigger, exiling Skullwinder and the mana-producing permanents until Abdel Adrian leaves the battlefield, and creating a 1/1 Soldier creature token for each permanent exiled this way.
- 7Repeat.
Abdel Adrian, Gorion's Ward + Skullwinder + Ghostly Flicker
- 1Cast Ghostly Flicker by paying its mana cost, blinking Abdel Adrian.
- 2Abdel Adrian leaves the battlefield, returning Skullwinder and all other cards that were exiled with it to the battlefield.
- 3Abdel Adrian and Skullwinder trigger.
- 4Resolve the Skullwinder trigger, returning Ghostly Flicker from your graveyard to your hand.
- 5Holding priority, activate any number of nonland permanents you control by tapping them, adding at least enough mana to cast Ghostly Flicker.
- 6Resolve the Abdel Adrian trigger, exiling Skullwinder and the mana-producing permanents until Abdel Adrian leaves the battlefield, and creating a 1/1 Soldier creature token for each permanent exiled this way.
- 7Repeat.
Legal formats
Commentaires
- Sois le premier à commenter cette carte.
Read next
Meta decks with Skullwinder
No archived Top 8 deck with this card yet.