

Bad River is one of those cards players keep asking about. Here is, in plain words, what its official text says, the rulings published by Wizards of the Coast, and the combos players actually run.
Official card text
This land enters tapped., Sacrifice this land: Search your library for an Island or Swamp card, put it onto the battlefield, then shuffle.
Complete guide
Bad River trades a delayed activation for access to an Island or Swamp card from your library. It enters tapped and has no mana-producing ability of its own, so its value comes from the land it finds.
What Bad River Does
Bad River’s activated ability lets you tap and sacrifice it to search your library for a card with the Island or Swamp land subtype. The card does not have to be basic: either subtype qualifies, and a card with both qualifies too. Bad River puts the chosen card directly onto the battlefield, not into your hand. Its ability does not instruct that card to enter tapped, although the chosen card’s own abilities or other applicable effects may make it enter tapped.
How It Resolves, Step by Step
1. Play Bad River during your main phase, while the stack is empty and you have priority, using an available land play. It enters tapped. 2. Once Bad River is untapped and you have priority, you may activate its ability. Tap and sacrifice it as costs; it is already in your graveyard before anyone can respond. 3. The ability goes on the stack. It is not a mana ability, so players may respond before it resolves. 4. On resolution, search your library for an Island or Swamp card. As the official ruling confirms, you may choose not to find one, even if a qualifying card is present. 5. If you find a card, put it onto the battlefield. Then shuffle your library, even if you did not find a card. The land put onto the battlefield this way does not use a land play.
Common Mistakes: Three Interaction Examples
Example 1 — Command Tower is not a search option. First, activate Bad River and pay its costs. When its ability resolves, you cannot choose Command Tower: its type line is simply Land, with neither Island nor Swamp. Producing blue or black mana does not give a land either subtype. Example 2 — Exotic Orchard cannot copy Bad River’s search potential. Suppose you control Exotic Orchard and the only land your opponent controls is an untapped Bad River. Exotic Orchard’s mana ability cannot produce any mana because Bad River has no ability that could produce mana. If that opponent then activates Bad River and finds a land, let the search ability resolve. Future activations of Exotic Orchard consider the colors that the new land could produce, along with the opponent’s other lands—not what Bad River could have searched for. Example 3 — Command Tower can work while Bad River waits. Suppose you control an untapped Command Tower and play Bad River. Bad River enters tapped, but this does not affect Command Tower. If blue is in your commander’s color identity, you can tap Command Tower for blue mana immediately; you still cannot activate Bad River until you can pay its tap cost. Mana from Command Tower does not substitute for that cost.
When to Play and Activate It
Play Bad River when you can accommodate a land that does not immediately provide mana. Once it is untapped, you can activate it whenever you have priority, including during an opponent’s end step; the main-phase restriction on playing lands does not apply to this ability. Waiting to activate can preserve your choice of which qualifying land to find until you know what you need. If you need mana from the searched-for land, allow the search ability to resolve first, then use that land if its abilities and tapped status permit it. You cannot activate Bad River in the middle of paying for a spell as though it were a mana ability.
Guide written with AI from the official text and rulings. Official English text prevails.
How it works : Bad River
Original English text — Wizards of the Coast / Scryfall
- #1· Wizards of the Coast
Because the “search” requires you to find a card with certain characteristics, you don't have to find the card if you don't want to.
No other card is named in this ruling.
Popular combos
Real combos played by the community, sorted by popularity.
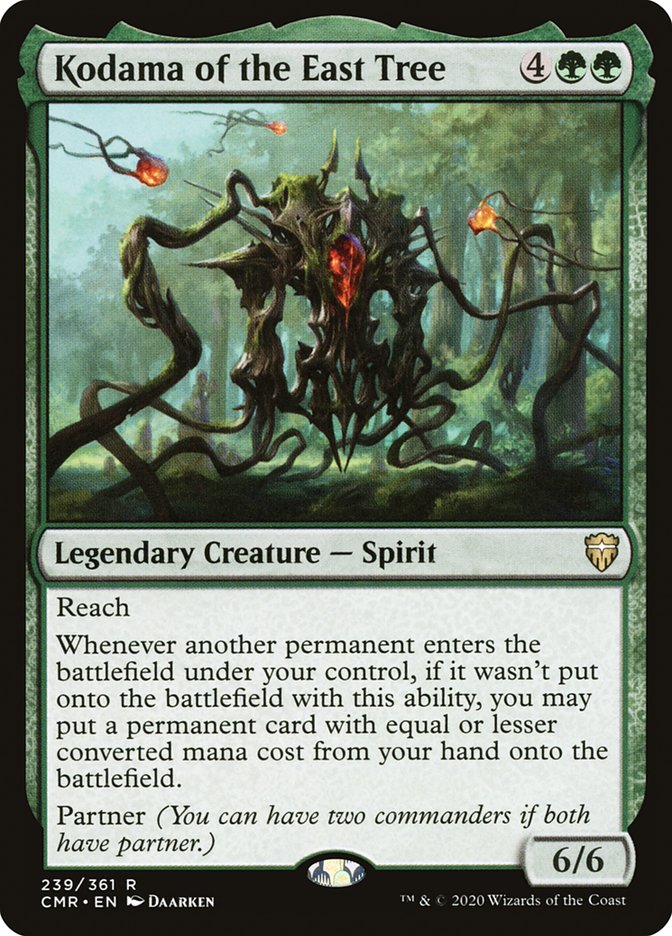
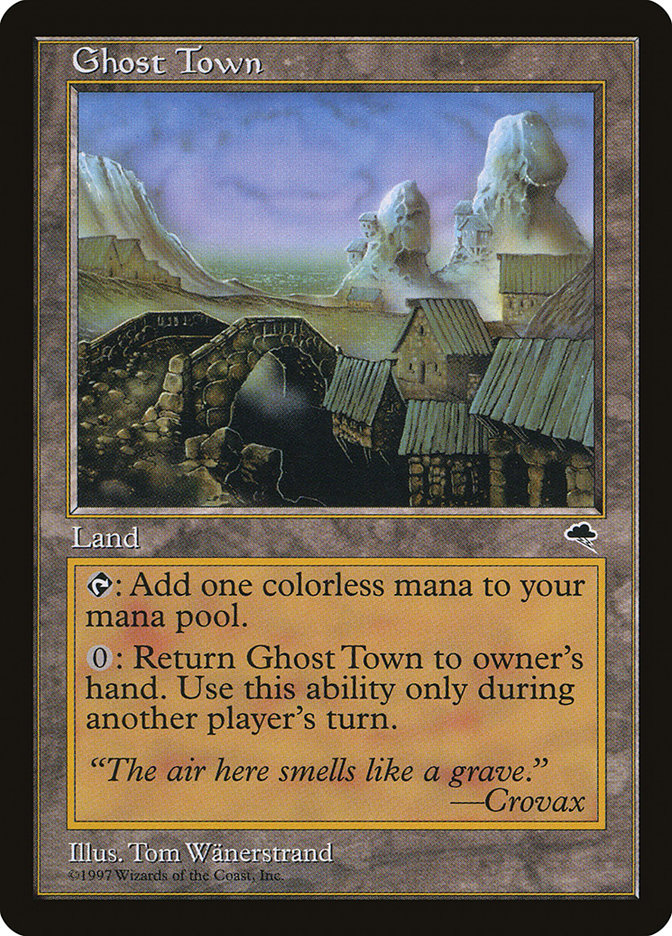
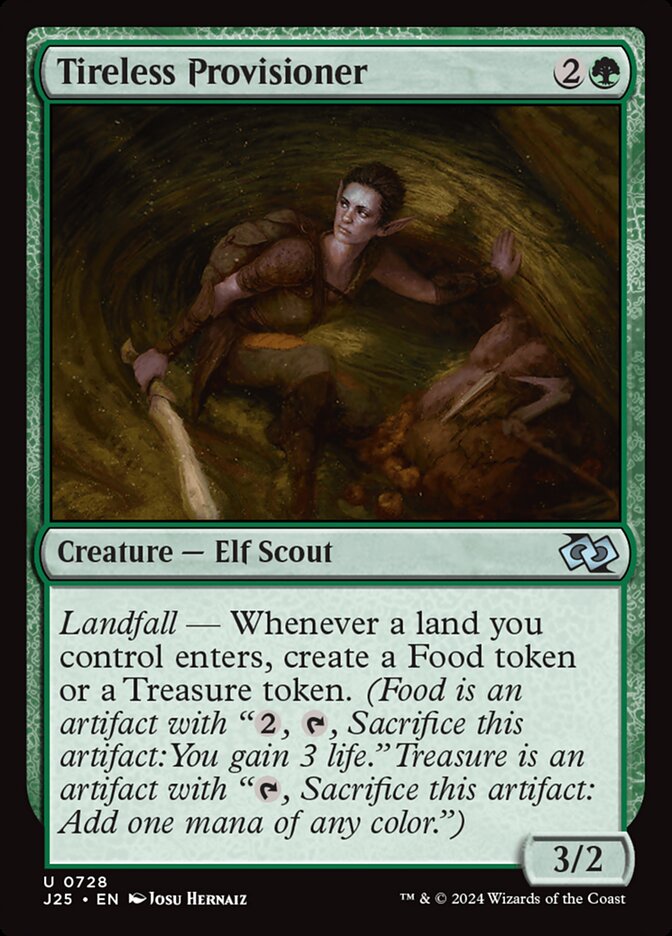
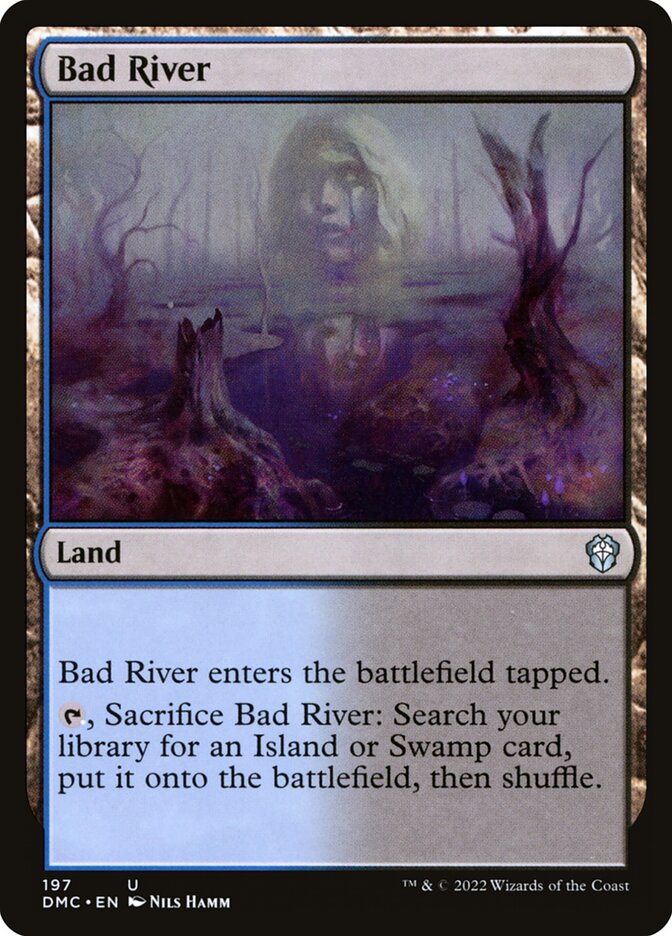
Kodama of the East Tree + Ghost Town + Tireless Provisioner + Bad River
- 1Fetch a land using Bad River.
- 2When the fetched land enters, Tireless Provisioner and Kodama trigger.
- 3Resolve the Kodama trigger, putting Ghost Town from your hand onto the battlefield.
- 4When Ghost Town enters, Kodama and Tireless Provisioner trigger.
- 5Holding priority, activate Ghost Town's first abiltiy by tapping it, adding
 .
- 6Activate Ghost Town's second ability by paying
 , returning it from the battlefield to your hand.
- 7Resolve the Tireless Provisioner from step 4, creating a token.
- 8When the token enters, Kodama triggers, putting Ghost Town from your hand onto the battlefield.
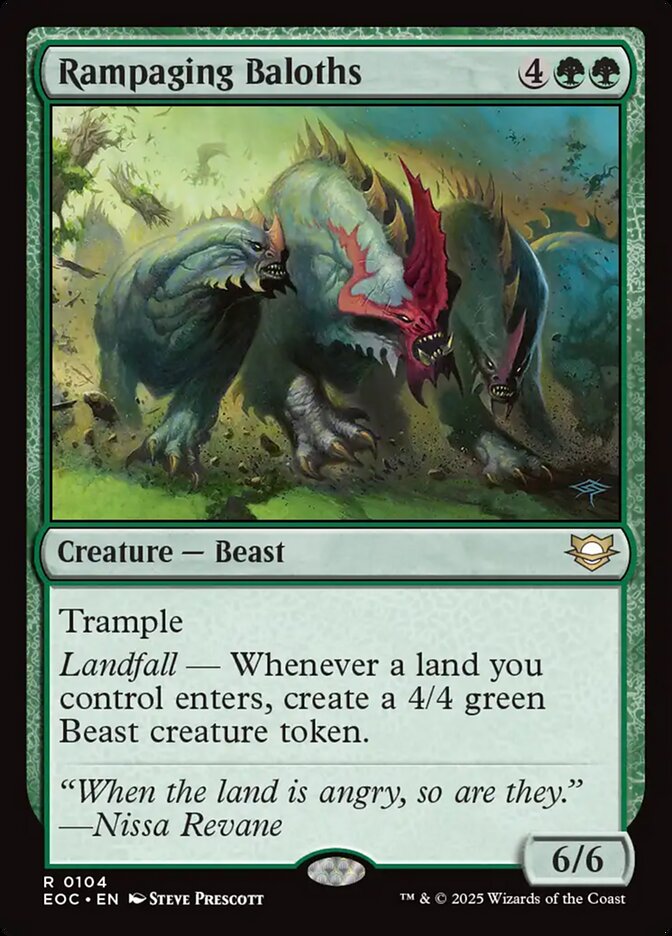
Kodama of the East Tree + Ghost Town + Rampaging Baloths + Bad River
- 1Fetch a land using Bad River.
- 2When the fetched land enters, Rampaging Baloths and Kodama trigger.
- 3Resolve the Kodama trigger, putting Ghost Town from your hand onto the battlefield.
- 4When Ghost Town enters, Kodama and Rampaging Baloths trigger.
- 5Holding priority, activate Ghost Town's first abiltiy by tapping it, adding .
- 6Activate Ghost Town's second ability by paying , returning it from the battlefield to your hand.
- 7Resolve the Rampaging Baloths from step 4, creating a token.
- 8When the token enters, Kodama triggers, putting Ghost Town from your hand onto the battlefield.
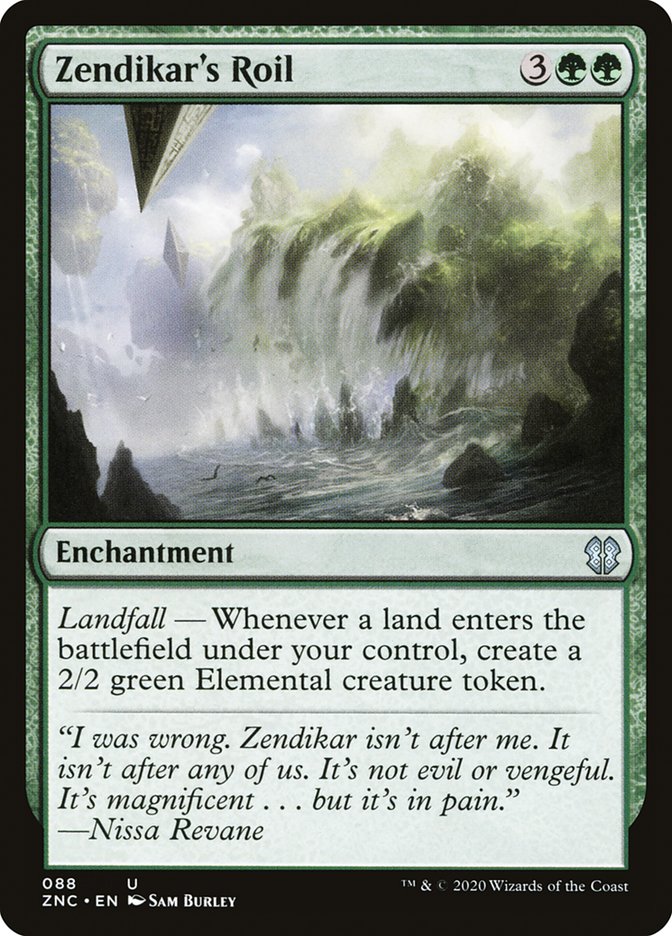
Kodama of the East Tree + Ghost Town + Zendikar's Roil + Bad River
- 1Fetch a land using Bad River.
- 2When the fetched land enters, Zendikar's Roil and Kodama trigger.
- 3Resolve the Kodama trigger, putting Ghost Town from your hand onto the battlefield.
- 4When Ghost Town enters, Kodama and Zendikar's Roil trigger.
- 5Holding priority, activate Ghost Town's first abiltiy by tapping it, adding .
- 6Activate Ghost Town's second ability by paying , returning it from the battlefield to your hand.
- 7Resolve the Zendikar's Roil from step 4, creating a token.
- 8When the token enters, Kodama triggers, putting Ghost Town from your hand onto the battlefield.

Kodama of the East Tree + Ghost Town + Scute Swarm + Bad River
- 1Fetch a land using Bad River.
- 2When the fetched land enters, Scute Swarm and Kodama trigger.
- 3Resolve the Kodama trigger, putting Ghost Town from your hand onto the battlefield.
- 4When Ghost Town enters, Kodama and Scute Swarm trigger.
- 5Holding priority, activate Ghost Town's first abiltiy by tapping it, adding .
- 6Activate Ghost Town's second ability by paying , returning it from the battlefield to your hand.
- 7Resolve the Scute Swarm from step 4, creating a token.
- 8When the token enters, Kodama triggers, putting Ghost Town from your hand onto the battlefield.
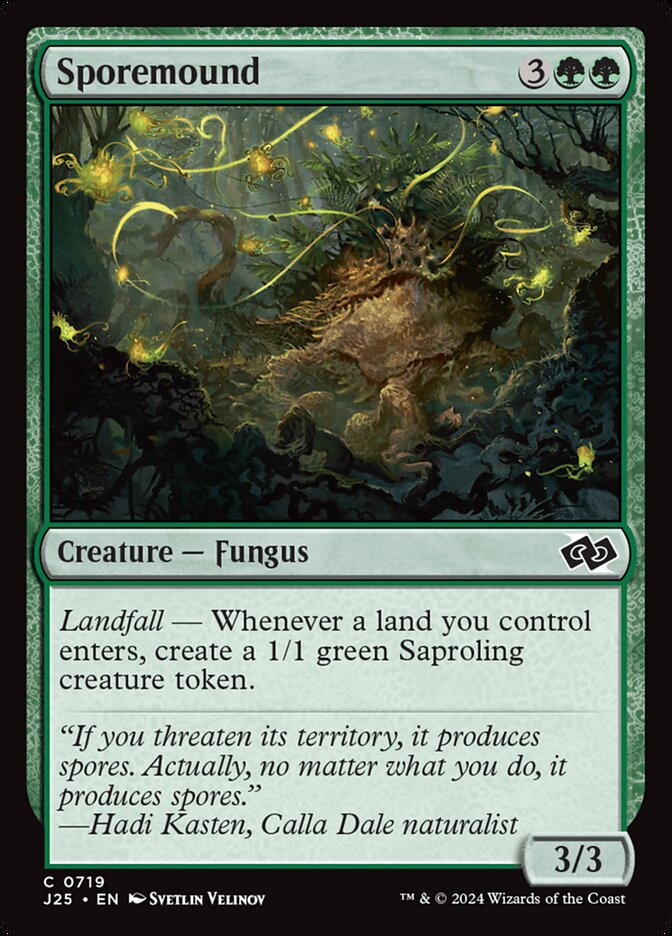
Kodama of the East Tree + Ghost Town + Sporemound + Bad River
- 1Fetch a land using Bad River.
- 2When the fetched land enters, Sporemound and Kodama trigger.
- 3Resolve the Kodama trigger, putting Ghost Town from your hand onto the battlefield.
- 4When Ghost Town enters, Kodama and Sporemound trigger.
- 5Holding priority, activate Ghost Town's first abiltiy by tapping it, adding .
- 6Activate Ghost Town's second ability by paying , returning it from the battlefield to your hand.
- 7Resolve the Sporemound from step 4, creating a token.
- 8When the token enters, Kodama triggers, putting Ghost Town from your hand onto the battlefield.
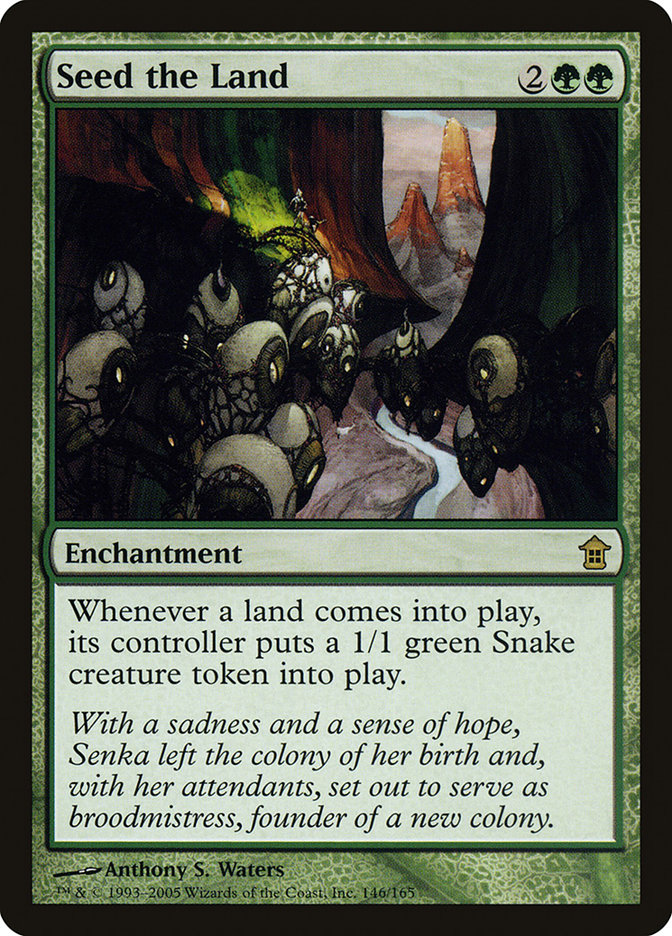
Kodama of the East Tree + Ghost Town + Seed the Land + Bad River
- 1Fetch a land using Bad River.
- 2When the fetched land enters, Seed the Land and Kodama trigger.
- 3Resolve the Kodama trigger, putting Ghost Town from your hand onto the battlefield.
- 4When Ghost Town enters, Kodama and Seed the Land trigger.
- 5Holding priority, activate Ghost Town's first abiltiy by tapping it, adding .
- 6Activate Ghost Town's second ability by paying , returning it from the battlefield to your hand.
- 7Resolve the Seed the Land from step 4, creating a token.
- 8When the token enters, Kodama triggers, putting Ghost Town from your hand onto the battlefield.

Kodama of the East Tree + Ghost Town + Bad River + Dancing from Dark to Dawn
- 1Fetch a land using Bad River.
- 2When the fetched land enters, Dancing from Dark to Dawn and Kodama trigger.
- 3Resolve the Kodama trigger, putting Ghost Town from your hand onto the battlefield.
- 4When Ghost Town enters, Kodama and Dancing from Dark to Dawn trigger.
- 5Holding priority, activate Ghost Town's first abiltiy by tapping it, adding .
- 6Activate Ghost Town's second ability by paying , returning it from the battlefield to your hand.
- 7Resolve the Dancing from Dark to Dawn from step 4, creating a token.
- 8When the token enters, Kodama triggers, putting Ghost Town from your hand onto the battlefield.
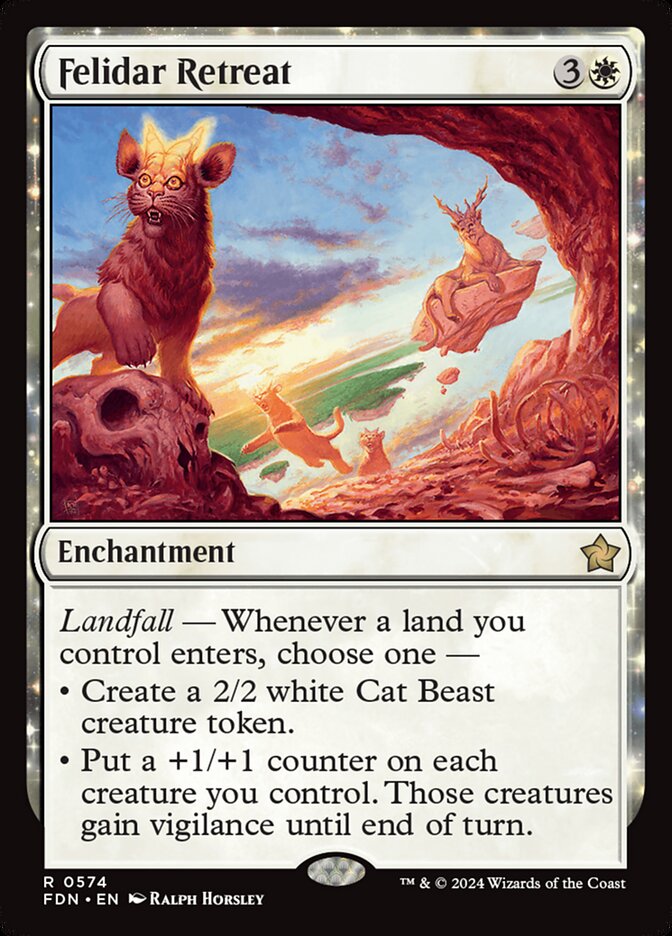
Kodama of the East Tree + Ghost Town + Felidar Retreat + Bad River
- 1Fetch a land using Bad River.
- 2When the fetched land enters, Felidar Retreat and Kodama trigger.
- 3Resolve the Kodama trigger, putting Ghost Town from your hand onto the battlefield.
- 4When Ghost Town enters, Kodama and Felidar Retreat trigger.
- 5Holding priority, activate Ghost Town's first abiltiy by tapping it, adding .
- 6Activate Ghost Town's second ability by paying , returning it from the battlefield to your hand.
- 7Resolve the Felidar Retreat from step 4, creating a token.
- 8When the token enters, Kodama triggers, putting Ghost Town from your hand onto the battlefield.
Legal formats
Commentaires
- Sois le premier à commenter cette carte.
Read next


Meta decks with Bad River
No archived Top 8 deck with this card yet.