

Dancing from Dark to Dawn is one of those cards players keep asking about. Here is, in plain words, what its official text says, the rulings published by Wizards of the Coast, and the combos players actually run.
Official card text
Whenever you cast a creature spell, put X +1/+1 counters on target creature you control, where X is that spell's mana value. Landfall — Whenever a land you control enters, create a 2/2 green Bear creature token.
How it works : Dancing from Dark to Dawn
Original English text — Wizards of the Coast / Scryfall
- #1· Wizards of the Coast
If the creature spell has
 in its mana cost, use the value chosen for X when calculating that spell's mana value.
No other card is named in this ruling.
- #2· Wizards of the Coast
A landfall ability doesn't trigger if a permanent already on the battlefield becomes a land.
No other card is named in this ruling.
- #3· Wizards of the Coast
A landfall ability triggers whenever a land you control enters for any reason. It triggers whenever you play a land, as well as whenever a spell or ability puts a land onto the battlefield under your control.
No other card is named in this ruling.
- #4· Wizards of the Coast
Whenever a land you control enters, each landfall ability of permanents you control will trigger. You can put them on the stack in any order. The last ability you put on the stack will be the first one to resolve (as a result, you can have those abilities resolve in the order of your choosing).
No other card is named in this ruling.
Popular combos
Real combos played by the community, sorted by popularity.
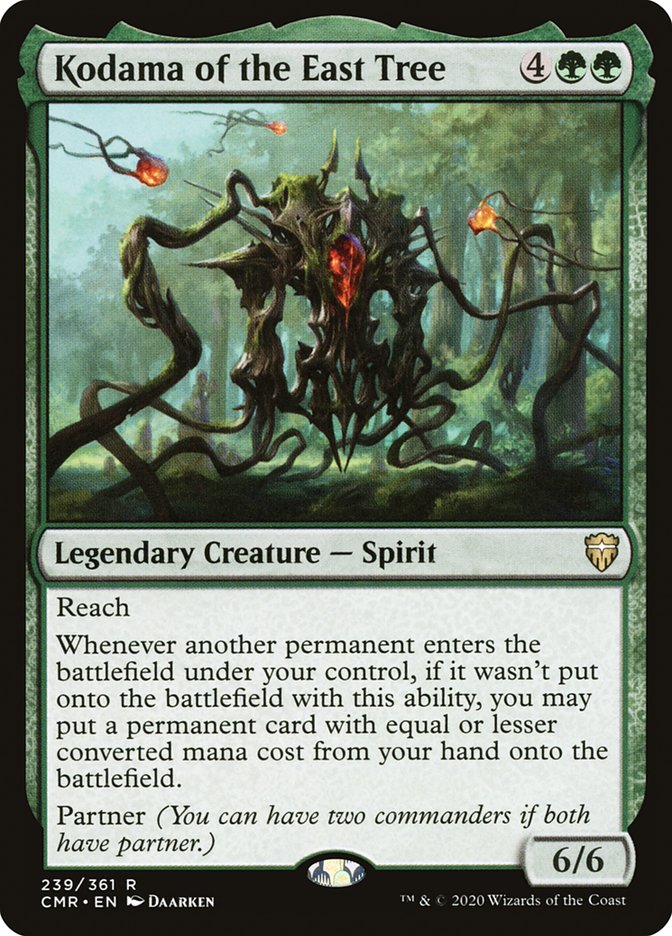
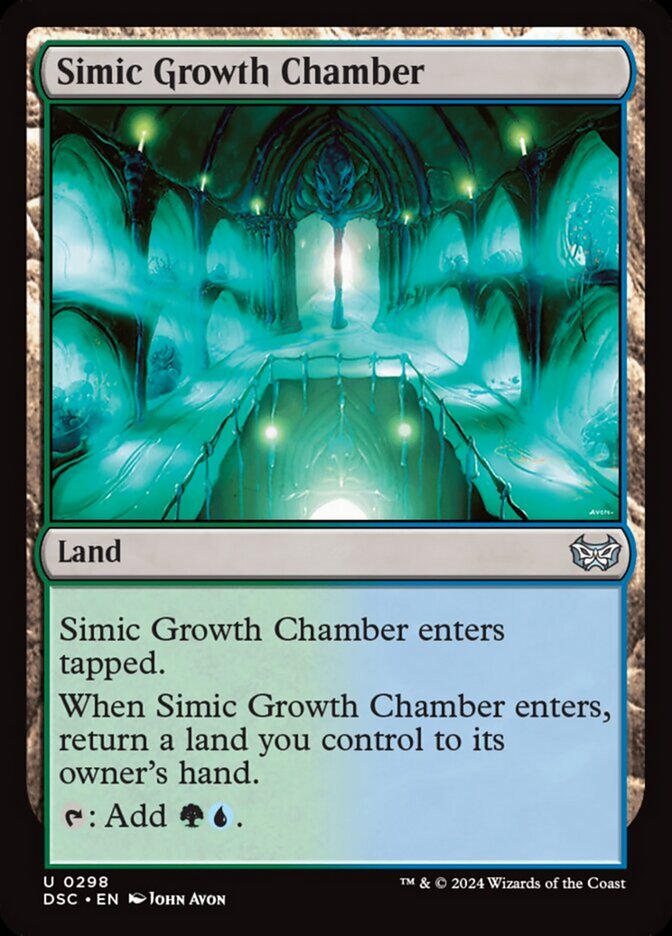

Kodama of the East Tree + Simic Growth Chamber + Dancing from Dark to Dawn
- 1Play Simic Growth Chamber.
- 2When Simic Growth Chamber enters the battlefield, it, Dancing from Dark to Dawn, and Kodama of the East Tree trigger.
- 3Resolve the Kodama of the East Tree trigger, choosing not to put anything from your hand onto the battlefield.
- 4Resolve the Simic Growth Chamber trigger, returning it from the battlefield to your hand.
- 5Resolve the Dancing from Dark to Dawn trigger, creating a token.
- 6When the token enters the battlefield, Kodama of the East Tree triggers, putting Simic Growth Chamber from your hand onto the battlefield.
- 7When Simic Growth Chamber enters the battlefield, it and Dancing from Dark to Dawn trigger.
- 8Repeat from step 4.

Kodama of the East Tree + Gruul Turf + Dancing from Dark to Dawn
- 1Play Gruul Turf.
- 2When Gruul Turf enters the battlefield, it, Dancing from Dark to Dawn, and Kodama of the East Tree trigger.
- 3Resolve the Kodama of the East Tree trigger, choosing not to put anything from your hand onto the battlefield.
- 4Resolve the Gruul Turf trigger, returning it from the battlefield to your hand.
- 5Resolve the Dancing from Dark to Dawn trigger, creating a token.
- 6When the token enters the battlefield, Kodama of the East Tree triggers, putting Gruul Turf from your hand onto the battlefield.
- 7When Gruul Turf enters the battlefield, it and Dancing from Dark to Dawn trigger.
- 8Repeat from step 4.
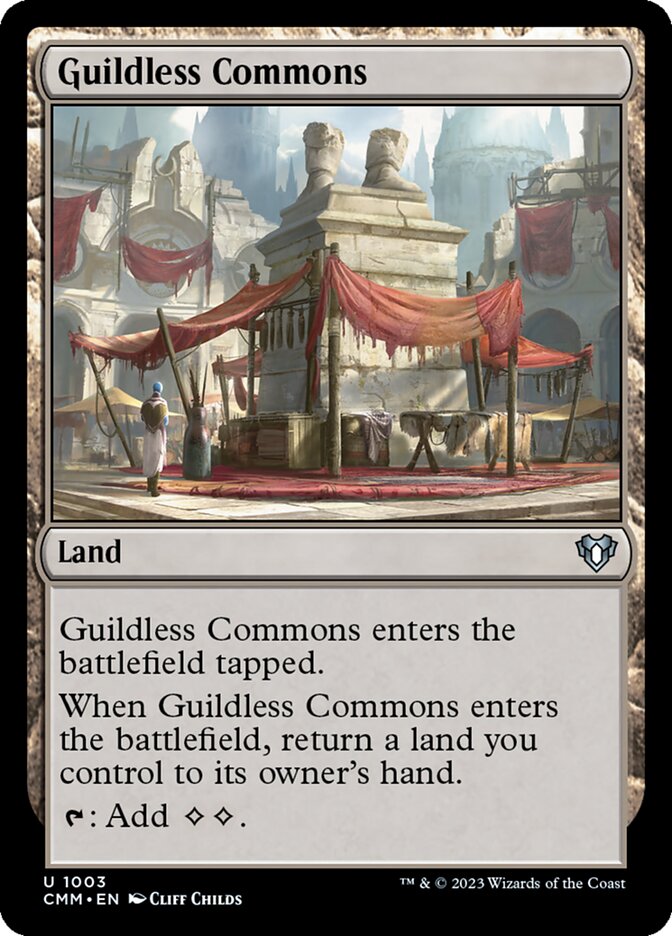
Kodama of the East Tree + Guildless Commons + Dancing from Dark to Dawn
- 1Play Guildless Commons.
- 2When Guildless Commons enters the battlefield, it, Dancing from Dark to Dawn, and Kodama of the East Tree trigger.
- 3Resolve the Kodama of the East Tree trigger, choosing not to put anything from your hand onto the battlefield.
- 4Resolve the Guildless Commons trigger, returning it from the battlefield to your hand.
- 5Resolve the Dancing from Dark to Dawn trigger, creating a token.
- 6When the token enters the battlefield, Kodama of the East Tree triggers, putting Guildless Commons from your hand onto the battlefield.
- 7When Guildless Commons enters the battlefield, it and Dancing from Dark to Dawn trigger.
- 8Repeat from step 4.
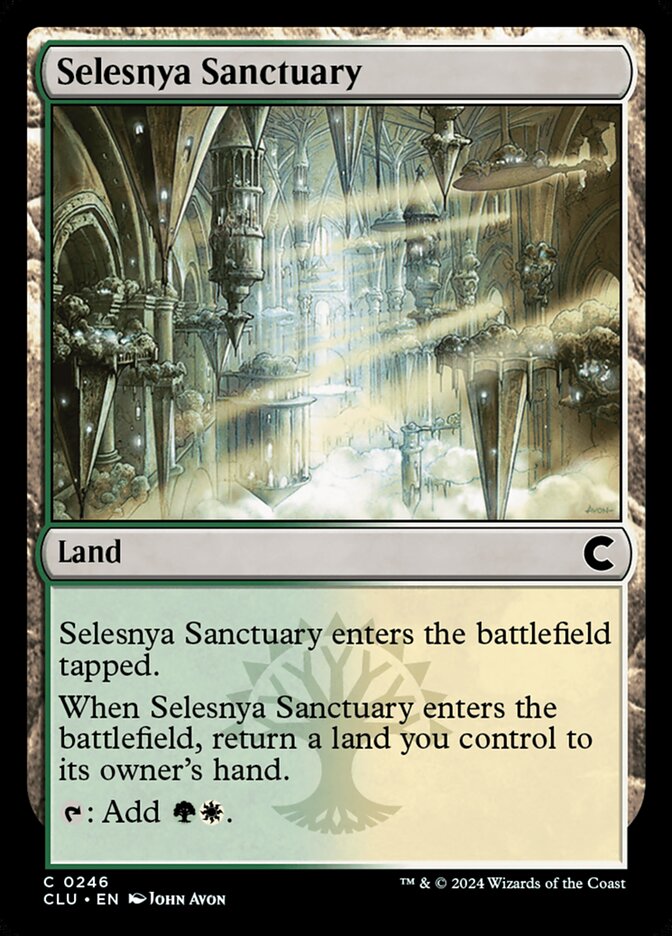
Kodama of the East Tree + Selesnya Sanctuary + Dancing from Dark to Dawn
- 1Play Selesnya Sanctuary.
- 2When Selesnya Sanctuary enters the battlefield, it, Dancing from Dark to Dawn, and Kodama of the East Tree trigger.
- 3Resolve the Kodama of the East Tree trigger, choosing not to put anything from your hand onto the battlefield.
- 4Resolve the Selesnya Sanctuary trigger, returning it from the battlefield to your hand.
- 5Resolve the Dancing from Dark to Dawn trigger, creating a token.
- 6When the token enters the battlefield, Kodama of the East Tree triggers, putting Selesnya Sanctuary from your hand onto the battlefield.
- 7When Selesnya Sanctuary enters the battlefield, it and Dancing from Dark to Dawn trigger.
- 8Repeat from step 4.

Kodama of the East Tree + Golgari Rot Farm + Dancing from Dark to Dawn
- 1Play Golgari Rot Farm.
- 2When Golgari Rot Farm enters the battlefield, it, Dancing from Dark to Dawn, and Kodama of the East Tree trigger.
- 3Resolve the Kodama of the East Tree trigger, choosing not to put anything from your hand onto the battlefield.
- 4Resolve the Golgari Rot Farm trigger, returning it from the battlefield to your hand.
- 5Resolve the Dancing from Dark to Dawn trigger, creating a token.
- 6When the token enters the battlefield, Kodama of the East Tree triggers, putting Golgari Rot Farm from your hand onto the battlefield.
- 7When Golgari Rot Farm enters the battlefield, it and Dancing from Dark to Dawn trigger.
- 8Repeat from step 4.
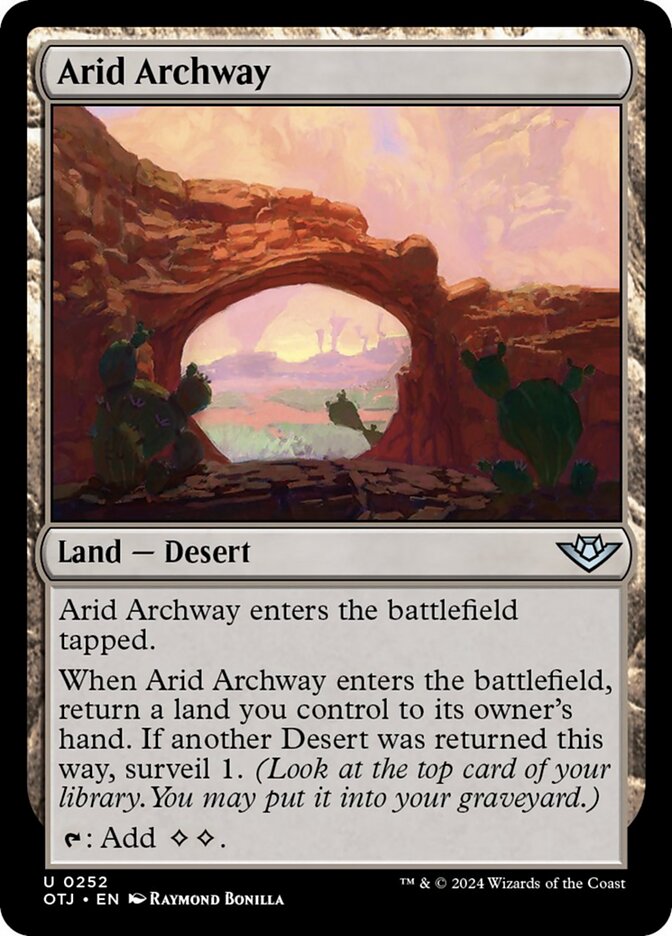
Kodama of the East Tree + Arid Archway + Dancing from Dark to Dawn
- 1Play Arid Archway.
- 2When Arid Archway enters the battlefield, it, Dancing from Dark to Dawn, and Kodama of the East Tree trigger.
- 3Resolve the Kodama of the East Tree trigger, choosing not to put anything from your hand onto the battlefield.
- 4Resolve the Arid Archway trigger, returning it from the battlefield to your hand.
- 5Resolve the Dancing from Dark to Dawn trigger, creating a token.
- 6When the token enters the battlefield, Kodama of the East Tree triggers, putting Arid Archway from your hand onto the battlefield.
- 7When Arid Archway enters the battlefield, it and Dancing from Dark to Dawn trigger.
- 8Repeat from step 4.
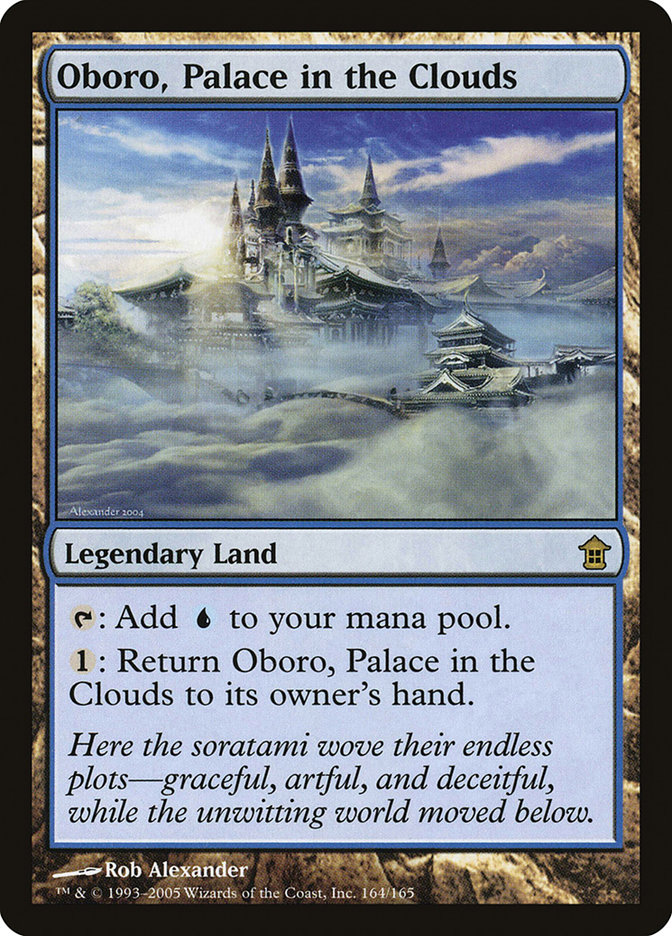
Kodama of the East Tree + Oboro, Palace in the Clouds + Dancing from Dark to Dawn
- 1Play Oboro, Palace in the Clouds.
- 2When Oboro, Palace in the Clouds enters the battlefield, it, Dancing from Dark to Dawn, and Kodama of the East Tree trigger.
- 3Resolve the Kodama of the East Tree trigger, choosing not to put anything from your hand onto the battlefield.
- 4Resolve the Oboro, Palace in the Clouds trigger, returning it from the battlefield to your hand.
- 5Resolve the Dancing from Dark to Dawn trigger, creating a token.
- 6When the token enters the battlefield, Kodama of the East Tree triggers, putting Oboro, Palace in the Clouds from your hand onto the battlefield.
- 7When Oboro, Palace in the Clouds enters the battlefield, it and Dancing from Dark to Dawn trigger.
- 8Repeat from step 4.
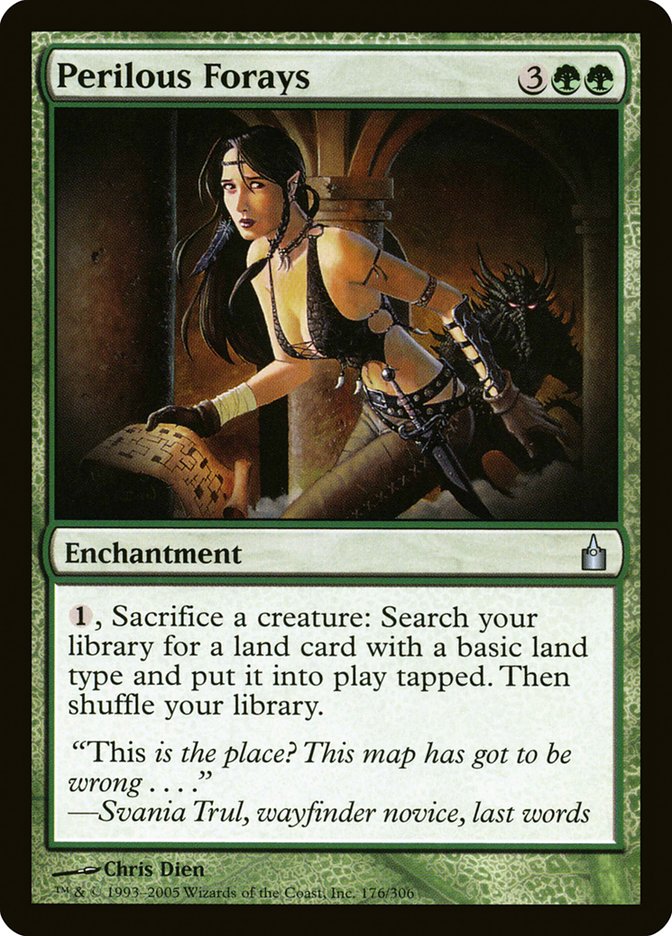
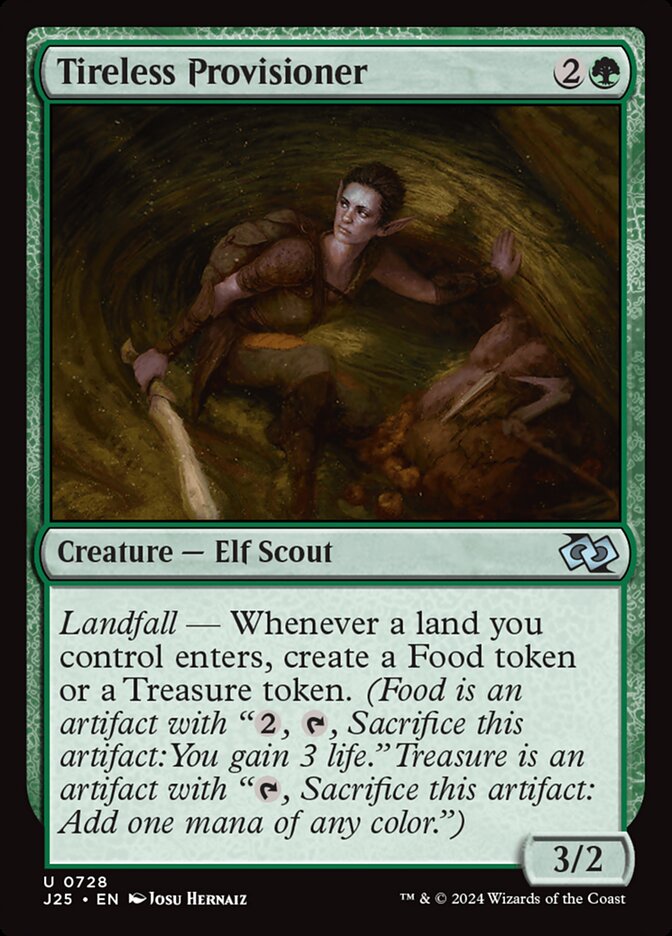
Perilous Forays + Tireless Provisioner + Dancing from Dark to Dawn
- 1Activate Perilous Forays by paying
 and sacrificing a creature, causing you to search your library for a land card with a basic land type and put it onto the battlefield tapped.
- 2When the land enters the battlefield Tireless Provisioner and Dancing from Dark to Dawn trigger.
- 3Resolve the Tireless Provisioner trigger, creating a Treasure token.
- 4Activate the Treasure by tapping and sacrificing it, adding .
- 5Resolve the Dancing from Dark to Dawn trigger, creating a creature token.
- 6Repeat.
Related cards and tokens
Legal formats
Commentaires
- Sois le premier à commenter cette carte.
Read next

Meta decks with Dancing from Dark to Dawn
No archived Top 8 deck with this card yet.