

Tomb of Horrors Adventurer is one of those cards players keep asking about. Here is, in plain words, what its official text says, the rulings published by Wizards of the Coast, and the combos players actually run.
Official card text
When this creature enters, you take the initiative. Whenever you cast your second spell each turn, copy it. If you've completed a dungeon, copy that spell twice instead. You may choose new targets for the copies. (A copy of a permanent spell becomes a token.)
How it works : Tomb of Horrors Adventurer
Original English text — Wizards of the Coast / Scryfall
- #1· Wizards of the Coast
When the triggered ability of Tomb of Horrors Adventurer resolves, it creates one or two copies of a spell. You control each of the copies. Those copies are created on the stack, so they're not “cast.” Abilities that trigger when a player casts a spell won't trigger. The copies will then resolve like normal spells, after players get a chance to cast spells and activate abilities.
No other card is named in this ruling.
- #2· Wizards of the Coast
The triggered ability will copy the spell that caused it to trigger even if that spell has been countered by the time that ability resolves.
Card named in this ruling
- #3· Wizards of the Coast
Each of the copies will have the same targets as the spell it's copying unless you choose new ones. You may change any number of the targets, including all of them or none of them. If, for one of the targets, you can't choose a new legal target, then it remains unchanged (even if the current target is illegal). If there are multiple copies, you may change the targets of each of them to different legal targets.
Card named in this ruling
- #4· Wizards of the Coast
If the spell Tomb of Horrors Adventurer's ability copies is modal (that is, it has a bulleted list of choices), the copies will have the same mode(s). You can't choose different ones.
No other card is named in this ruling.
- #5· Wizards of the Coast
If the spell Tomb of Horrors Adventurer copies has an X whose value was determined as it was cast (like Fireball does), the copy has the same value of X.
Card named in this ruling
- #6· Wizards of the Coast
You can't choose to pay any additional costs for the copies. However, effects based on any additional costs that were paid for the original spell are copied as though those same costs were paid for the copies too. For example, if you sacrifice a 3/3 creature to cast Fling and then copy it with Tomb of Horrors Adventurer, each copy of Fling will also deal 3 damage to its target.
Card named in this ruling
- #7· Wizards of the Coast
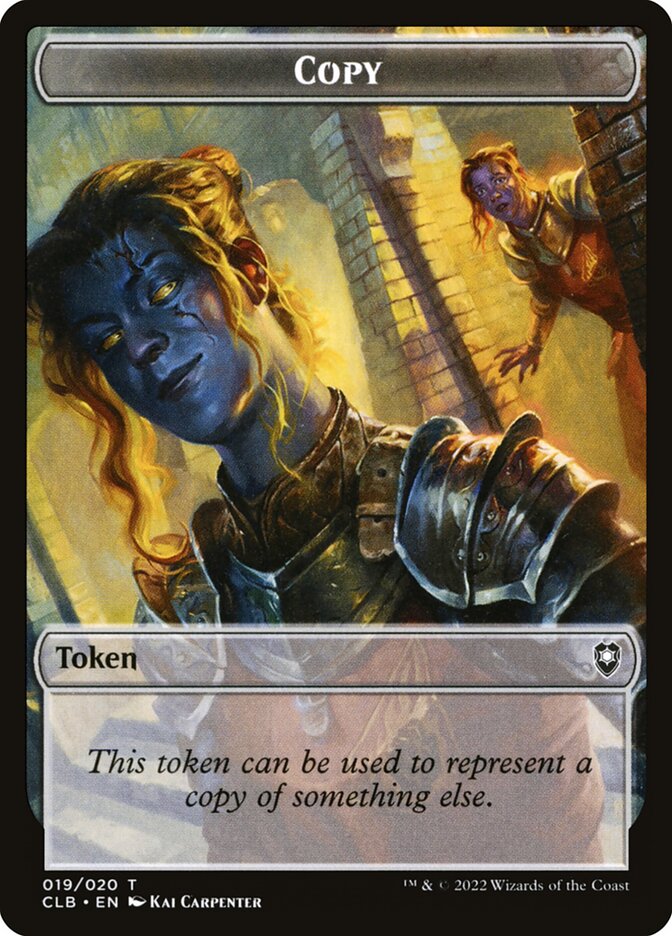
A resolving copy of a permanent spell becomes a token, so the token isn't “created.” Effects that care about a token being created won't interact with a token that enters the battlefield because the triggered ability copied a permanent spell.
Card named in this ruling
- #8· Wizards of the Coast
The initiative is a designation a player can have. A player with the initiative designation is said to “have the initiative.” The initiative carries two inherent rules. First, whenever a player takes the initiative, and at the beginning of the upkeep of the player with the initiative, that player ventures into Undercity. Second, whenever one or more creatures a player controls deal combat damage to the player who has the initiative, the first player takes the initiative. Also, some abilities will refer to having the initiative and provide other benefits.
No other card is named in this ruling.
- #9· Wizards of the Coast
There is no initiative in a game until an effect instructs a player to take the initiative. Once a player is instructed to do this, they have the initiative until another player takes the initiative.
No other card is named in this ruling.
- #10· Wizards of the Coast
Only one player can have the initiative at a time. As one player takes the initiative, any other player that had the initiative ceases to have it.
No other card is named in this ruling.
- #11· Wizards of the Coast
A player who currently has the initiative may take the initiative again. This causes that player to venture into Undercity again, but does not cause them to have multiple initiative designations.
No other card is named in this ruling.
- #12· Wizards of the Coast
If the player with the initiative leaves the game, the active player takes the initiative at the same time that player leaves the game. If the active player is leaving the game or if there is no active player, the next player in turn order takes the initiative.
No other card is named in this ruling.
- #13· Wizards of the Coast
In a Two-Headed Giant game, if both players on a team deal combat damage to the player that has the initiative at the same time, the player with the initiative will choose the order of the triggered abilities. Then, as those abilities resolve, one team member takes the initiative (and ventures into Undercity) and then the other team member does the same. The last player to take the initiative keeps it until the initiative changes again.
No other card is named in this ruling.
- #14· Wizards of the Coast
You cannot venture into Undercity unless instructed to do so, either because you have the initiative at the beginning of your upkeep or because you take the initiative. Notably, if you aren’t in a dungeon and an effect instructs you to venture into the dungeon (not venture into Undercity), you can’t start Undercity.
No other card is named in this ruling.
- #15· Wizards of the Coast
Similarly, when instructed to venture into Undercity, you can’t start a dungeon that isn’t Undercity.
No other card is named in this ruling.
- #16· Wizards of the Coast
If you aren’t in a dungeon when instructed to venture into Undercity, you will put Undercity into the command zone and move your venture marker to Secret Entrance (the first room).
No other card is named in this ruling.
- #17· Wizards of the Coast
If you’re already in a dungeon when instructed to venture into Undercity, you move to the next room of that dungeon. If you are already in the last room, you will complete that dungeon and start Undercity. This is true whether you’re already in Undercity or any other dungeon.
No other card is named in this ruling.
Popular combos
Real combos played by the community, sorted by popularity.
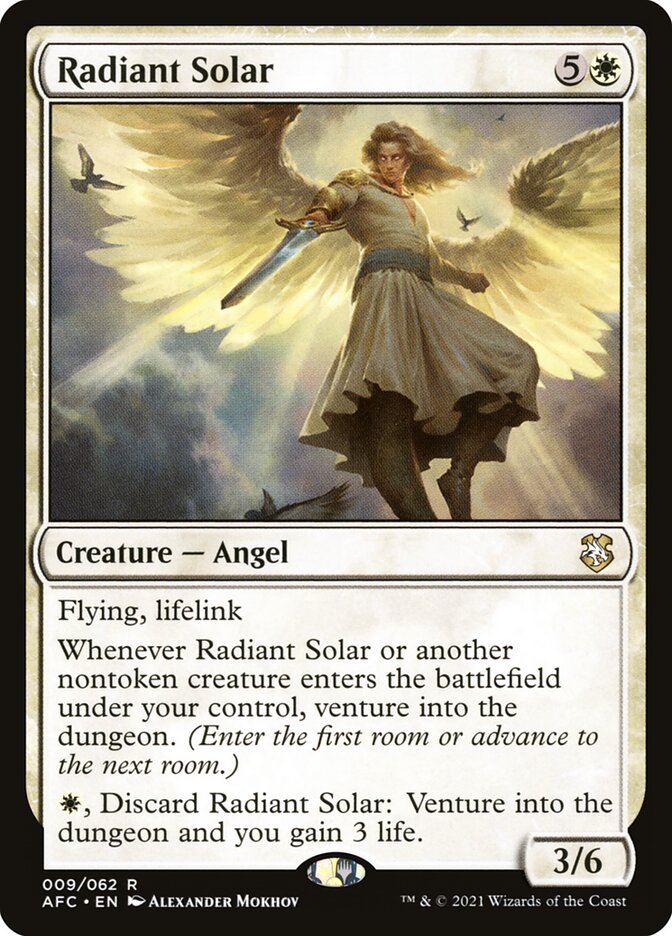
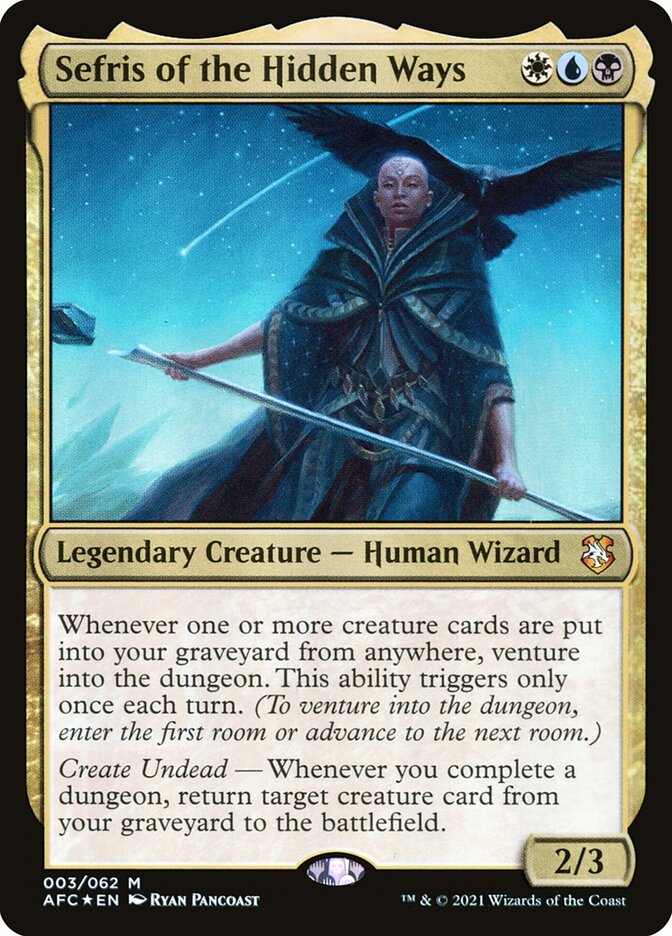
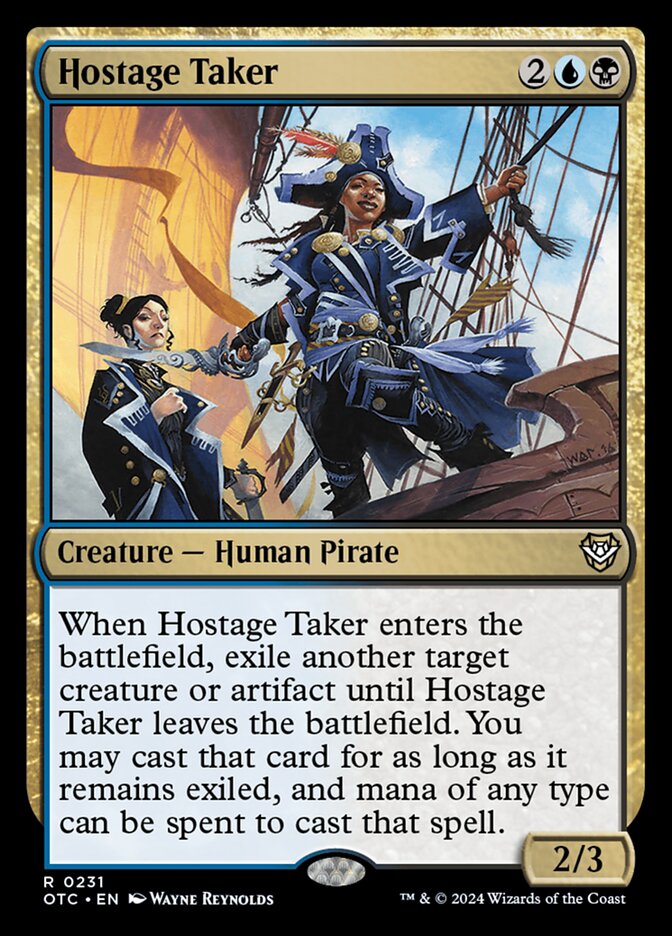
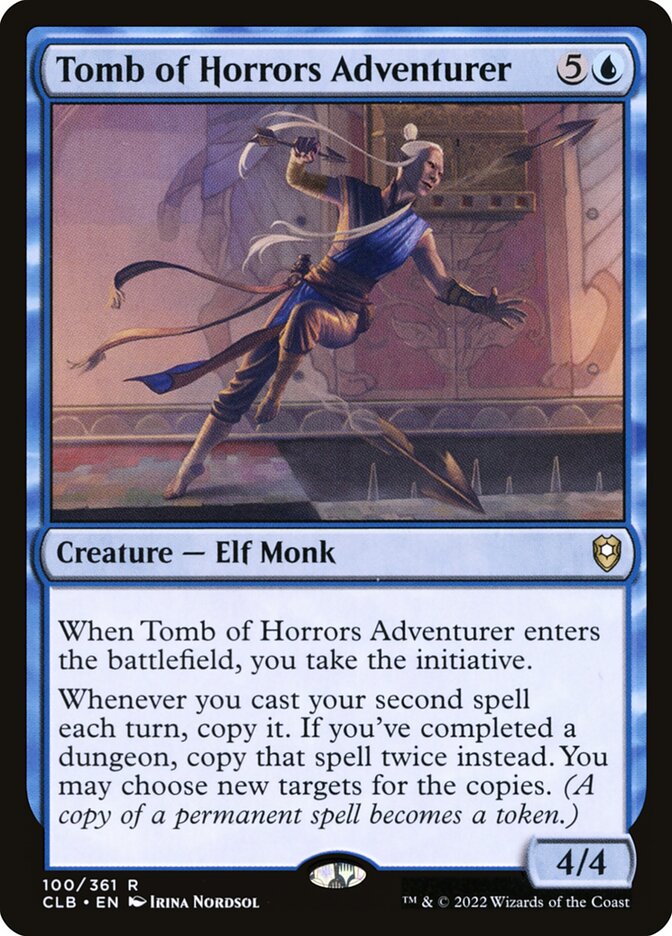
Radiant Solar + Sefris of the Hidden Ways + Hostage Taker + Tomb of Horrors Adventurer
- 1Cast Hostage Taker by paying its mana cost.
- 2When Hostage Taker enters, it and Radiant Solar trigger.
- 3Resolve the Hostage Taker trigger, exiling Tomb of Horrors Adventurer until Hostage Taker leaves the battlefield.
- 4Resolve the Radiant Solar trigger, venturing into the Oubliette room, causing you to discard a card and then sacrifice Hostage Taker.
- 5Hostage Taker leaves the battlefield, causing Tomb of Horrors Adventurer to be returned to the battlefield from exile.
- 6When Tomb of Horrors Adventurer enters, it and Radiant Solar trigger.
- 7Resolve the Tomb of Horrors Adventurer trigger, venturing into the Cradle of the Death God room, creating a 4/4 legendary The Atropal creature token and completing Tomb of Annihilation.
- 8If you control two or more The Atropal tokens, put all but one into your graveyard due to the legend rule.
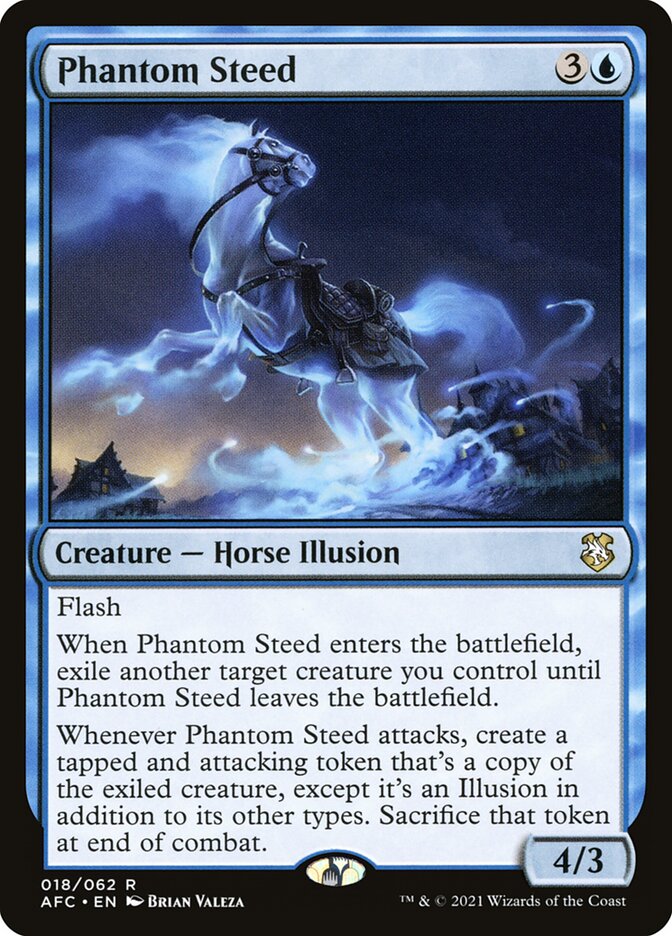
Radiant Solar + Sefris of the Hidden Ways + Phantom Steed + Tomb of Horrors Adventurer
- 1Cast Phantom Steed by paying its mana cost.
- 2When Phantom Steed enters, it and Radiant Solar trigger.
- 3Resolve the Phantom Steed trigger, exiling Tomb of Horrors Adventurer until Phantom Steed leaves the battlefield.
- 4Resolve the Radiant Solar trigger, venturing into the Oubliette room, causing you to discard a card and then sacrifice Phantom Steed.
- 5Phantom Steed leaves the battlefield, causing Tomb of Horrors Adventurer to be returned to the battlefield from exile.
- 6When Tomb of Horrors Adventurer enters, it and Radiant Solar trigger.
- 7Resolve the Tomb of Horrors Adventurer trigger, venturing into the Cradle of the Death God room, creating a 4/4 legendary The Atropal creature token and completing Tomb of Annihilation.
- 8If you control two or more The Atropal tokens, put all but one into your graveyard due to the legend rule.

Radiant Solar + Sefris of the Hidden Ways + Fiend Hunter + Tomb of Horrors Adventurer
- 1Cast Fiend Hunter by paying its mana cost.
- 2When Fiend Hunter enters, it and Radiant Solar trigger.
- 3Resolve the Fiend Hunter trigger, exiling Tomb of Horrors Adventurer.
- 4Resolve the Radiant Solar trigger, venturing into the Oubliette room, causing you to discard a card and then sacrifice Fiend Hunter.
- 5When Fiend Hunter dies, it triggers, returning Tomb of Horrors Adventurer from exile to the battlefield.
- 6When Tomb of Horrors Adventurer enters, it and Radiant Solar trigger.
- 7Resolve the Tomb of Horrors Adventurer trigger, venturing into the Cradle of the Death God room, creating a 4/4 legendary The Atropal creature token and completing Tomb of Annihilation.
- 8If you control two or more The Atropal tokens, put all but one into your graveyard due to the legend rule.
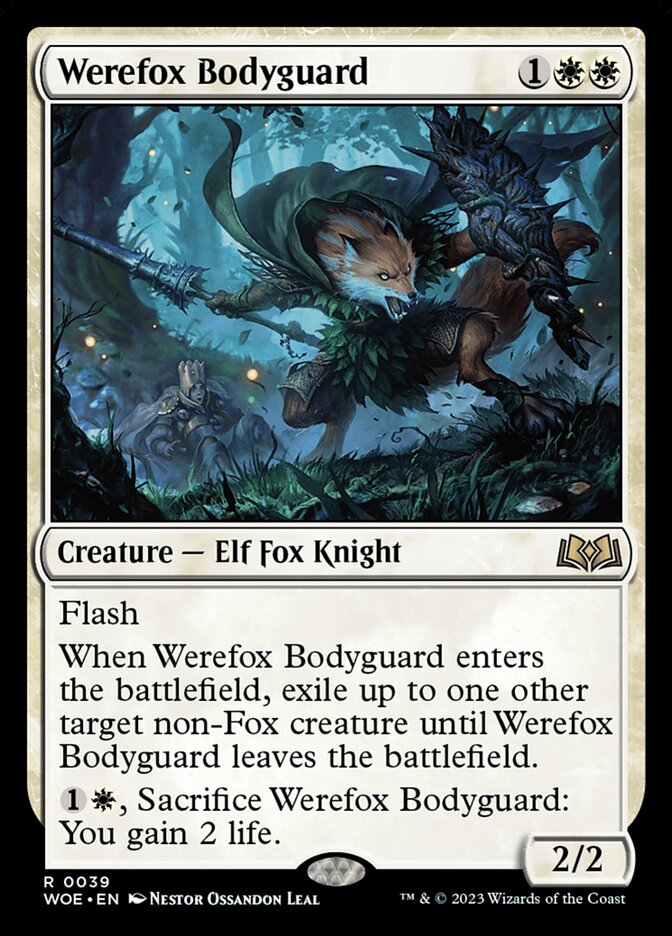
Radiant Solar + Sefris of the Hidden Ways + Werefox Bodyguard + Tomb of Horrors Adventurer
- 1Cast Werefox Bodyguard by paying its mana cost.
- 2When Werefox Bodyguard enters, it and Radiant Solar trigger.
- 3Resolve the Werefox Bodyguard trigger, exiling Tomb of Horrors Adventurer until Werefox Bodyguard leaves the battlefield.
- 4Resolve the Radiant Solar trigger, venturing into the Oubliette room, causing you to discard a card and then sacrifice Werefox Bodyguard.
- 5Werefox Bodyguard leaves the battlefield, causing Tomb of Horrors Adventurer to be returned to the battlefield from exile.
- 6When Tomb of Horrors Adventurer enters, it and Radiant Solar trigger.
- 7Resolve the Tomb of Horrors Adventurer trigger, venturing into the Cradle of the Death God room, creating a 4/4 legendary The Atropal creature token and completing Tomb of Annihilation.
- 8If you control two or more The Atropal tokens, put all but one into your graveyard due to the legend rule.

Radiant Solar + Sefris of the Hidden Ways + Tomb of Horrors Adventurer + Mardu Siegebreaker
- 1Cast Mardu Siegebreaker by paying its mana cost.
- 2When Mardu Siegebreaker enters, it and Radiant Solar trigger.
- 3Resolve the Mardu Siegebreaker trigger, exiling Tomb of Horrors Adventurer until Mardu Siegebreaker leaves the battlefield.
- 4Resolve the Radiant Solar trigger, venturing into the Oubliette room, causing you to discard a card and then sacrifice Mardu Siegebreaker.
- 5Mardu Siegebreaker leaves the battlefield, causing Tomb of Horrors Adventurer to be returned to the battlefield from exile.
- 6When Tomb of Horrors Adventurer enters, it and Radiant Solar trigger.
- 7Resolve the Tomb of Horrors Adventurer trigger, venturing into the Cradle of the Death God room, creating a 4/4 legendary The Atropal creature token and completing Tomb of Annihilation.
- 8If you control two or more The Atropal tokens, put all but one into your graveyard due to the legend rule.
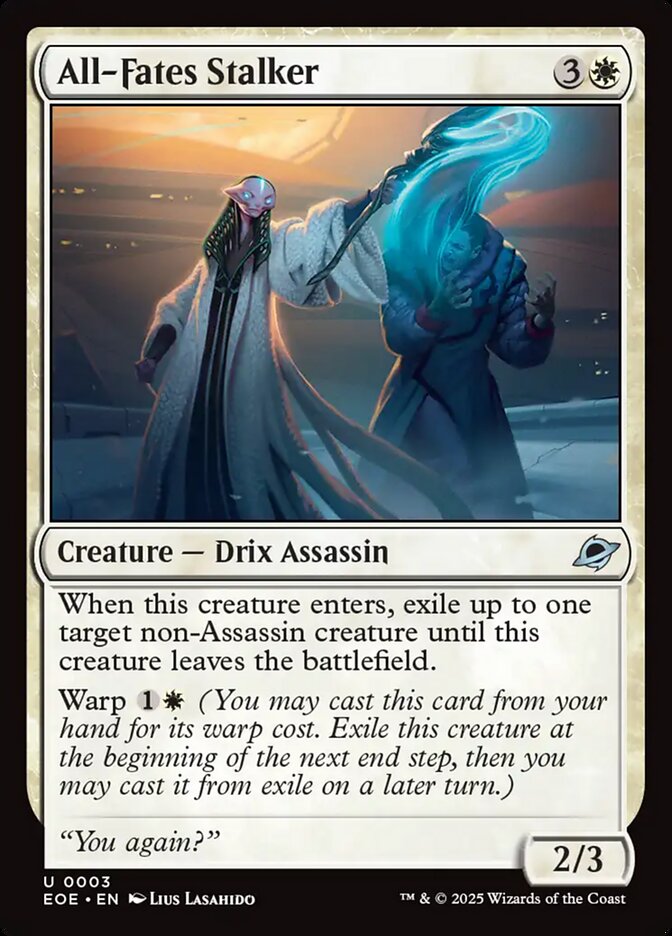
Radiant Solar + Sefris of the Hidden Ways + Tomb of Horrors Adventurer + All-Fates Stalker
- 1Cast All-Fates Stalker by paying its mana cost.
- 2When All-Fates Stalker enters, it and Radiant Solar trigger.
- 3Resolve the All-Fates Stalker trigger, exiling Tomb of Horrors Adventurer until All-Fates Stalker leaves the battlefield.
- 4Resolve the Radiant Solar trigger, venturing into the Oubliette room, causing you to discard a card and then sacrifice All-Fates Stalker.
- 5All-Fates Stalker leaves the battlefield, causing Tomb of Horrors Adventurer to be returned to the battlefield from exile.
- 6When Tomb of Horrors Adventurer enters, it and Radiant Solar trigger.
- 7Resolve the Tomb of Horrors Adventurer trigger, venturing into the Cradle of the Death God room, creating a 4/4 legendary The Atropal creature token and completing Tomb of Annihilation.
- 8If you control two or more The Atropal tokens, put all but one into your graveyard due to the legend rule.
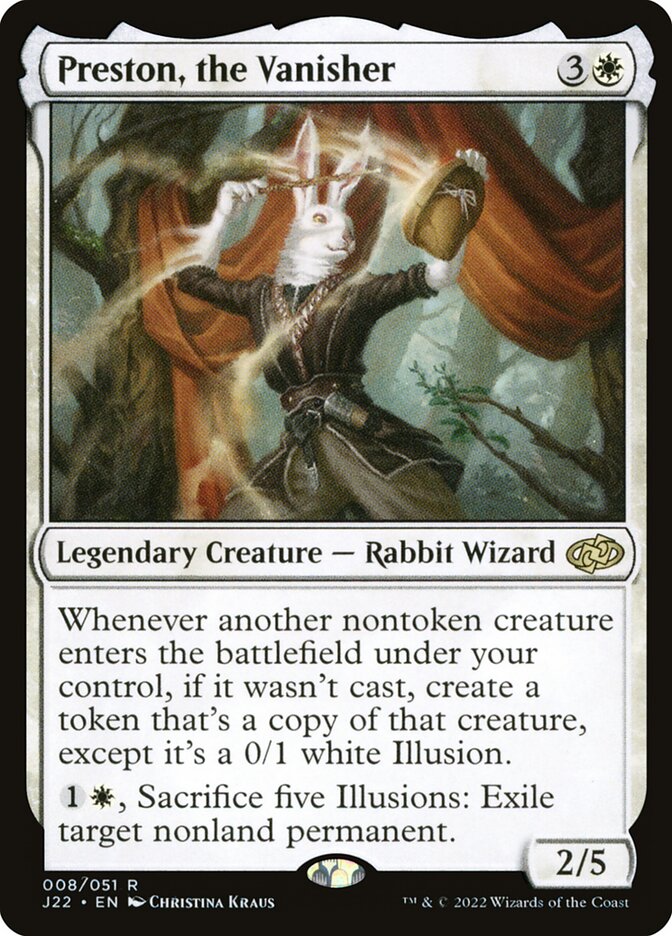
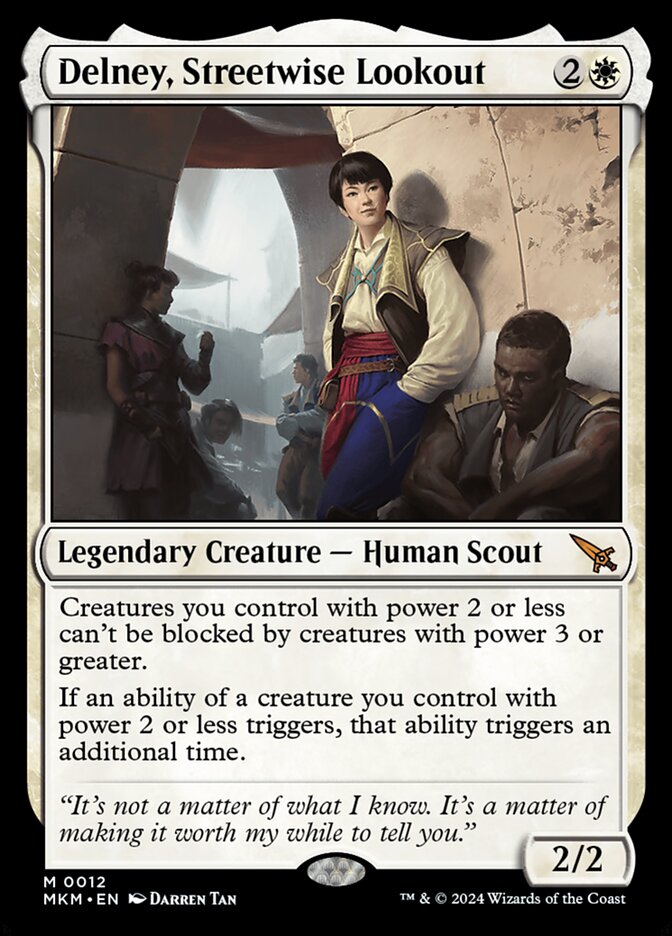

Preston, the Vanisher + Delney, Streetwise Lookout + Sefris of the Hidden Ways + Viscera Seer
- 1Complete a dungeon.
- 2Sefris' second ability triggers twice due to Delney.
- 3Resolve the first trigger, returning up to one other creature from your graveyard to the battlefield.
- 4Resolve the second trigger, returning Tomb of Horrors Adventurer from your graveyard onto the battlefield.
- 5When Tomb of Horrors Adventurer enters, it triggers once and Preston triggers twice due to Delney.
- 6Holding priority, activate Viscera Seer by sacrificing Tomb of Horrors Adventurer.
- 7Resolve a Preston trigger, creating a token copy of Tomb of Horrors Adventurer that is a 0/1 Illusion.
- 8When the Tomb of Horrors Adventurer token enters, it triggers twice due to Delney.
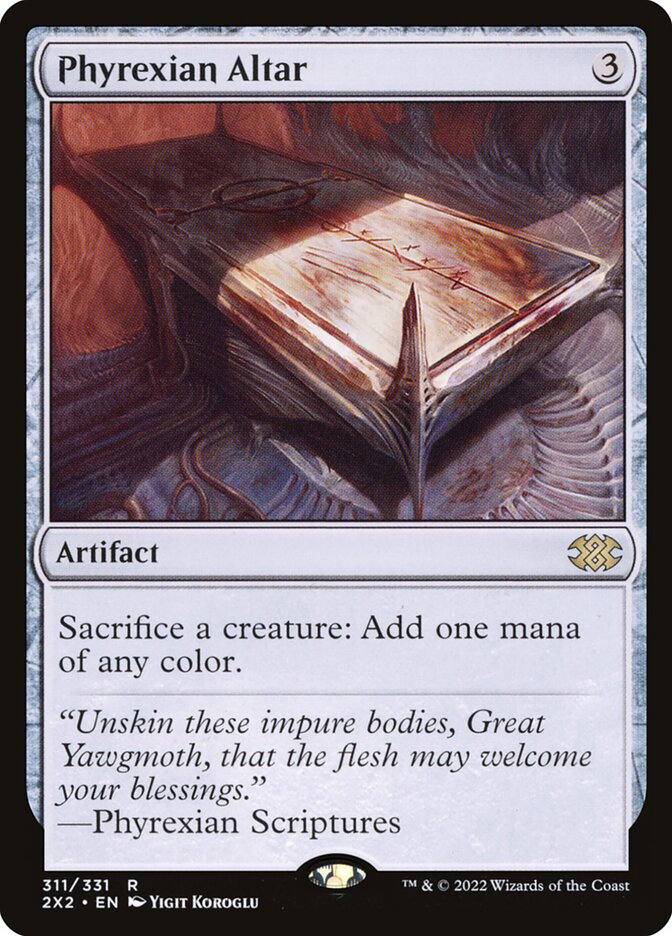
Preston, the Vanisher + Delney, Streetwise Lookout + Sefris of the Hidden Ways + Phyrexian Altar
- 1Complete a dungeon.
- 2Sefris' second ability triggers twice due to Delney.
- 3Resolve the first trigger, returning up to one other creature from your graveyard to the battlefield.
- 4Resolve the second trigger, returning Tomb of Horrors Adventurer from your graveyard onto the battlefield.
- 5When Tomb of Horrors Adventurer enters, it triggers once and Preston triggers twice due to Delney.
- 6Holding priority, activate Phyrexian Altar by sacrificing Tomb of Horrors Adventurer.
- 7Resolve a Preston trigger, creating a token copy of Tomb of Horrors Adventurer that is a 0/1 Illusion.
- 8When the Tomb of Horrors Adventurer token enters, it triggers twice due to Delney.
Related cards and tokens
Legal formats
Commentaires
- Sois le premier à commenter cette carte.
Read next
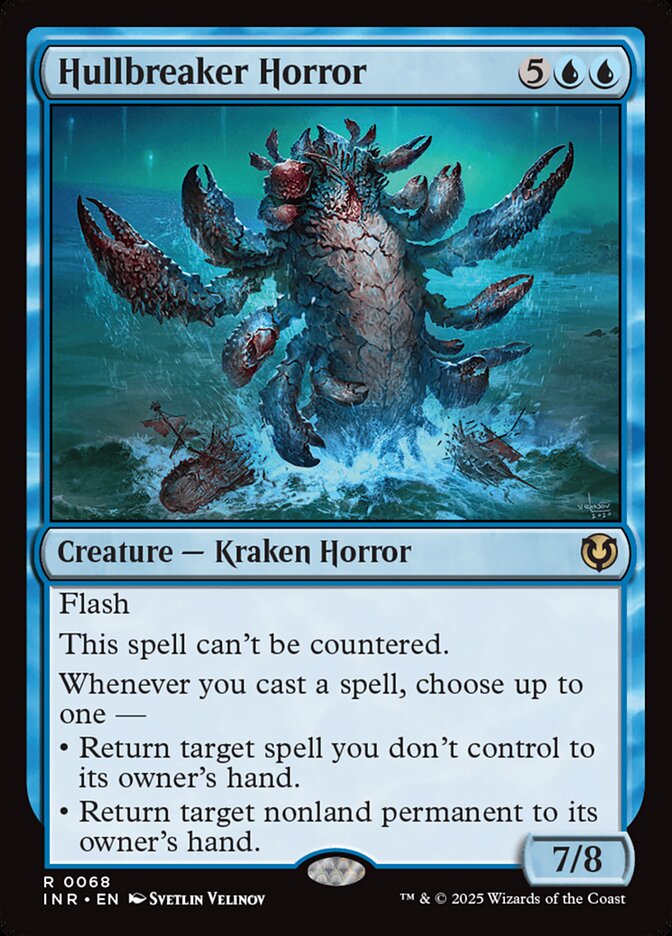
Meta decks with Tomb of Horrors Adventurer
No archived Top 8 deck with this card yet.